


For Removing from (Exclusion) a network: Put the Z-Wave Interface Controller into “Remove (Exclusion)” mode,
and following its instruction to delete SW-DWS02N to your Z-Wave controller.
1.
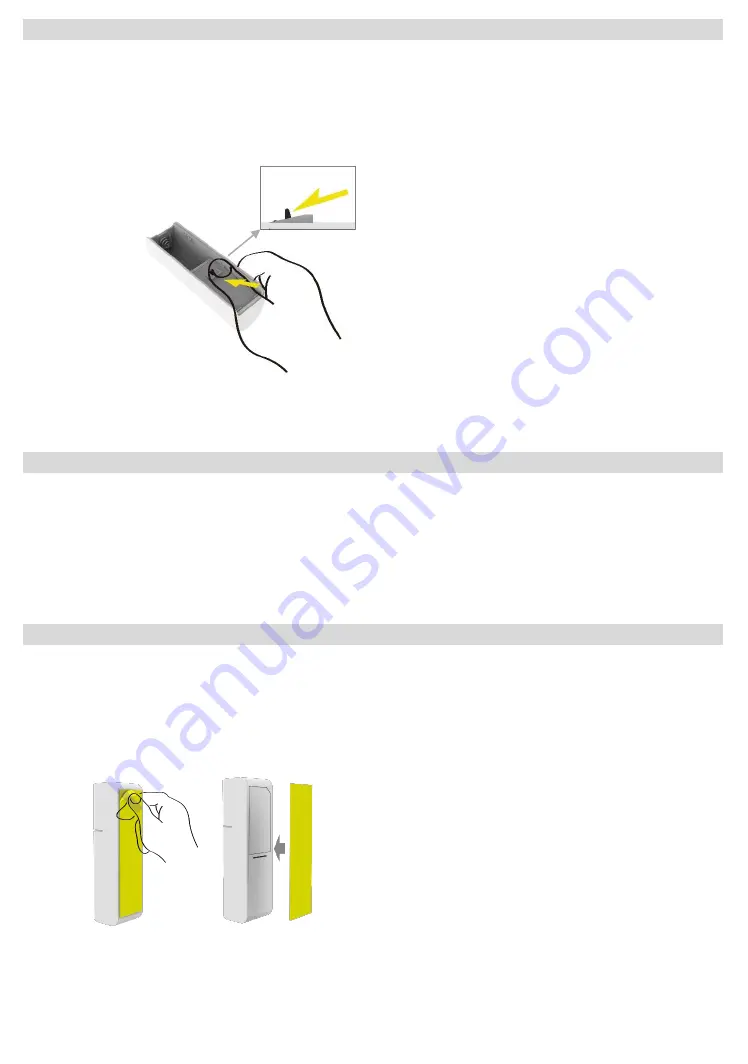
Remove device rear cover and pressing the tamper button
three times
within 2 seconds, green LED indicator
should go “On” 0.5 second and enter exclusion mode. (Figure 4).
2.
If remove (exclusion) successful, go auto Adding procedure.
3.
Node ID has been remove.
1.
Pressing the tamper button
four times
within 2 seconds (Figure 4) and do not release the tamper button in the
4
th
pressed, and the LED will turn ON.
2.
After over 3 seconds the Green LED indicator will turn OFF, then go auto Adding procedure.
3.
IDs are excluded and all settings will reset to factory default.
4.
Device begin auto Adding (Inclusion) mode.
Note: Use this procedure only in the event that the primary controller is lost.
1.
Please make sure that the sensor and magnet is located less than 0.7 inch from each other. For optimal
performance, it is highly recommended to install the Door/Window sensor on the fixed frame and the magnet
on the moving part of the door/window. Place the sensor near the top of the door that close to the opening
edge of the door. This is the mounting location for the sensor.
2.
Use the provided double-sided tape on the sensor. Attach the sensor to the door. Press firmly and hold in place
for a few seconds (Figure 5). Secure it with silicone if needed.
3.
Use provided double-sided tape on the magnet. Make sure the alignment of both sensor and magnet alignment
mark are facing each other (Figure 6). Press firmly and hold in place for a few seconds. Secure it with
silicone if needed.
Remove (Exclusion) Sensor
Inclusion Sensor
Installation
Installation
Inclusion Sensor
Installation
Pressing the tamper button
Figure 4
Factory Default Reset
Installation
Figure 5
Adhesive application surface: Acrylic, Glass
Aluminum and Stainless steel
…etc.