14
General Options
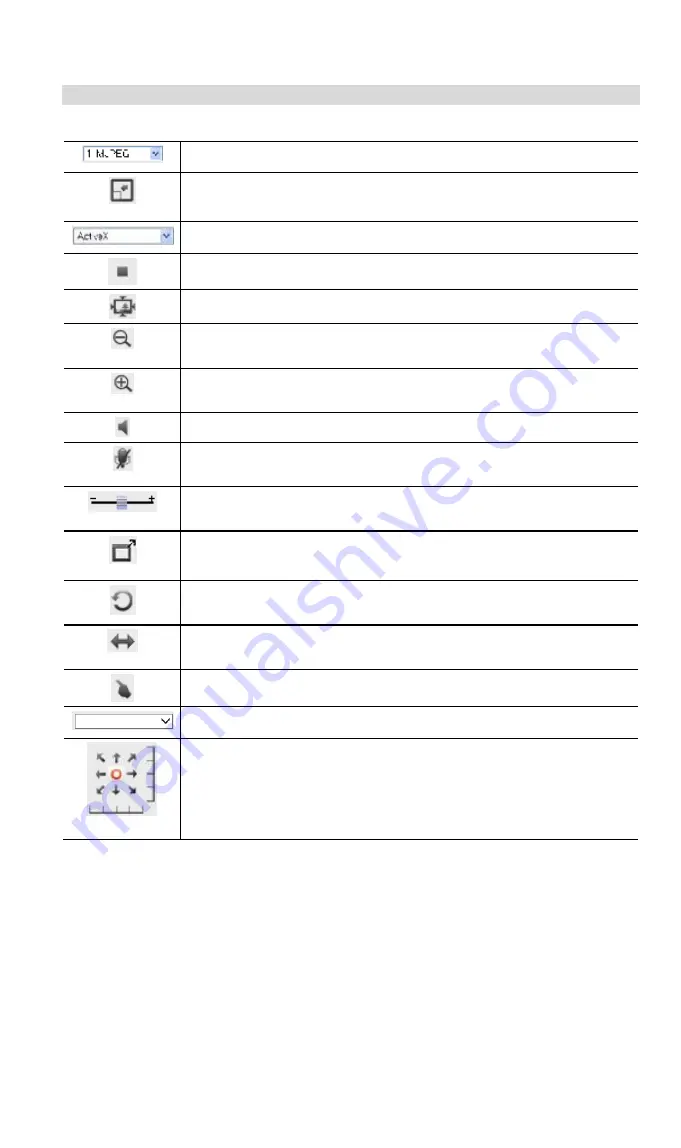
These options are always available, regardless of the type of camera you are connected to.
Streaming.
Use this drop-down list to select the desired streaming.
Full Size.
When using high-resolution mode (1280*720), click this
button to see the full size of the image.
Select the desired option from the drop-down list.
Use this icon to start/stop viewing.
Use this icon to make the image back to original size.
Zoom Out.
A digital zoom out feature is available. To zoom out the
window, click this icon.
Zoom In.
A digital zoom in feature is available. To zoom in the
window, click this icon.
Speaker On/Off.
Use this button to turn the PC's speaker on or off.
Audio Upload On/Off.
Use this button to toggle the microphone on or
off.
Volume.
If Speaker or Microphone is enabled, use this slider to adjust
the volume.
Full Screen Display.
Click this button to see the full screen of the
image.
Camera Patrol.
Move through the Preset positions in the sequence
defined by the Camera Administrator.
Camera Auto Pan.
Click this to have the camera moved from left to
right automatically.
Direct P/T.
Use this to move the camera to the Pan/Tilt position directly.
Preset Points.
Select the desired Preset points.
Move Control.
Use this to move the camera to the desired position.
There may a short delay after clicking the desired icon. You should wait
a couple of seconds rather than click again.
Or you can drag the vertical or horizontal slider bar to have quicker
movement of the Network Camera to the desired position.


