©
2011
Sensidyne,
LP
Gilian
GilAir®
Plus
–
Personal
Air
Sampling
Pump
–
Quick
‐
Start
Guide
Page
3
Set
Flow
Rate
1.
From
the
Main
Menu
,
select
Flow
Set
using
the
NAV
keys.
2.
Press
the
INC/DEC
keys
to
set
desired
flow
rate,
then
press
the
POWER/ENTER
key
to
enter
the
desired
flow
rate.
Note:
Flow
range
select
must
be
in
Lo
if
the
flow
is
less
than
450
cc/min
and
in
Hi
for
rates
from
450
to
5000
cc/min.
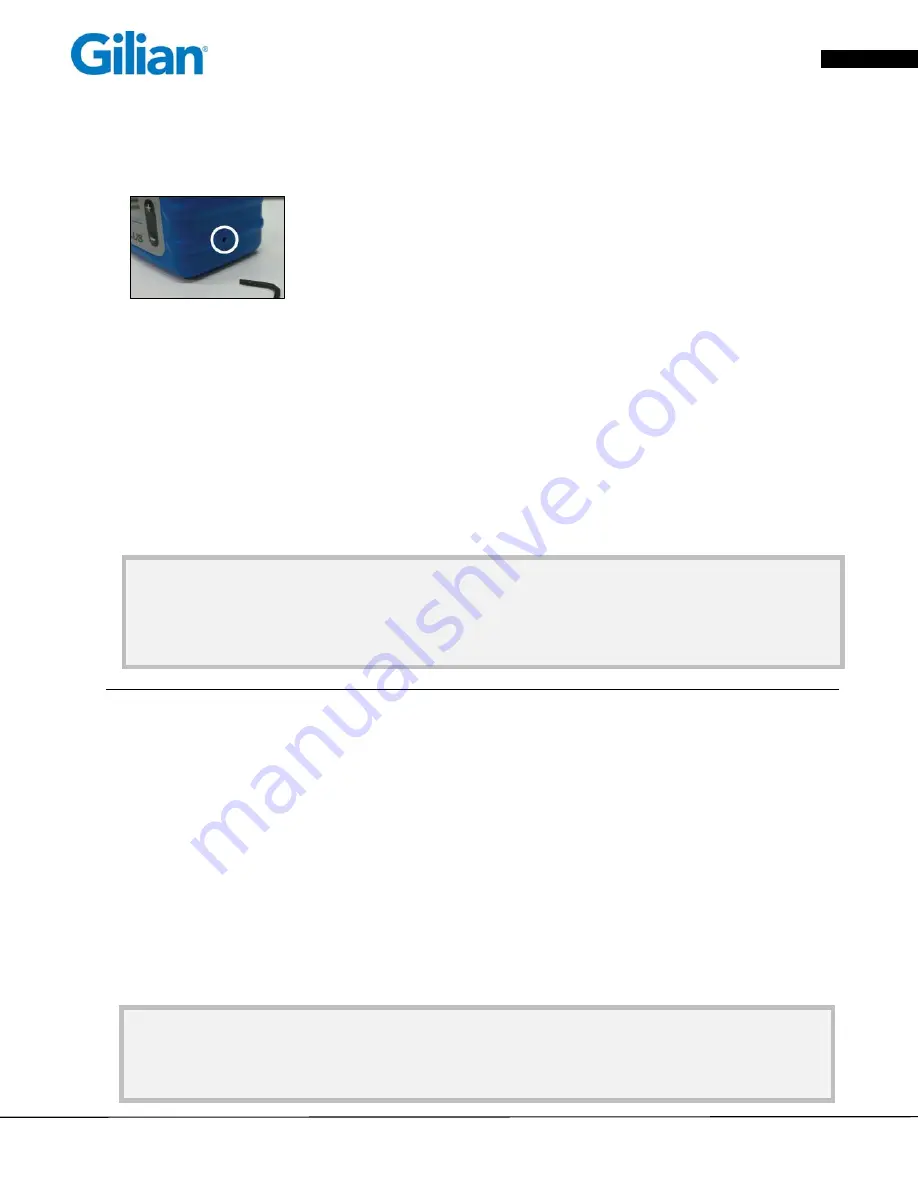
The
flow
range
select
is
on
the
right
side
of
the
case
and
can
be
switched
between
Lo
and
Hi
with
a
2mm
(5/64")
hex
wrench
supplied
with
the
pump.
Indication
of
Lo
or
Hi
selection
displays
in
the
middle
of
the
lower
display
status
line.
Flow
Calibration
1.
Connect
the
pump
to
an
air
flow
calibrator
per
the
calibrator
manufacturers’
recommendations.
A
representative
sample
media
must
be
connected
at
the
inlet
to
the
pump
to
establish
proper
load
conditions.
A
calibration
panel
may
be
substituted
for
the
sample
media,
set
for
a
pressure
drop
of
4
inches
of
water.
2.
While
pump
displays
the
Main
Menu
use
the
NAV
keys
to
select
Calibrate,
then
Press
the
POWER/ENTER
key.
3.
Display
shows
the
set
flow
rate
and
the
pump
begins
to
run
in
the
calibration
mode.
4.
Use
the
INC/DEC
keys
to
adjust
the
flow
rate
displayed
on
the
pump
until
matching
the
flow
rate
measured
by
the
calibration
device.
5.
Press
the
POWER/ENTER
key
to
set
calibration.
6.
Press
ESC
key
to
return
to
Main
Menu
.
Field
Calibration
Note:
Display
calibration
procedures
above
make
internal
pump
adjustments
and
improve
the
accuracy
of
the
flow
display.
This
does
not
replace
field
calibration
as
described
by
OSHA
and
NIOSH.
Conduct
flow
verification
using
a
Primary
Calibrator
prior
to
each
field
sample.
Field
calibration
procedures
are
referenced
in
the
NIOSH
Manual
of
Analytical
Methods
at
www.cdc.gov/niosh
and
the
OSHA
Technical
Manual
at
www.osha.gov.
Starting
the
Sample
Run
1.
With
pump
displaying
the
Main
Menu
use
the
NAV
keys
to
select
Run.
2.
Press
the
POWER/ENTER
key.
Note:
Before
it
enters
the
Run
mode,
the
pump
may
go
into
a
self
‐
calibration
mode
for
7
‐
10
seconds.
During
this
interval,
"Sensor
Calibration"
displays.
Stopping
the
Sample
Run
1.
From
any
display,
press
POWER/ENTER
.
2.
The
Pause/Stop
Menu
will
appear
in
the
upper
left
corner
of
the
display.
3.
Select
Stop
and
press
POWER/ENTER
to
stop
the
sample.
Retrieving
Data
1.
From
the
Main
Menu
,
using
the
NAV
keys
select
Review
.
2.
Press
POWER/ENTER
.
3.
Use
the
NAV
keys
to
select
among
the
last
sixteen
events.
Note:
Total
Run
Time
and
Total
Volume
Sampled
do
not
reset
during
Pause
.
However,
Stop
will
end
the
sampling
event
and
the
data
will
clear
at
the
next
sampling
event.
Data
displays
until
the
next
event
starts.
Select
Review
to
retrieve
previous
sampling
data.
See
Retrieving
the
Data
(above).


