Using the SKM 9000
80 |
Digital 9000
“Name” – Entering a name
Via the “
Name
” menu item, you can enter a freely selectable name for the
radio microphone. The name can consist of up to 6 characters from the fol-
lowing character set:
“Gain” – Adjusting the input gain
Via the “
Gain
” menu item, you can adjust the input gain in 3 dB steps.
“Low cut” – Setting the low-cut filter
Via the “
Low cut
” menu item, you can set the low-cut filter.
Settings: “
80 Hz
”, “
100 Hz
”, “
120 Hz
”.
“RF mode” - Adjusting the transmission mode
The “
RF mode
” menu item allows you to adjust the transmission mode.
Settings: “
HD
”, “
LR
”.
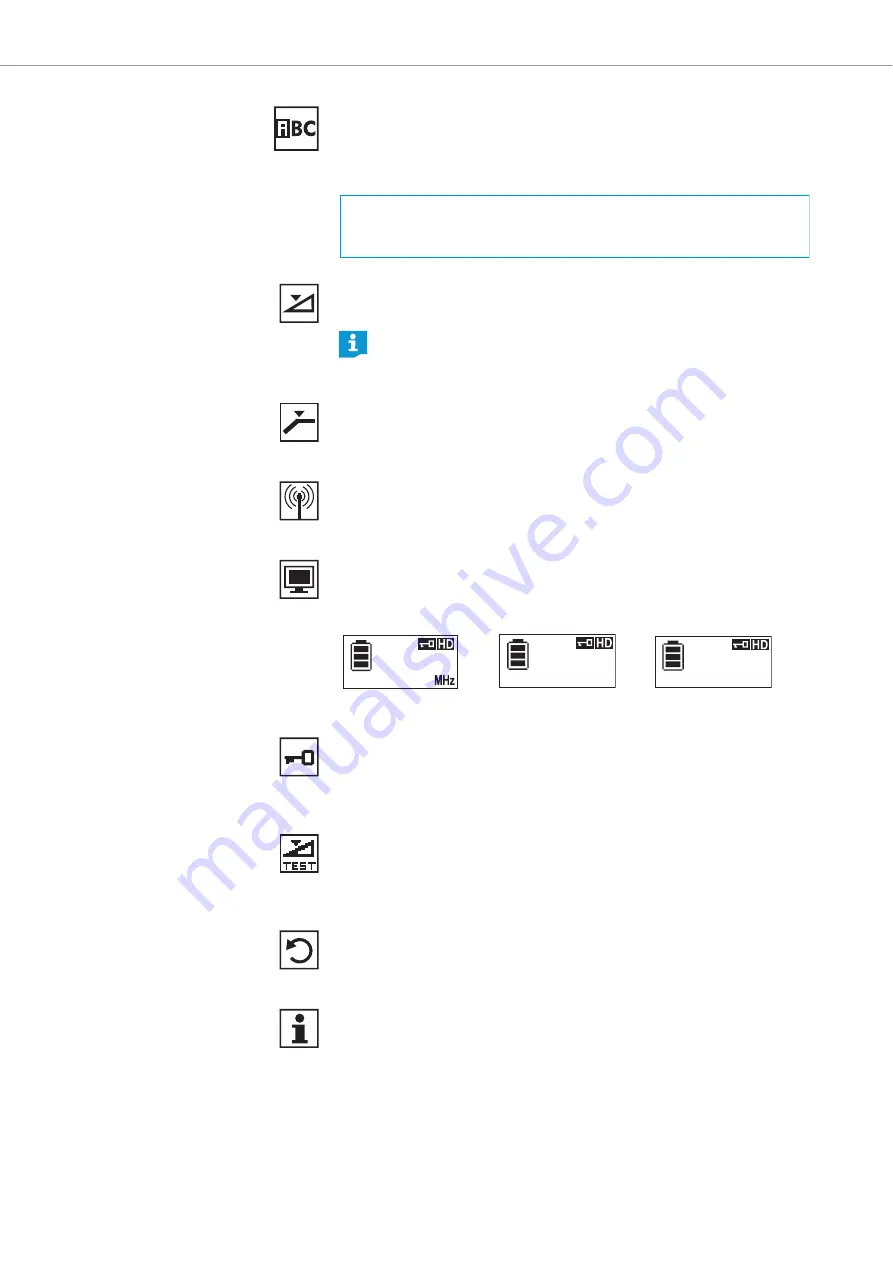
“Display” – Selecting a standard display
The “
Display
” menu item allows you to select one out of 3 standard
displays.
“Lock” – Activating/deactivating the lock mode
Via the “
Lock
” menu item, you can activate or deactivate the lock mode.
For more information on how to activate or deactivate the lock mode, refer
to page 77.
“Test tone” – Activating the 1 kHz test tone
Via the “
Test tone
” menu item, you can activate a 1 kHz test tone. This test
tone is transmitted instead of the input signal. You can use this function
for level matching your system or for the walk test.
“Reset” – Resetting the factory default settings
Via the “
Reset
” menu item, you can reset the radio microphone to its fac-
tory default settings.
“Information” – Displaying the firmware version and frequency
range
Via the “
Information
” menu item, you can display the firmware version
and the transmitter’s frequency range.
`+` `,` `-` `|` `/` `0` `1` `2` `3` `4` `5` `6` `7` `8` `9` `*` `;` `<` `=` `>`
`space` `#` `A` `B` `C` `D` `E` `F` `G` `H` `I` `J` `K` `L` `M` `N` `O` `P`
`Q` `R` `S` `T` `U` `V` `W` `X` `Y` `Z`
The radio microphone automatically detects the type of microphone
head being used and changes the adjustment range of the “
Gain
”
menu item accordingly.
“
Frequency
”
“
Preset
”
“
Name
”
3:59
480.000
480.000MHz
3:59
U
3:59
GUITAR


