


30
ENTERTAINMENT
Using the Features via USB Port
1.
Switch off the TV before connecting any USB
storage device.
2.
Connect your USB storage device to the USB
port of your TV.
3.
Press the button at the top of the TV or the
button on the remote control to turn on
your TV and your USB storage device.
4.
Press the
SOURCE
button at the top of the
TV or the
SOURCE
button on the remote
control to display the Source List. Use the
buttons to select USB and then press the
OK
button to confirm.
Attention:
•
Some versions of portable hard disk may
require more power than the TV USB socket
can provide. To ensure correct operation
please use power adapter for that device.
•
If a USB hub is used make sure its mains
adapter is connected to the mains supply as
the total current consumption exceed 500mA.
•
The maximum supported storage space of the
hard disk is 1 TB.
•
The file system only support FAT32 format.
•
If you want to store the video streaming of
a DTV programme, the transfer rate of the
USB storage device must not be less than
5MB/s, otherwise the picture and sound of
the programme will be affected and a warning
statement will be shown on the screen. If this
happens, please upgrade your USB storage
device.
•
The TV screen will be blank temporarily as
it will take time to start up and stabilize the
connected hard disk. This is normal and the
starting time may vary depending on the brand
and the memory size of the connected hard
disk.
•
Disconnect the USB storage device if it is not
in use.
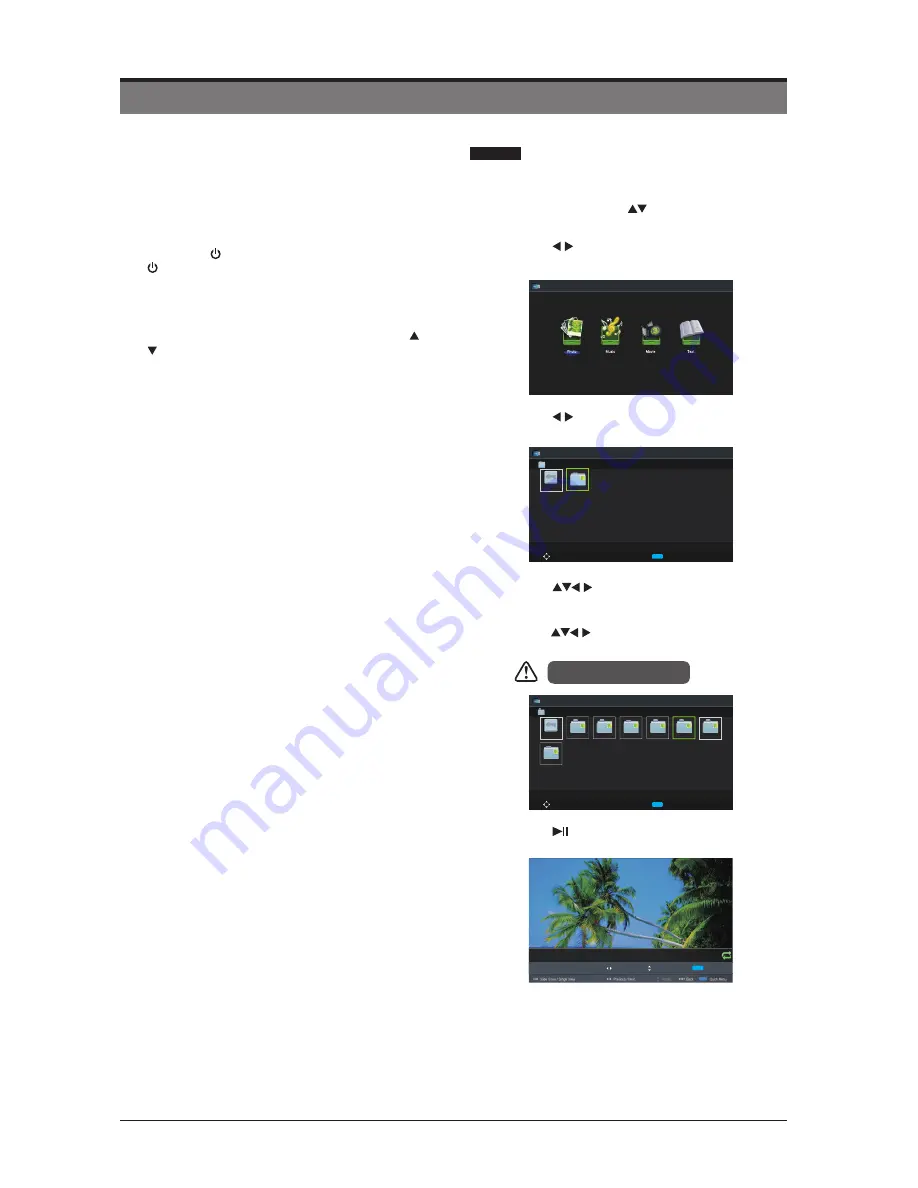
Viewing Photo
1.
Press the
SOURCE
button at the top of the
TV or the
SOURCE
button on the remote
control then press the
buttons to select
the USB mode and then press the
OK
button.
2.
Press the buttons to select
Photo
and
then press the
OK
button.
3.
Press the buttons to select your storage
device and then press the
OK
button.
4.
Press the
buttons to navigate in the
picture folder and then press the
OK
button.
If you want to select the specified photos,
press the
buttons to select the picture
file and then press the
OK
button.
5.
Press the or
OK
button to view.
File format supported: JPG.
OK PLAY / PAUSE
Previous / Next Rotate EXI
T
Back Quick Men
u
Date 2010-05-13 20:28:40
Resolution 1366x768
6/12
5_1366x768x24b.jpg
Photo
Move
CH + / - Change Page OK Selete Quic
k
Menu EXI
T Return
USB1
. . .
USB1
Photo
Photo
Move
CH + / - Change Page OK Selete Qui
ck
Menu EXI
T Return
AITEMP
MY PVR
Movie
Music
Photo
Text
1/
1
LE32G
. . .
USB1/Phot
o


