


Quick Installation Guide
[en]
9
Getting Started: SEH UTN Manager
After the SEH UTN Manager is started, the network has to be scanned for
connected UTN servers. The network range to be scanned is freely definable;
the search can be effected via multicast and/or in definable IP ranges. The
default setting is multicast search in the local network segment.
All UTN servers found and their connected USB devices are displayed in the
'network list'. To use devices connected to the UTN server, you have to add the
UTN server to the 'selection list'. The devices shown in the selection list can then
be administrated and the connected USB devices can be used.
This chapter describes how to do these steps.
• ’Starting the SEH UTN Manager’
• ’Finding the UTN Server and Assigning an IP Address’
• ’Adding the UTN Server to the Selection List’
• ’Connecting the USB Device to the Client’
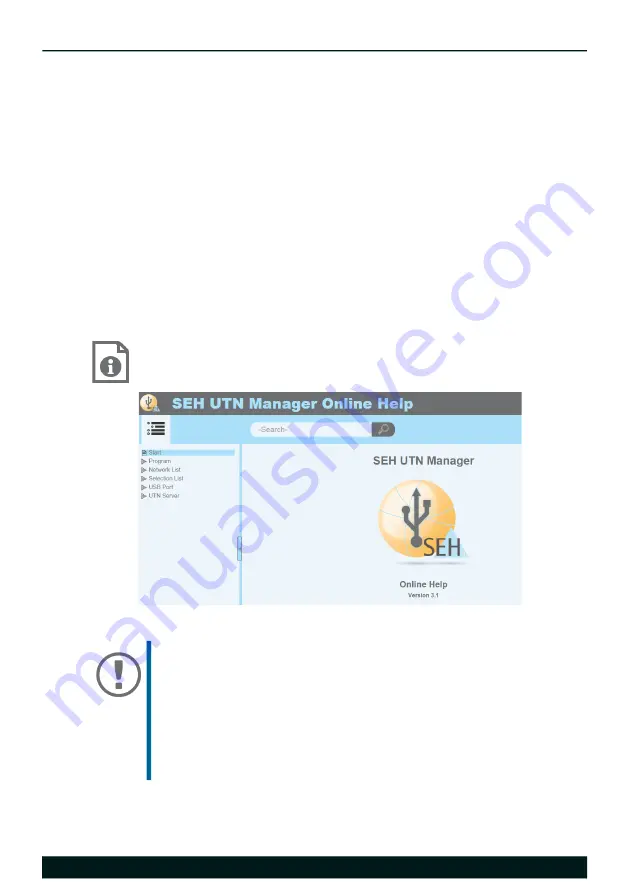
Detailed information on how to use the SEH UTN Manager can
be found in the Online Help. To start the online help, go to the
menu bar and select
Help
–
Online Help
.
Important:
Client and UTN server communicate via the UTN port
9200. This port must not be blocked by a security
software (firewall). If necessary, you can change the port
number and use a secure UTN SSL port. A detailed
description can be found in the USB Deviceserver User
Manual. The documentation is available via the link on
page 8.


