background image


The default administrative accounts and passwords are: 

USERNAME:


admin 

PASSWORD:


admin 

USERNAME:

 888888 

PASSWORD:

 888888 

Using the mouse, enter the  NVR’s password, then click 

ENTER

 or the 

keyboard icon to close the input keyboard, then click 

OK

 to log in and 

enter the menu. 

It is strongly recommended to change the default passwords after 
logging in the first time. 

(see page 8)


NOTE:

 If the password has been changed and forgotten or misplaced 

it will be virtually impossible for the user to log into the NVR. In this 
case please contact SecurityTronix at: 

(610)429-1821,

 Press 

3

 for Tech Support, then press 

2

In  order  to  use  the  password  reset  service  you  must  provide 
credentials to verify that you are the authorized installer of this NVR. 
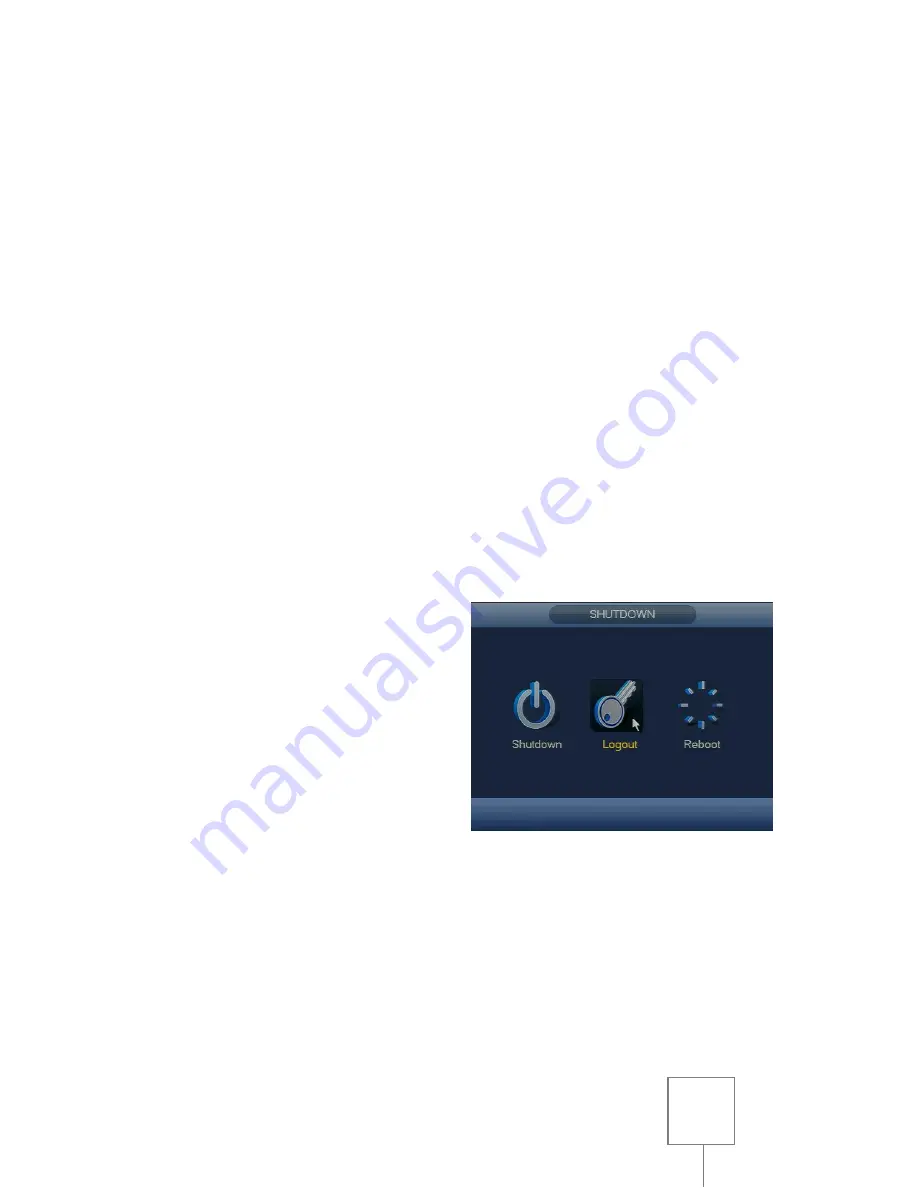
LOGGING OUT 

It  is  recommended  to  log  out  of 
the  NVR  each  time  after  use,  to 
prevent  unauthorized  access  or 
tampering. 

From  the 

MAIN  MENU

,  select 

SHUTDOWN

  in  the 

OPERATION


section, then select 

LOGOUT

 from 

the popup window. 


Summary of Contents for ST-NVR16-EZ

Page 1: ...QUICK START GUIDE www nacebrands com www securitytronix com EZ Connect Series Professional Network Video Recorders With Built In PoE ST NVR4 8 16 EZ ...

Page 2: ...NECTIONS pg02 POWERING ON and SHUTTING DOWN pg03 FIRST STARTUP pg04 LOGGING IN and LOGGING OUT pg05 General Settings SETTING DATE AND TIME pg07 CHANGING PASSWORDS pg08 Record Settings CAMERA DISCOVERY pg10 SCHEDULING RECORDING pg11 CHANGING RECORD MODES pg13 Motion Detection SETTING UP MOTION DETECTION pg15 ADJUSTING MOTION REGIONS pg16 Playback and Backup PLAYING BACK VIDEO pg17 BACKING UP VIDEO ...

Page 3: ...he appropriate cable 4 Connect the included USB mouse to the rear USB port of the NVR 5 in the image above 5 Connect the supplied power cable from the 3 prong receptacle on the back of the NVR to a suitable electrical outlet 110 120VAC 6 in the image above 6 The 4 port version of this NVR requires connecting both the 12V DC NVR power supply as well as the built in PoE 48VDC power supply NOTE An un...

Page 4: ...ator light will be displayed on the NVR s front panel It is normal for the NVR to sound a beep during startup SHUTTING DOWN In the event that the NVR needs to be powered down perform one of the following to ensure a safe shutdown 1 Enter the MAIN MENU see page 5 select SHUTDOWN in the OPERATION section then select SHUTDOWN from the popup window 2 Alternately press and hold the button on the front ...

Page 5: ...shutting down the NVR may corrupt and or damage the hard drive Only remove power from the NVR if it will not respond to a shutdown through the methods described FIRST STARTUP The first time that your NVR is powered on it will perform necessary functions such as properly formatting an unformatted hard drive for recording and it will display the STARTUP WIZARD It is recommended that you follow the s...

Page 6: ...u do not wish for the STARTUP WIZARD to be displayed click to uncheck the STARTUP option before proceeding You can also find this option in the GENERAL SETTINGS see page 7 LOGGING IN and LOGGING OUT LOGGING INTO THE NVR MENU From the NVR s main screen right click the mouse and choose MAIN MENU from the drop down menu The SYSTEM LOGIN window will appear to prompt you to log in Click in the PASSWORD...

Page 7: ...TE If the password has been changed and forgotten or misplaced it will be virtually impossible for the user to log into the NVR In this case please contact SecurityTronix at 610 429 1821 Press 3 for Tech Support then press 2 In order to use the password reset service you must provide credentials to verify that you are the authorized installer of this NVR LOGGING OUT It is recommended to log out of...

Page 8: ...der SYSTEM TIME click the Year to bring up the input keyboard then enter the current year using the mouse When you are finished click outside the input keyboard to close it Repeat these steps to set the current Month and Day The same process is used to enter the current Hour Minutes and Seconds This is necessary if video is ever offered up as evidence against a corresponding cell phone tied to a g...

Page 9: ...the dates Daylight Savings Time becomes active in your area using the method described to set Date and Time above When finished click APPLY and then SAVE at the bottom of the screen This will return you to the MAIN MENU CHANGING PASSWORDS From the MAIN MENU select SYSTEM in the SETUP section then select ACCOUNT from the options on the left side of the window Click the pencil icon in the MODIFY col...

Page 10: ... close the input keyboard Next click in the NEW PASSWORD field and enter a new password using your mouse then click ENTER or the keyboard icon It is recommended to use a combination of letters and numbers that is hard to guess easy to remember and has not been previously used Once your new password has been created and entered click in the CONFIRM PASSWORD field and enter your new password once mo...

Page 11: ...the authorized installer of this NVR Record Settings CAMERA DISCOVERY NOTE For this feature explanation it is presumed that the NVR is already properly connected to the network and there are no data restrictions in place preventing the NVR from communicating both across the network and outside to the WAN When connecting Securitytronix 4 th Gen IP cameras directly to the NVR s built in PoE Switch S...

Page 12: ...rocess Cameras detected on the network will begin to populate Form here you can either double click the Camera IP to add it to the NVR channel lineup or you can click on the button to modify that IP camera s network settings Once the device is attached you will see a green dot on the STATUS field Repeat these steps until all IP cameras have been added to your NVR When all desired changes have been...

Page 13: ...r MD for motion detection recording only then click and drag with the mouse to highlight the periods you want to add in the 24 hour timeline for each day If multiple days will share the same schedule you may edit those days all at once by clicking on the checkboxes to the left of the window If all days will share the same schedule then select ALL A chain link icon will appear to confirm that the s...

Page 14: ...xample in the schedule pictured below Sunday will record constantly Monday through Friday will record only motion between 9AM and 5PM while recording constantly all other hours and Saturday will not record at all When all desired changes have been made click APPLY at the bottom of the screen and then click OK to return to the MAIN MENU CHANGING RECORD MODES From the MAIN MENU select STORAGE in the...

Page 15: ...mode SCHEDULE will set cameras to record per a user defined schedule see page MANUAL will set cameras to record constantly regardless of any recording schedule STOP will prevent recording altogether Cameras will still be visible on the main screen or on remote live stream but no data will be recorded When all desired changes have been made click APPLY at the bottom of the screen and then click OK ...

Page 16: ...to edit using the CHANNEL drop down menu then click the ENABLE checkbox Next click the RECORD CHANNEL checkbox then click the corresponding RECORD CHANNEL number to highlight it ie if editing channel 1 select RECORD CHANNEL 1 Repeat this process for all channels on which motion detection is desired When finished click APPLY at the bottom of the screen and then click SAVE to return to the MAIN MENU...

Page 17: ... motion detection by left clicking on grid squares to remove the region color in any areas of the camera s view where motion detection is not desired Note motion will not be detected by any portion of the screen not covered by one of the region colors red yellow blue or green By moving the mouse to the top of the screen the REGION tabs and sensitivity settings can be accessed Each color correspond...

Page 18: ...cur to trigger motion by left clicking on the THRESHOLD slider and moving left or right as needed with the left side being the lowest amount of time instant and the right side being the longest amount of time When all desired changes have been made right click to return to the DETECT menu click APPLY at the bottom of the screen and then click OK to return to the MAIN MENU Playback and Backup PLAYI...

Page 19: ...een single camera and multiple camera views by clicking the tabs above the channel drop down menu If there is recorded data on the selected day portions of the timeline at the bottom of the screen will appear colored according to the type of recordings present Press the button to begin playback of the earliest recording in the timeline Note if viewing multiple channels it is recommended to click t...

Page 20: ...n left click and drag the BEGINNING TIME INDICATOR 2 in the image above until it is approximately at the beginning of the video clip you want to save Next left click and drag the ENDING TIME INDICATOR 3 in the image above until it is approximately at the end of the video clip Note moving the BEGINNING TIME INDICATOR and ENDING TIME INDICATOR is not necessary if you wish to backup larger portions o...

Page 21: ... next screen will show any files currently on your USB thumb drive and allow you to select a folder to save the video clip s to if desired Click the START button at the bottom of the screen to begin saving the selected video clips to the inserted USB drive A progress bar will be displayed with an approximate time remaining When finished a notification window will pop up to notify that backup is no...

Page 22: ...the NVR see page 3 Once the NVR has rebooted navigate back to the NETWORK MENU write down the newly assigned IP ADDRESS then change MODE to STATIC to prevent accidental readdressing of the NVR When finished click APPLY and then SAVE to return to the MAIN MENU If the local network uses static addressing instead of DHCP contact the network administrator for IP addressing information then enter the p...

Page 23: ...de on your mobile device As long as your DVR NVR is connected to the internet it can be accessed from anywhere in the world using a mobile device or CMS software In traditional DVR systems you need to forward ports and set up a DDNS account but this is not nessesary any more When you enable P2P on your device it connects to a centralized server and registers it s IP address in a reverse DVR to ser...

Page 24: ...lick the ENABLE checkbox If you are still disconnected after restarting please check to make sure your network is connected to the internet and checked that you have a good network cable from the NVR to your switch router MOBILE APPS There are two different mobile apps depending on whether you are using an Android Device or an iPhone For Android devices use gDMSS Lite For iPhones use iDMSS Lite ...

Page 25: ... have installed the DMSS Lite app open it and you will see the Live Preview screen below To add your NVR you need to go to our Device Manager Click on the icon at the top left of the app and select Device Manager ...

Page 26: ... screen below You now have two options to connect to your NVR You can scan the QR CODE by pressing the SCAN QR CODE button on the app and scanning the code found on your NVR under NETWORK P2P see image on pg 4 or you can input the NVR s SERIAL NUMBER SN found under INFO VERSION See image below ...

Page 27: ...ck to the Live Preview screen and click on the icon at the top right of the app to enter the Device List menu Select the check box next to your newly created device name and then click on Start Live Preview at the bottom of the app At this point you should see your live video streams If you cannot connect to your cameras please see Troubleshooting on pg 27 SOFTWARE Once you have installed the Smar...

Page 28: ...NAME can be whatever you d like to use Just input the NVR s SN see the image on pg 7 Finally enter your USERNAME and PASSWORD Default is admin admin Once you have everything filled out the INPUT INFO section click on ADD From the SmartPSS HOMEPAGE click on the LIVEVIEW button ...

Page 29: ...to the highest quality video or SUB STREAM to connect to the lower quality video At this point you should see your live video streams If you cannot connect to your cameras please see Troubleshooting below Troubleshooting For further assistance and troubleshooting please contact SecurityTronix tech support at 610 429 1821 press 3 for Tech Support then press 2 for CCTV Version 1 0 5 13 2015 2015 Nor...

Reviews: