1
Step 4
Adjust the base of the camera to the proper position and then pull the cable through the cable
exit hole drilled earlier in the ceiling or wall. Line up the TOP direction of the device to the
installation template and then line up the three screw holes in the camera’s base to the three
plastic anchors in the mounting surface. Install the three self-tapping screws firmly into the
anchors.
Step 5
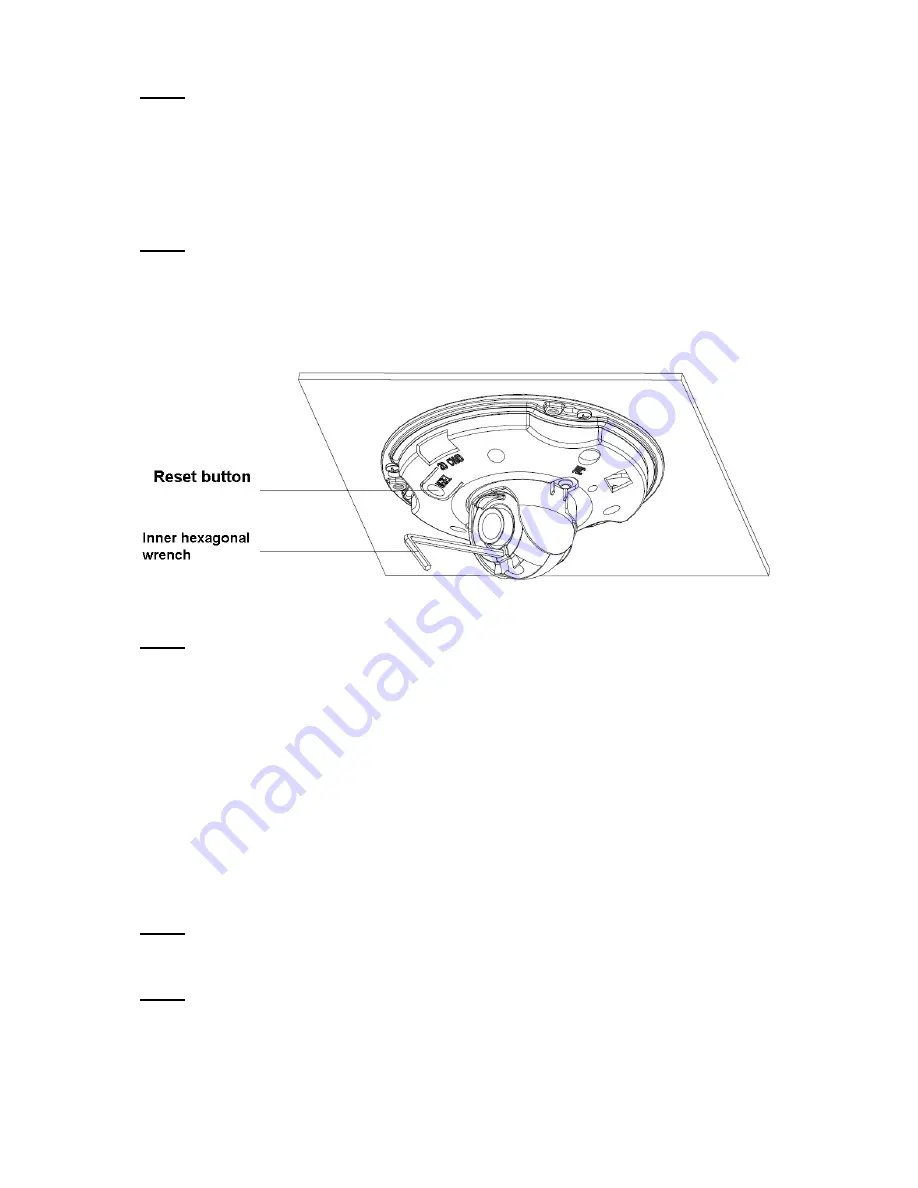
Use the ‘inner hexagonal wrench’ to loosen the two screws which secure the lens rotation
structure
NOTE:
Do not remove these screws. Only loosen them enough for the camera
housing to move freely to the correct viewing position.
Adjust the lens to the required
viewing angle, then secure the screws of the lens rotation structure. The lens adjust angle
ranges are: flip (0°~+75°), video pan rotation (-15°~+15°), video rotation angle (-15°~+15°).
Figure 2-2 Device installation illustration 2
Step 6
Line up the dome camera cover to the cable exits and reinstall the cover. Use the inner
hexagonal wrench to secure the three inner hexagonal screws firmly.
Note:
If you want to restore the factory default settings of the camera, remove the outer cover and
press and hold the Reset button in Figure 2-2 with power on for 10s.
2.2 Micro SD Card Installation
Note:
This model of camera does not support Micro SD card functions.
Step 1
Open the camera by referring to step 1 in chapter 2.1 device installation.
Step 2
Find the “Micro SD CARD” mark on the inner cover, adjust the direction of Micro SD card and
complete installation according to the location shown in the Figure 3-3.


