9
3.1 Installing the HDD
3.1.1 Installing Hard Drive into Cartridge
3.1.1.1. Please find the drawer Key in the extra tray.
3.1.1.2. Push the front cover of the HDD cartridge back and use the miniature key
provided and insert into the keyhole, turning the key counter-clockwise.
3.1.1.3. Pull the handle outwards to remove the tray from the cartridge frame.
3.1.1.4. Push the open button to slide the top cover backwards and remove.
3.1.1.5. Insert the DC power cable and IDE cable into the HDD.
3.1.1.6. Position the HDD into the carrier body and secure the HDD with the four
#6/32 screws provided.
3.1.1.7. Slide the top cover back over the tray by sliding it forward to secure.
3.1.1.8. Slide the tray back into the cartridge frame.
3.1.2 Function Settings and Operation
3.1.2.1 Power Indicator and HDD Access indicator
When power is on, the indicator will display the following:
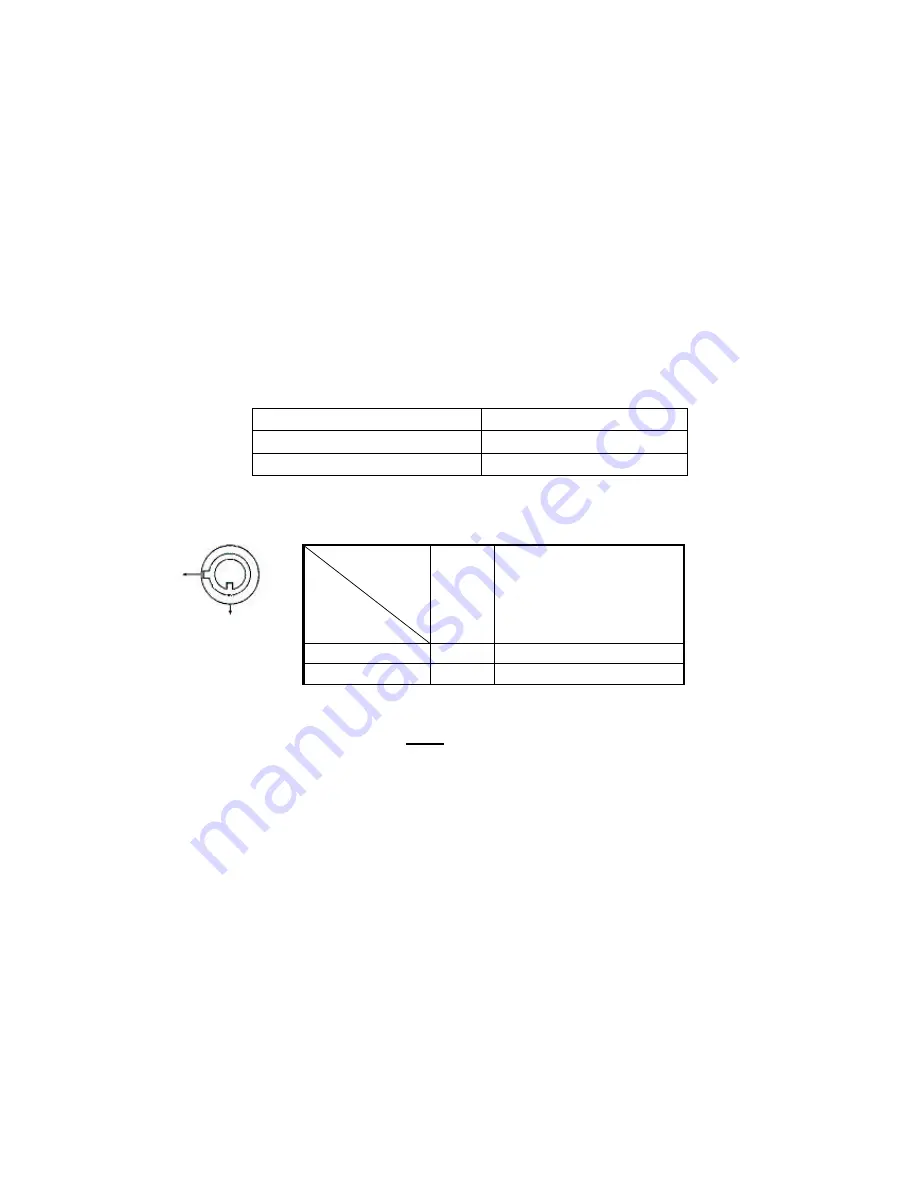
3.1.3 Key lock
Status
Segment
Power
status
Security status
A
ON
Locked (Irremovable)
B
OFF
Unlocked (Removable)
You must turn the key lock to the “ A ” position before powering on the unit. Otherwise
the HDD will not operate properly.
3.1.4 If two HDDs are to be used, one should be selected as “ Master “ and the other should be
selected as “ Slave”. Otherwise, please set the jumpers on the two HDDs to Cable Select
(CS).
3.1.1.1 This product does not support hot swap. Please power off the unit first before
removing the HDD.
3.1.1.2 The models and manufactures of the HDDs listed in the back of this manual have
been tested and proven compatible with this unit.
3.1.1.3
Please remove the hard disk drive ONLY after the power has been shut off for
more than 60 seconds. This will protect and extend the operating life of the hard disk
drive.
3.1.1.4 Master or Slave HDD should be determined before installing new HDD(s).
3.1.1.5 Cable Select (CS) is recommended for the jumper on the back of the new HDD.
Item
Indicator
Power Indicator
Green LED
HDD Access Indicator
Yellow LED
A
B


