37
Time Lapse Video Cassette Recorder
36
Time Lapse Video Cassette Recorder
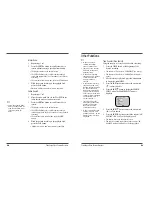
• ALARM OUTPUT Terminal
This terminal is to connect to any external source, such
as a siren, etc.
1) “High”
When an alarm input is received and the unit is
recording, the output becomes DC 5V. Once the
alarm recording is over, the output returns to 0V.
2) “Low”
When an alarm input is received and the unit is
recording, the output becomes 0V. Once the alarm
recording is over, the output returns to DC 5V.
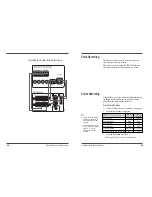
• PANIC INPUT Terminal
1) “N/C” (Normally CLOSED Switch Circuit)
If the input becomes DC 5V for 500 msec or more,
the VCR starts panic recording.
2) “N/O” (Normally OPEN Switch Circuit)
If the input becomes 0V for 500 msec or more, the
VCR starts panic recording.
• TAPE END(OUT) Terminal
1) “High”
During recording, when the end of the tape is
reached, the output becomes DC 5V.
2) “Low”
During recording, when the end of the tape is
reached, the output becomes DC 0V.
• ALARM INPUT Terminal
This terminal is to connect PIR sensors, door contacts or
any type of motion detector.
1) “N/C” (Normally CLOSED Switch Circuit)
If the input becomes DC 5V for 500 msec or more,
the VCR starts alarm recording.
2) “N/O” (Normally OPEN Switch Circuit)
If the input becomes 0V for 500 msec or more, the
VCR starts alarm recording.
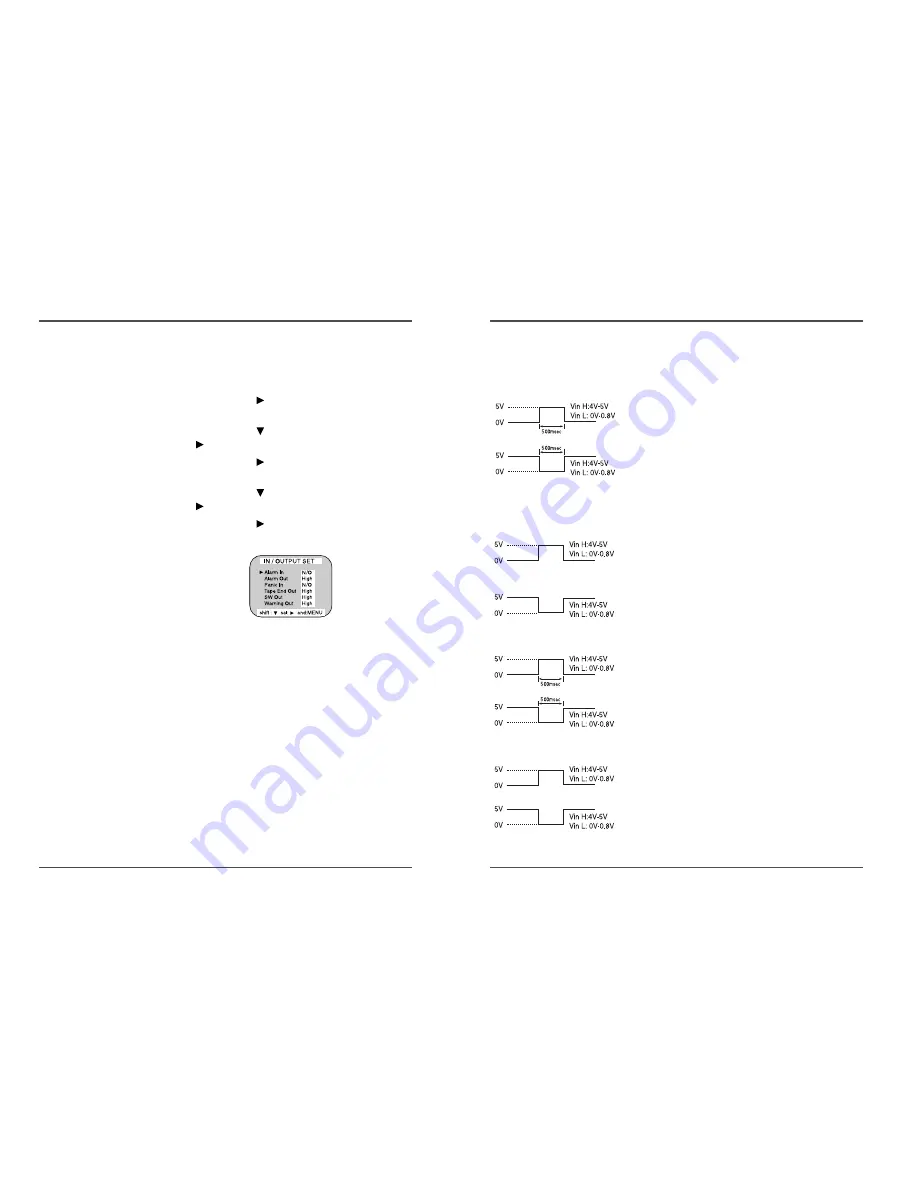
Setting In/Out terminals
1
Press the MENU button to display the initial MENU.
2
Press the SHIFT
button to display the VCR MODE
SET menu.
3
Press the SHIFT
button to move the arrow mark
(
) to In/Output Set.
4
Press the SHIFT
button to display the IN/OUTPUT
SET menu.
5
Press the SHIFT
button to move the arrow mark
(
) for the desired item.
6
Press the SHIFT
button to set “N/C” or “N/O”,
“High” or “Low”.
7
Press the MENU button three times, the normal
screen is displayed.


