Seat Sound System 1.X Owner'S Manual Download Page 3

2

General information

General information

This manual contains information, recommendations, advice and warnings
related to your radio system. The other publications in the vehicle documen-
tation contain further information of which you should be aware for your
own safety and for that of your passengers.

Ensure that the onboard documentation is kept in the vehicle at all times.
This is especially important when lending or selling the vehicle to another
person.

This manual contains a description of the 

equipment

 supplied with the ve-

hicle at the time of press. Some of the units described herein will not be
available until a later date or is only available in certain markets.

The 

illustrations

 are intended as a general guide and may vary from the

equipment fitted in your vehicle in some details.

The 

screen colour

 and the colour of the information displayed on it can vary

according to vehicle model.

Directions and positions

 of components (e.g. right, left, front, rear) are al-

ways relative to the direction of travel of the vehicle unless otherwise sta-
ted.

The equipment marked with an asterisk

 is only supplied as standard in

certain model versions, is optional in others or is only available in spe-
cific countries.
Registered trademarks are marked 

®

. The absence of this symbol does

not constitute a waiver of the rights concerning any proprietary name.
The section is continued on the following page.
Marks the 

end of a section

.

®

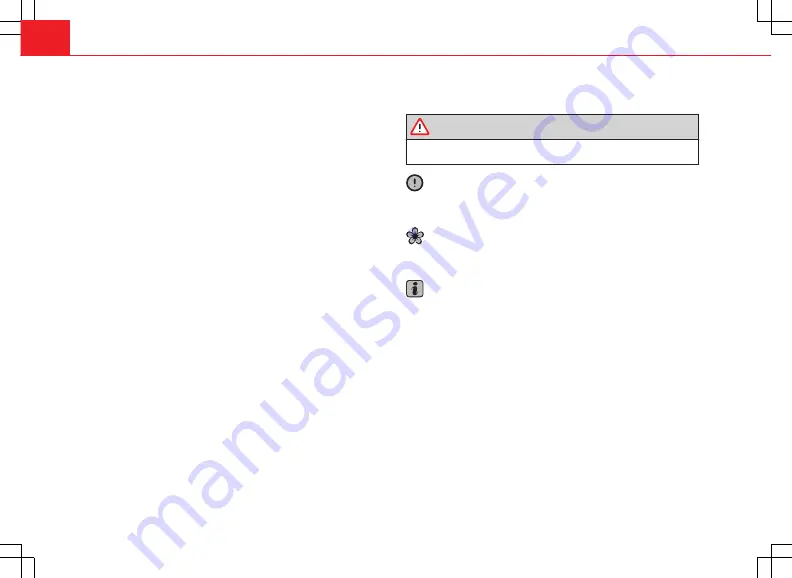
WARNING

Texts preceded by this symbol contain information on safety. They warn
you about possible dangers of accident or injury.

CAUTION

Texts with this symbol draw your attention to potential sources of damage
to your vehicle.

For the sake of the environment

Texts preceded by this symbol contain relevant information concerning envi-
ronmental protection.

Note

Texts preceded by this symbol contain additional information.

Summary of Contents for Sound System 1.X

Page 1: ...SEAT SOUND SYSTEM 1 X Owner s manual 6J0012720CA Ingl s 6J0012720CA 10 13...

Page 2: ...rview 6 General information on operating the unit 8 Audio mode 10 Radio mode 10 Digital radio mode DAB DAB and DMB Audio 15 TP Traffic Program function 17 Media mode 19 Connecting a portable navigator...

Page 3: ...e colour of the information displayed on it can vary according to vehicle model Directions and positions of components e g right left front rear are al ways relative to the direction of travel of the...

Page 4: ...the dif ferent radio functions High audio volume may represent a danger to you and to others Adjust the volume in a way that you can distinguish surrounding noise for example horns and sirens etc Radi...

Page 5: ...dio source or connect a new audio source Reduce the base volume before switching audio source or connecting a new audio source WARNING The connection introduction or removal of data media whilst drivi...

Page 6: ...ign objects attached to a data me dium and by irregularly shaped data media Only use standard 12 cm CDs Do not stick stickers or other items to the data medium Stickers may peel off and damage the dri...

Page 7: ...6 Introduction Unit overview Fig 1 Overview of the control elements Sound System 1 0 Sound System 1 1 Sound System 1 2 and Sound System 1 3...

Page 8: ...on manually and press to start or stop the scan function Scan page 10 Media mode Turn to tune to a station manually and press to start or stop the scan function Scan page 19 Setting menus turn page 29...

Page 9: ...kers Note In some vehicles equipped with a parking distance warning system the vol ume of the audio source is automatically lowered when reverse gear is en gaged Rotary push knobs unit and function bu...

Page 10: ...l continues to fall RADIO OFF is briefly displayed and the radio will switch itself off automatically Anti theft code If the battery has been disconnected from the vehicle the vehicle must be started...

Page 11: ...he windows may affect reception on vehicles with a window aerial RADIO main menu Fig 2 RADIO main menu Selecting a memory level and fre quency band Fig 3 RADIO main menu Station buttons displayed Pres...

Page 12: ...e alternative frequencies AF are deactivated page 30 Changing frequency band The currently selected frequency band FM or AM is indicated above the station display In Radio mode briefly press the RADIO...

Page 13: ...ostore AS and Setup SET Starting and stopping the scan function Select the desired frequency band in Radio mode page 10 Press the setting knob Fig 1 8 to start the scan function OR press the MENU unit...

Page 14: ...hange to the next memory level for example FM2 Fig 7 OR Activate the frequency band and the memory level by pressing a function button DA1 DA2 FM2 AM1 or AM2 After roughly five seconds the station but...

Page 15: ...ment to the six station buttons in the currently selected memory level Select the frequency band and memory level Press the MENU Fig 1 unit button to open the additional functions Fig 10 Press and hol...

Page 16: ...pears above the station s name varies depending on the country for example FU E but not the channel s international ID for example 11B Fig 12 Automatic station tracking DAB programme tracking Some DAB...

Page 17: ...11B The station update ends when UPDATE is no longer shown in the top line of the display The radio will be muted during station update Tuning to a channel station manually in DAB mode Fig 13 DAB Mode...

Page 18: ...button to switch the TP function off again When in areas without TP coverage the TP function is activated and search is begun for a traffic news station ending in the failure to find a station The se...

Page 19: ...the duration of the traffic announcement The Media mode will be paused and the volume will be adjusted to the preset level During the announcement the announcement volume can be adjusted with the vol...

Page 20: ...0 links Max 32 playlists on a data medium File names no longer than 64 characters Folder structures with a maximum of ten levels Max 120 folders and max 500 files on a data medium AUX External audio s...

Page 21: ...ata medium are sorted by name in alpha betic or numeric order Subfolders are treated like folders and numbered in accordance with the se quence on the CD The illustration Fig 15 shows a typical MP3 CD...

Page 22: ...nitially displayed in the bottom line of the screen Fig 16 After roughly five seconds they are replaced by the additional functions for playback and if available track search and the display of the se...

Page 23: ...CD will be returned Check for damage TEMPERATURE The CD drive is overheated No more CDs can be inserted Another audio source will be played SERVICE The CD drive has a mechanical anomaly Visit the spec...

Page 24: ...files various types of track information can be dis played Changing the display of track information The type of track information selected is displayed on the left in the top line of the screen e g T...

Page 25: ...ent track Goes to the next track use Effect Briefly pressing twice in quick succession Goes to the start of the previous track Pressing and holding Fast reverse Fast forward You can also change track...

Page 26: ...ack currently playing The scan function can also be started and stopped by pressing the setting button Fig 1 8 Different playback modes Depending on the media source that is being played CD DA or MP3...

Page 27: ...or the external audio source first lower the base volume on the radio system page 9 If the sound from the external audio source is too quiet if possible in crease the output volume on the external aud...

Page 28: ...Repeatedly press the MEDIA unit button until NAV is selected PORTABLE will be shown on the screen of the radio system Playback will continue from the last track played when the corresponding media sou...

Page 29: ...oice activation is activated on the portable navigator at the same time the voice instructions are given through the vehicle speakers Changing the volume Media phone call and traffic announcements via...

Page 30: ...tton SOUND Fig 1 3 or Press one of the function buttons at the bottom to open the correspond ing settings menu Fig 26 Turn the setting knob Fig 1 8 or press one of the arrow buttons 10 to alter the cu...

Page 31: ...d at the level of the setting as it changes Overview of available settings menus Depending on the country the unit and the vehicle equipment there may be differences in the variety of settings Functio...

Page 32: ...worse this function automatically search es for another channel in DAB with the same station DTP b DAB TP This setting only affects the DAb station currently selected if the TP function has already b...

Page 33: ...Amplitude modulation medium wave MW AUX IN AUX IN multimedia socket auxiliary input EON Supports other networks Enhanced Other Networks FM Frequency modulation very high frequency VHF RDS Radio data...

Page 34: ...ource AUX 25 F FM 32 Function buttons virtual buttons 8 Function settings 30 G General overview 6 I INFO traffic announcement 18 Interference from a mobile telephone 8 Introduction 4 L LOW BATTERY 9 M...

Page 35: ...ogram 17 Requirements for CDs 19 Rotary push knobs 8 S Safety notes 4 SCAN See Scan function 12 Scan function SCN Media mode 25 Radio mode 12 SCN see SCAN 32 SCN Scan 25 Settings 29 SETUP 30 SOUND 29...

Page 36: ...k All texts illustrations and standards in this handbook are based on the status of information at the time of printing Except for error or omission the information included in the current handbook is...

Page 37: ...SEAT SOUND SYSTEM 1 X Owner s manual 6J0012720CA Ingl s 6J0012720CA 10 13...

Reviews: