Getting Started >>
21
Initial Settings
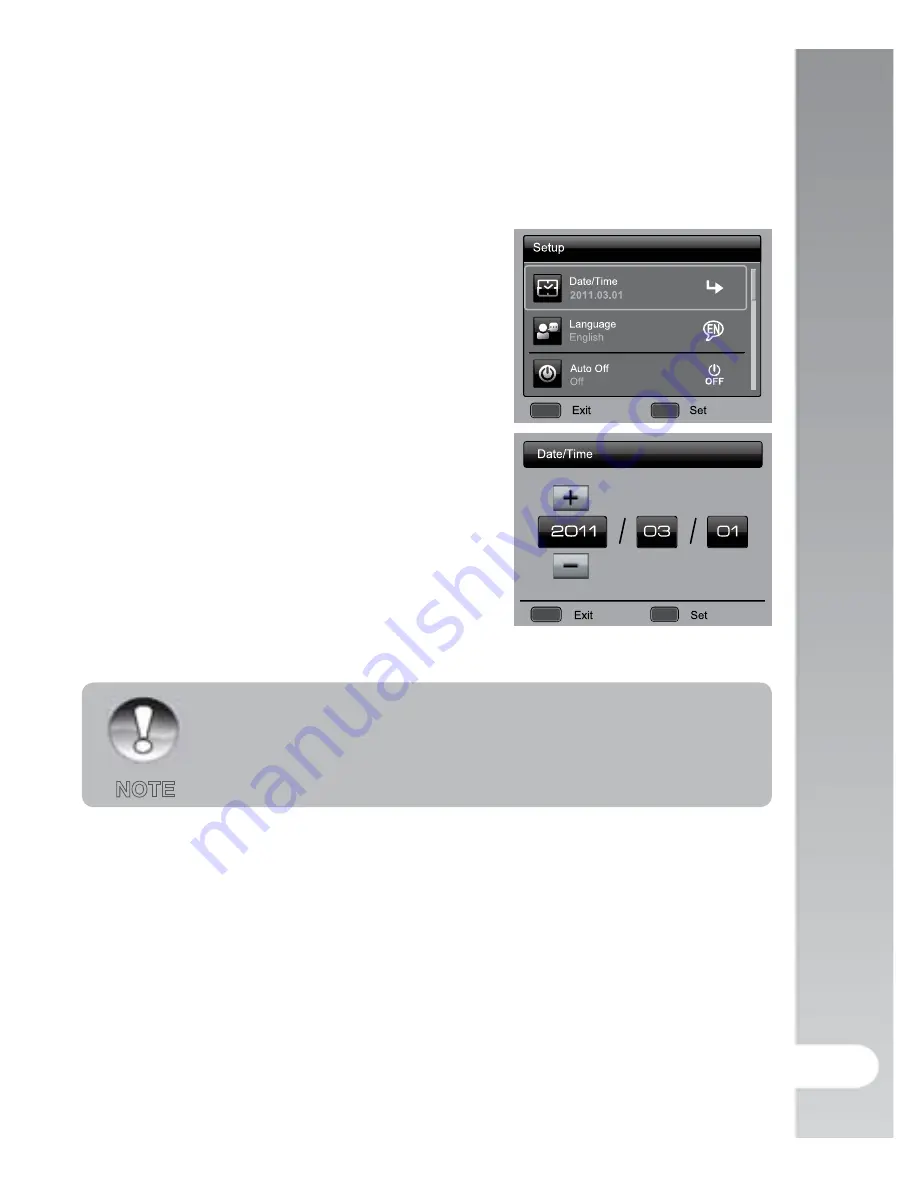
Setting the Date and Time
Follow these steps to set the correct date and time.
1. Press the
MENU
button.
2. Select [Setup] with the
p
/
q
buttons
and press the
SET
button.
3. Select [Date/Time] with the
p
/
q
buttons, and press the
SET
button.
4. Select the date format with the
p
/
q
buttons, and press the
SET
button.
5. Select the item’s field with the
t
/
u
buttons and adjust the value for the date
and time with the
p
/
q
buttons.
The time is displayed in 24-hour
format.
After confirming all settings are
correct, press the
SET
button.
6. To exit from the [Setup] menu, press the
MENU
button.
MENU
SET
;
;
MENU
SET
;
;
When you are in the Date/Time menu, you can also use the zoom lever
to increase or decrease the time/date values and use the Shutter button
to set the value.
NOTE


