background image

13.6. 

Maintenance of the  equipment.

 The equipment should be routinely maintained according to these instructions. All access and service  


covers should be closed and properly fastened when the welding equipment is in operation. The welding equipment should not be  


modified in any way except for those changes and adjustments covered in these instructions. In particular, the spark gaps of any arc    


striking and stabilising devices should be adjusted and maintained according to the instructions.

13.7. 

Cables.

 The welding/cutting cables should be kept as short as possible and should be positioned close together, running at or close 


to the floor level.

13.8. 

Equipotential bonding.

 Bonding of all metallic components in the welding/cutting installation and adjacent to it should be considered.   


However, metallic components bonded to the workpiece will increase the risk that the operator could receive a shock by touching these  


metallic components and the electrode at the same time. The operator should be insulated from all such bonded metallic components. 

13.9. 

Earthing of the workpiece.

 Where the workpiece is not bonded to earth for electrical safety, nor connected to earth because of its size  


and position, e.g. ship’s hull or building steelwork, a connection bonding the workpiece to earth may reduce emissions in some, but not  


all instances. Care should be taken to prevent the earthing of the workpiece increasing the risk of injury to others or damage to other    


electrical equipment. Where necessary, the connection of the workpiece to earth should be made by a direct connection to the  


workpiece, but in some countries where direct connection is not permitted, the bonding should be achieved by a suitable capacitance,   


selected according to national regulations.

13.10. selective screening and shielding of other cables and equipment in the surrounding area may alleviate problems of interference.  


screening of the entire welding/cutting installation may be considered for special applications. 

MW80, MW125,  MW155     Issue No.1    04/05/10

Original Language Version

NOTE: It is our policy to continually improve products and as such we reserve the right to alter data, specifications and component parts without prior notice.

IMPORTANT: 

No liability is accepted for incorrect use of this product. 

WARRANTY: 

Guarantee is 12 months from purchase date, proof of which will be required for any claim. 

INFORMATION:

 For a copy of our latest catalogue and promotions call us on 01284 757525 and leave your full name and address, including postcode.

01284 757500

01284 703534

[email protected]

Sole UK Distributor, Sealey Group, 

Kempson Way, suffolk Business Park

Bury st. edmunds, suffolk,

IP32 7AR

www.sealey.co.uk

Web

email

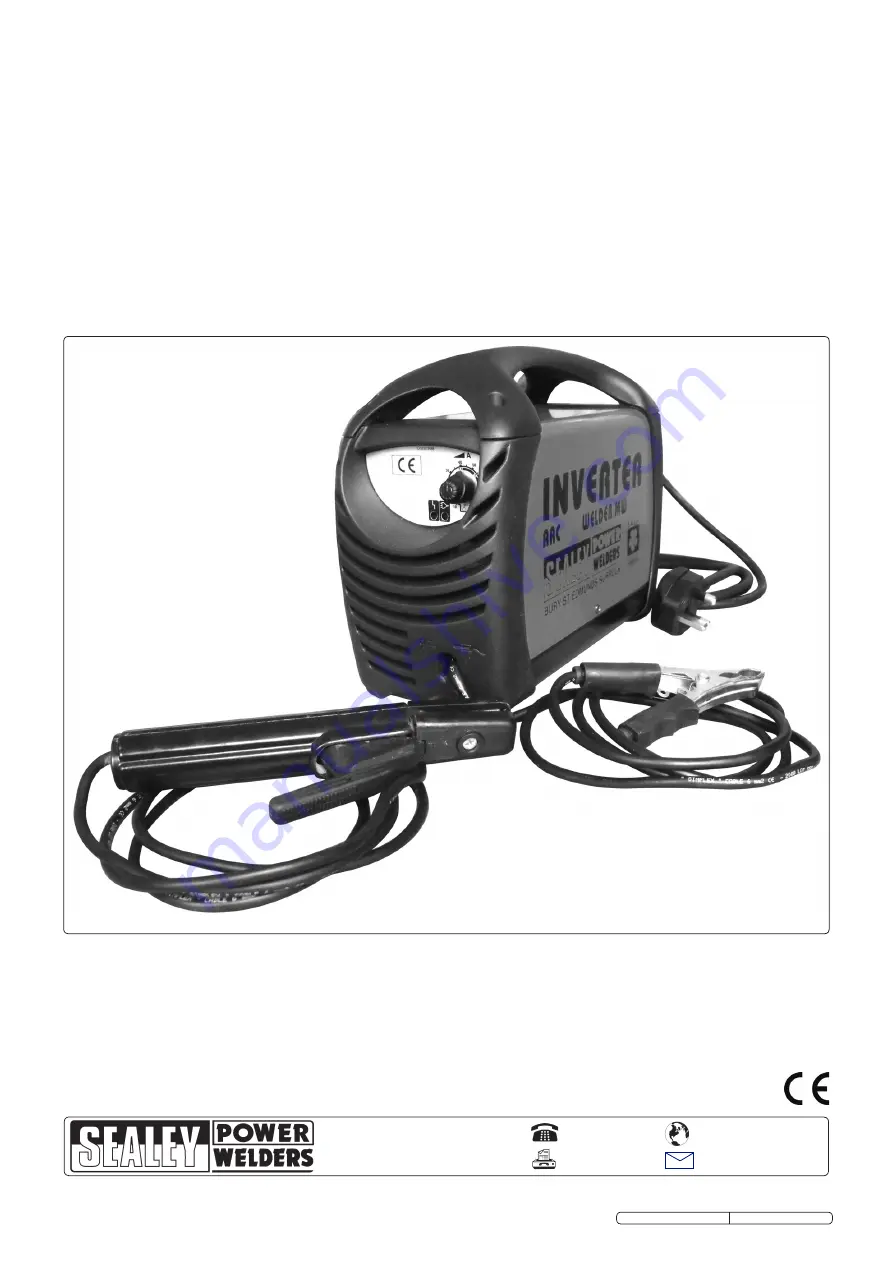
MW80

Summary of Contents for MW80

Page 1: ...MW80 MW125 MW155 Models INSTRUCTIONS FOR INVERTERS MW80 MW125 MW155 Issue No 1 04 05 10 mw125 mw155 ...

Page 2: ...e to the live terminal L c Connect the BLUE neutral wire to the neutral terminal N d After wiring check that there are no bare wires that all wires have been correctly connected that the cable outer insulation extends beyond the cable restraint and that the restraint is tight Double insulated products which are always marked with this symbol are fitted with live brown and neutral blue wires only T...

Page 3: ... 2 description 3 specification 3 1 SPECIFICATION Model No MW80 MW125 MW155 Peak Power 80A 125A 150A Output 10 80A 10 130A 10 150A Duty Cycle 45 80A 60 125A 60 150A Electrode Capacity Ø1 6 2 5mm Ø1 6 3 2mm Ø1 6 4 0mm Max Absorbed Power 2 3kW 3 5kW 4 1kW Mains Voltage 230V 1ph 230V 1ph 230V 1ph Insulation Class F F F Protection IP21 IP21 IP21 Weight 3 7kg 5 5kg 5 5kg ARC Accessory Kit YES 6mm YES 10...

Page 4: ...e into the back of the arm with the bare wire under the plate Tighten the clamp screw 5 1 3 Slide the black rubber sleeve back over the clamp arm 5 2 Electrode Holder See fig 4 B 5 2 1 Undo the handle retaining screw Pull the handle from the head and thread the free end of the cable through it as shown Remove the pre cut section of insulation from the cable end 5 2 2 Loosen the clamp screw on the ...

Page 5: ... before striking the arc 9 1 ARC WELDING 9 1 1 Strike the electrode tip on the workpiece as if you were striking a match WARNING DO NOT hit the electrode on the workpiece as this may damage the electrode 9 1 2 As soon as the arc is struck maintain a distance from the workpiece equal to the diameter of the electrode Keep this distance as constant as possible for the duration of the weld As you adva...

Page 6: ...it may or may not be earthed for safety reasons Changing the earthing arrangements should only be authorised by a person who is competent to assess whether the changes will increase the risk of injury e g by allowing parallel welding cutting circuit return paths which may damage the earth circuits of other equipment Further guidance is given in IEC 974 13 Arc Welding Equipment Installation and Use...

Page 7: ...ection bonding the workpiece to earth may reduce emissions in some but not all instances Care should be taken to prevent the earthing of the workpiece increasing the risk of injury to others or damage to other electrical equipment Where necessary the connection of the workpiece to earth should be made by a direct connection to the workpiece but in some countries where direct connection is not perm...

Reviews: