17
2
.
1
.
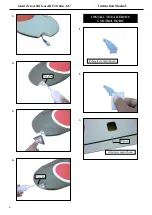
INSTALLING THE ENGINE SWITCH
Switch
Trim and cut
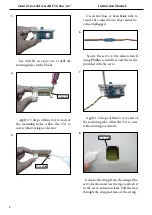
INSTALLING THE STOPPER
ASSEMBLY
Using a modeling knife, carefully cut
of the rear portion of one of the 3 nylon
tubes leaving 1/2” protruding from the
rear of the stopper. his will be the fuel
pick up tube.
Using a modeling knife, cut one length
of silicon fuel line. Connect one end of
the line to the weighted fuel pick up and
the other end to the nylon pick up tube.
1
.
Carefully bend the second nylon tube up at
a 45º angle. his tube is the vent tube.
Test it the stopper assembly into the tank.
It may be necessary to remove some of the
lashing around the tank opening using a
modeling knife. If lashing is present, make
sure none falls into the tank.
When satisied with the alignment of the
stopper assembly tighten the 3x20mm ma-
chine screw until the rubber stopper ex-
pands and seals the tank opening. Do not
overtighten the assembly as this could cause
the tank to split.
With the stopper assembly in place, the
weighted pick-up should rest away from the
rear of the tank and move freely inside the
tank. he top of the vent tube should rest just
below the top of the tank. It should not touch
the top of the tank.
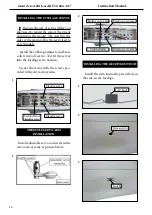
FUEL TANK INSTALLATION
1
.
Summary of Contents for SEA 334
Page 11: ...11 5 6 7 8 2 3 4 Epoxy 9 ...
Page 14: ...Giant Zero A6M Gas ARF 50 60cc 86 Instruction Manual 14 28 25 29 26 30 27 31 3x10mm ...
Page 15: ...15 1 1 2 3 4 2 WING ASSEMBLY ASEMBLE BOMB INTO THE WING 3 3x15mm ...
Page 21: ...21 22 19 23 21 25 20 24 Ignition Modude Pen 26 ...
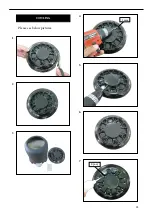
Page 23: ...23 COWLING Please see below pictures 1 4 5 6 7 2 3 3mm Epoxy ...
Page 30: ...Giant Zero A6M Gas ARF 50 60cc 86 Instruction Manual 30 2 6 3 7 4 8 5 9 Epoxy ...
Page 31: ...31 10 11 1 INSTALL RUDDER CONTROL HORN Epoxy 2 3 6 4 5 Epoxy Epoxy ...
Page 33: ...33 8 10 9 11 Epoxy 2 1 12 3 INSTALL ELEVATOR CONTROL HORN Epoxy ...
Page 35: ...35 4 1 2 ELEVATOR PUSHROD HORN INSTALLATION 3 1 2 3 INSTALL ELEVATOR CONTROL HORN ...
Page 41: ...41 3 4 5 6 Wing bolt 7 8 9 10 hen install wing guns on the wings ...


