If you need further information
about any step, please refer to the
User Guide located on the hard
drive. If you choose to sit and stare
at your new FreeAgent
™
Pro for a
while, that’s okay, too.
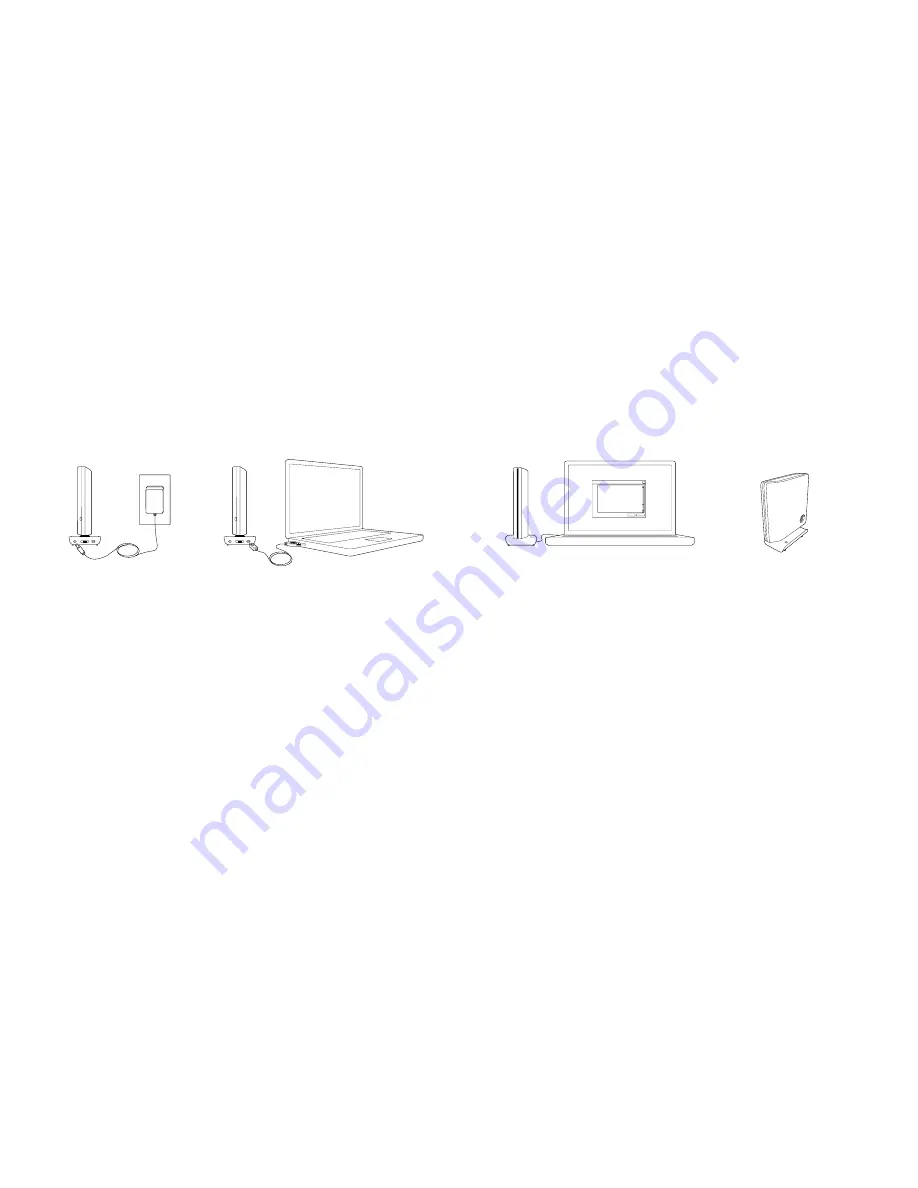
Step 1.
Take your FreeAgent Pro and cables
out of the box and plug in the
power adapter.
Step 2.
Connect the USB 2.0, eSATA,
or FireWire
®
400 (on select models)
cable from the FreeAgent Pro to
the corresponding port on your
computer. Wait about two minutes
for your computer to recognize your
FreeAgent drive.
Step 3.
Note: It is highly recommended that you copy
the current contents of the FreeAgent to your
computer before proceeding.
Install the FreeAgent Pro software
(to do this, you will need adminis-
trative privileges).
Note: Windows Vista users will see a User
Account Control window notifying you that
Launch.exe is trying to access your computer.
Click Continue.
Wait for the Windows dialogue
box to appear and follow the
on-screen instructions to install
the FreeAgent software.
Step 4.
After you’ve installed the
FreeAgent Tools and Memeo
AutoBackup software and have
restarted your computer, the
Memeo AutoBackup registration
window will open. Enter your
product key (located in the Quick
Start Guide table of contents).
Once the key is entered, you will
have full functionality of Memeo
AutoBackup.
Follow the on-screen instructions
to configure your backup and your
installation is complete.
Your FreeAgent Pro is now ready
to access, share, and back up
your content.
A note or two about
disconnecting.
To prevent data loss, click the
“Safely Remove Hardware” button
down in the system tray (by the
clock). Then disconnect the power
cord and interface cable.
Windows Installation
3
2


