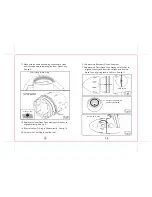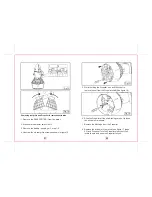
17. Make sure the seals and sealing surfaces are clean
and lubricated before replacing the Inner Nose Cone.
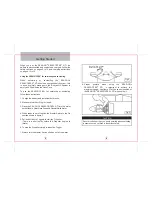
See fig.8
21. Replace the Buoyancy Control Chamber.
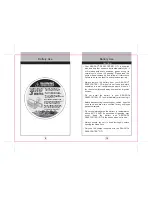
22. Replace the Outer Nose Cone making sure the key is
aligned correctly and insert the Latches and lock the
Nose Cone by giving them a half turn. See fig.11.
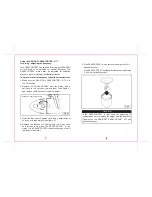
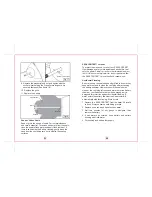
18. Replace the Inner Nose Cone making sure the key is
aligned correctly. See fig. 9.
19. Ensure the Vent O Ring is fitted correctly. See fig. 10.
20. Screw in the Vent Plug to seal the vent.
16
15
Fig.8
Ensure sealing surface is clean
Ensure the seals are
clean and lubricated
Seals
Close up view
of seals
Fig.9
Close up view
O Ring correctly fitted into
groove and lubricated
Fig.10
Rotate 180
o
to close
Fig.11

