STS11 Touchscreen Programmable Thermostat
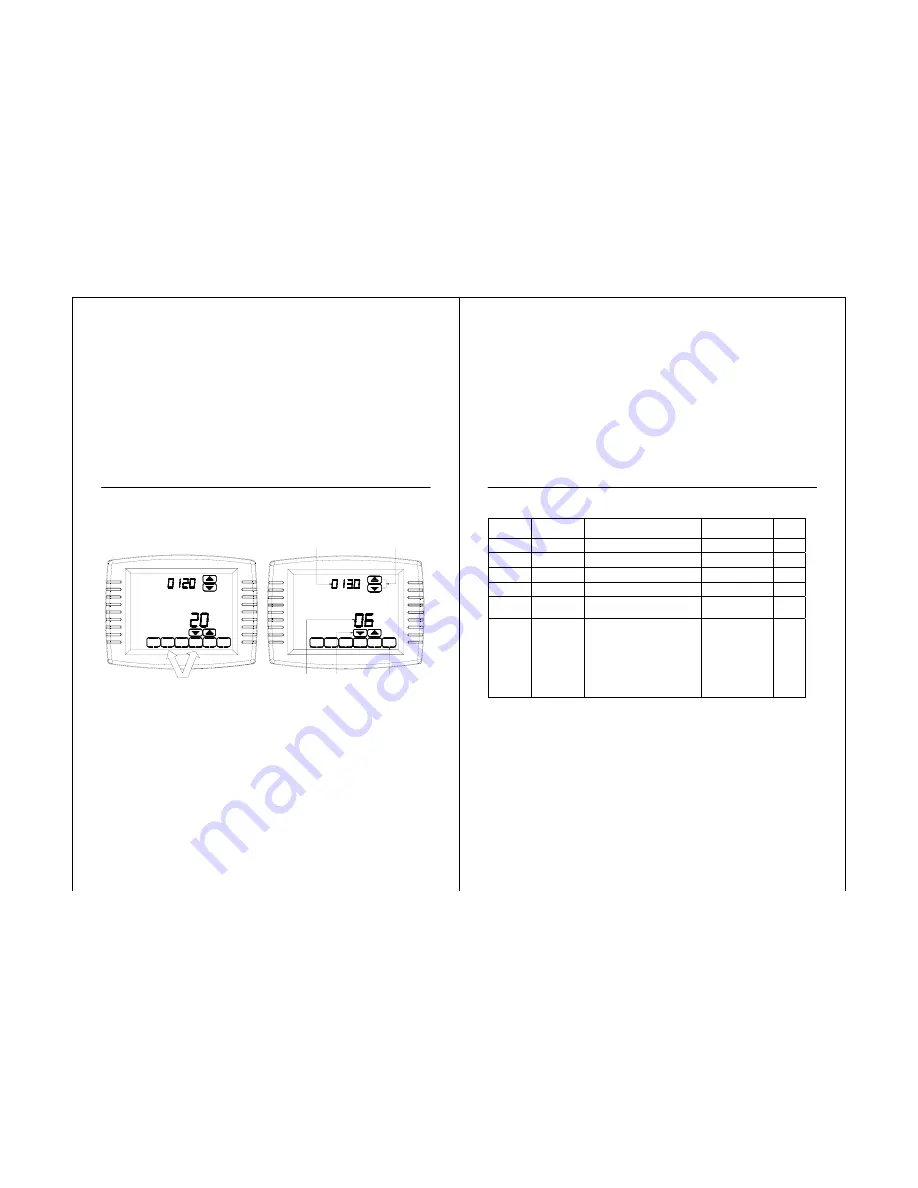
3. Release the two blank keys when the
screen on the thermostat matches the
screen below.
4. See screen below to review how the
thermostat keys are used during Installer
Setup. See Tables 3-5 for the Installer Setup
Numbers and Settings.
5. Press the DONE key to exit the Installer
Setup screen.
44
DONE
DONE
INSTALLER SETUP
NUMBER
ADVANCE TO
NEXT INSTALLER
SETUP
CURRENT
SETTING
CHANGE THE
CURRENT
SETTING
PRESS TO EXIT
INSTALLER SETUP
STS11 Touchscreen Programmable Thermostat
Table 3. Installer Setup Menu.
45
Installer
Setup
Number
Installer Setup
Name
Settings Notes
Initial
Setting
Record
0120
Date
(Year Upper)
Select first two digits of current calendar
year (20 for year 2001-2099)
It cannot be changed
0130
Date
(Year Lower)
Select last two digits of current calendar
year (08 for year 2008, etc)
2001 - 2099 available
0140 Date
(Month)
Select number that represents current
calendar month
0150 Date
(Day)
Select number that represents current
calendar date
0160
Schedule Options
0-nonprogrammable
4-7-day programmable
When it is changed, the
schedule must be
reprogrammed
0170
System Type
Selection
1-1 heat/1 cool conventional (factory
setting)
2-single-stage heat pump (no auxiliary heat)
3-heat only conventional (no fan) Also for
750mV.
4-heat only conventional (with fan)
5-heat only (power to open and power to
close zone valves or normally-open zone
valves)
6-cool only conventional
Available options and
defaults vary by
thermostat. System
selection automatically
modifies some default
settings and/or hides
other Installer Setup
options.
NOTE:
For easier installer setup, write the selected options in the "INITIAL SETTING RECORD" column.


