Balancing Your Payload
1. Preparation
To start balancing you’ll first need to balance
your camera on your gimbal just as you
normally do. It helps if you have your gimbal
on a mini tripod for this.
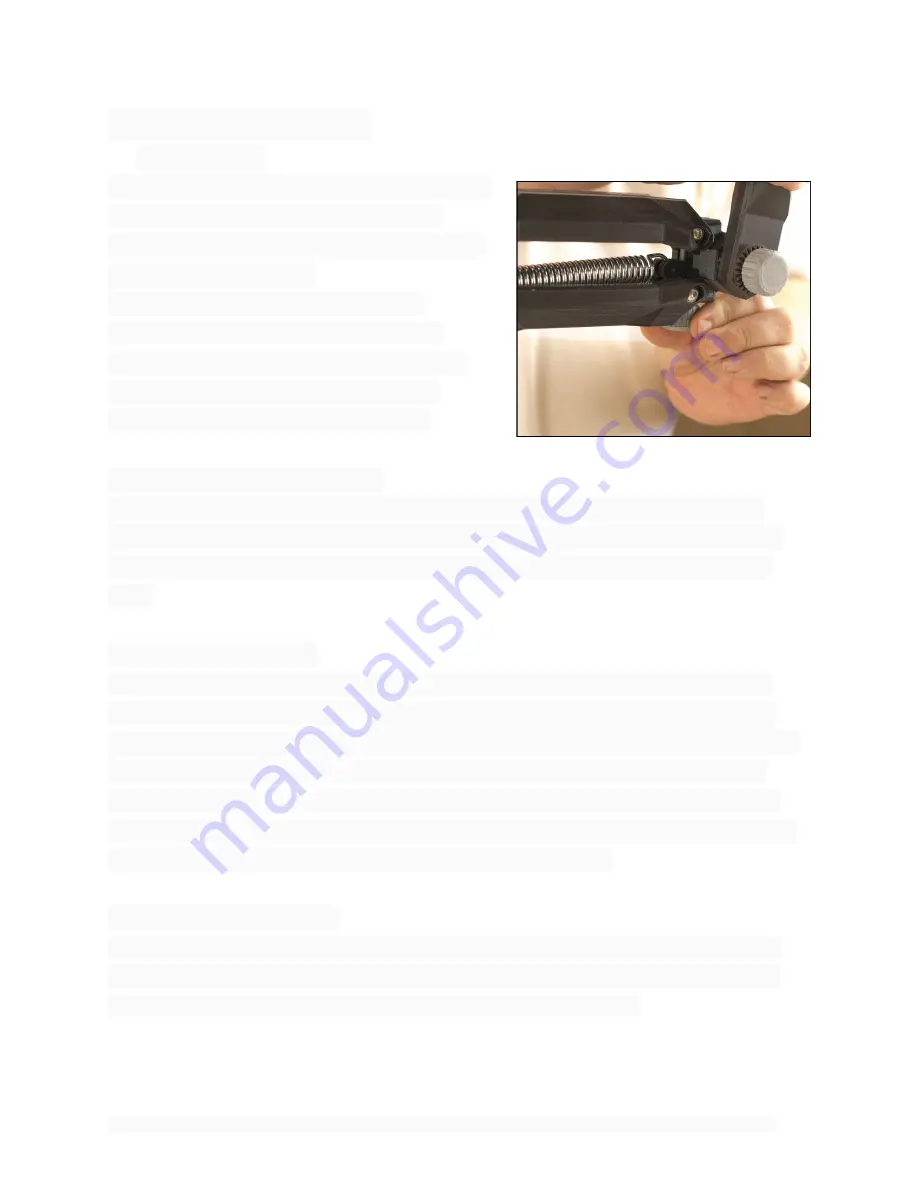
Now you’ll adjust both of the Bounce
Damping Knobs anti-clockwise until the
compression spring becomes almost loose
(see pic to the right). This is so that the
damping doesn’t affect the balancing.
2. Initial Payload Adjustment
We start by getting to a baseline loading where the support arms are roughly
horizontal. We adjust the Payload Adjuster knobs roughly equal amounts to get
the support arms close to that position. This payload setting will be fine tuned
later.
3. Support Arm Angle
When you hold the stabilizer with the rig loaded you’ll notice that the support
arms either point up towards the centre or down. The most common use is for
typical walking shots and the angle of the support arms is not as important as the
setting for the most optimal smoothing as the vertical movement tends to be
small. As long as your stabilizer doesn’t ‘bottom out’ during your shot then you
can go as low as you like with the support arms pointing down in the middle. The
lower you go the more iso-elastic the stabilizer will behave.
4. Even Out the Payload
One of the biggest sources of inconsistent smoothing occurs when one support
arm has the payload set differently to the other. To test this you’ll need to do a
bounce test but before that we’ll need to work on your form...
11
User Guide - AirFlo Duo - 4th Axis Stabilizer - 20181209 ScottyMakesStuff.com


