Although all major functions of this system, including opening/closing the
front cover, can be operated by the remote control, you must still load and
unload your CD'S manually. Therefore the main unit should be mounted at
a height that is convenient and comfortable for changing discs.
IMPORTANT. The front cover requires 6" clearance to open fully. If you plan
to mount the unit under a shelf, in a cabinet. etc, you must allow at least
6" clearance above the unit so that the door can open completely without
obstruction. If the front cover encounters some obstruction as it is opening,
the motor will reverse automatically and the door will close immediately. Be
sure to follow the instructions on the template carefully for best results.
TEMPLATE INSTRUCTIONS
1) Select the desired location for wall mounting after carefully reviewing the
"General Precautions and Recommendations" of the wall mounting
instructions.
2) Tape the template to the wall, or other surface, in the desired location. Align
the dotted line on the template with the pencil marks you made on the wall.
Be sure to allow at least 6" clearance above the main unit, as indicated on
the template, for the CD door to open fully.
3) Make sure that the template is level.
4) Use an awl, ice pick, a nail or similar pointed tool, and push through the
template to make a small starter hole in the wall surface as indicated by
the "Drill Hole Here" marks. Then remove the template from the wall.
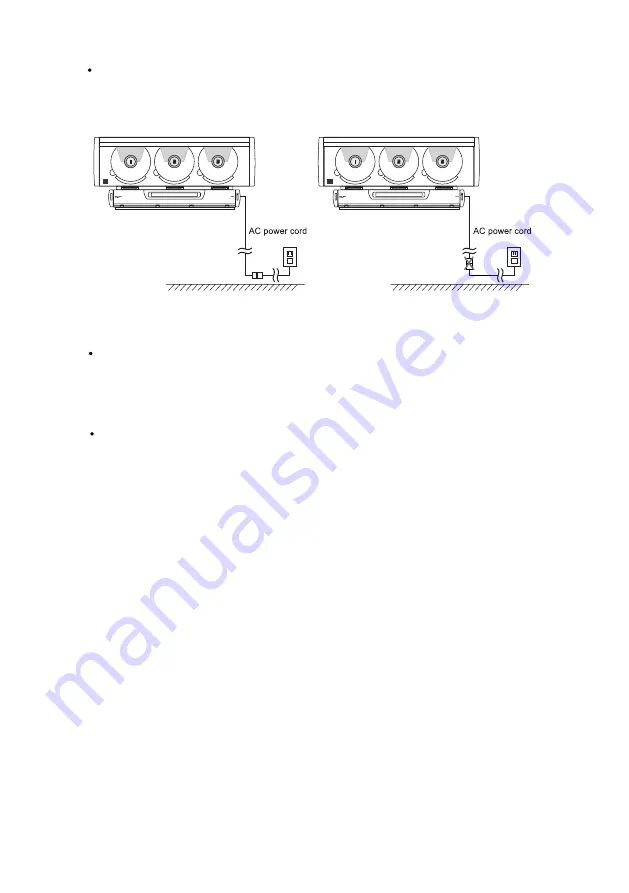
If there is no AC outlet directly below the desired mounting location you may
use a UL approved extension cord. In this case you should allow the AC
plug of the main unit to reach all the way to the floor and connect the extension
cord on the floor, not above the floor. See Figure 2.
24
Correct
Incorrect
Figure
2


