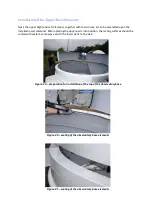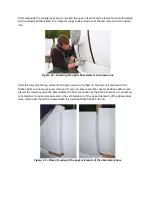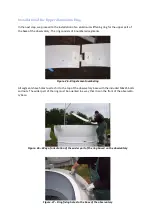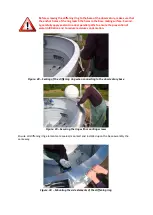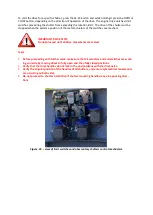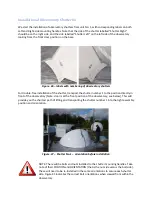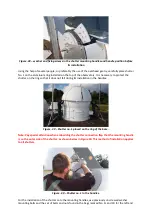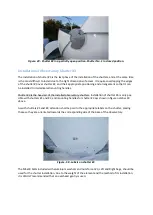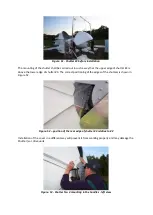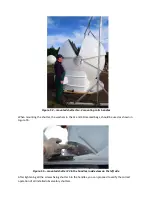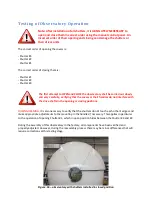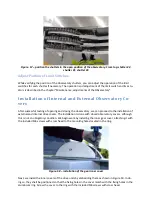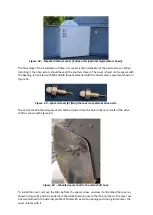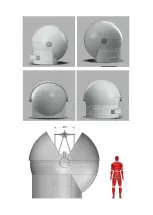
Figure. 49 - Shutter #2 in a partially open position. Shutter No. 1 in closed position.
Installation of Observatory Shutter #3
The installation of shutter #3 is the last phase of the installation of the shutters, and at the same time
is the most difficult to install due to the tight dimensions of access. It requires overlapping the edges
of the shutter #3 over shutter #2, and their appropriate positioning and arrangement so that it can
be installed to its dedicated mounting handles.
Shutter #3 is the heaviest of the installed observatory shutters. Installation of shutter #3 is only pos-
sible with shutters #1 and #2, and mounting handles for shutter #3 ass shown in figure number 49
above.
As with shutters #1 and #2, attention shall be paid to the appropriate labels on the shutter, placing
these so they are orientated towards the corresponding side of the base of the observatory.
Figure. 50 - Labels on shutter #3
The M5x30 bolts included with aluminium washers and nuts for set #3, Left and Right bags, should be
used for the shutter installation. Due to the weight of the element and the method of its installation,
it is HIGHLY recommended that an overhead gantry is used.

