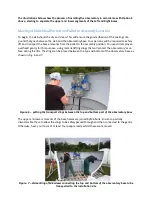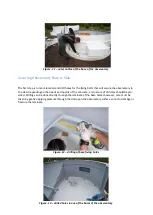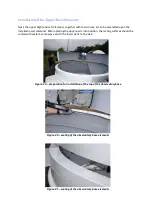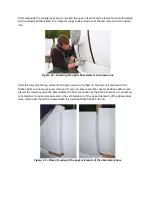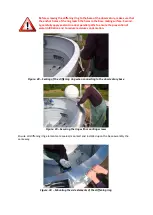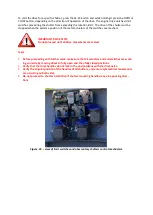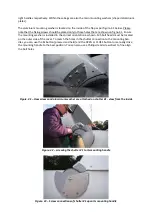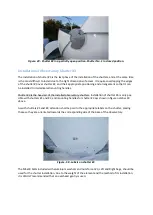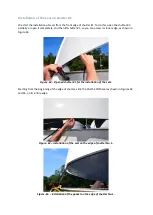
Figure. 38
–
washer and fixing screws in the shutter mounting handles and handle position before
its installation
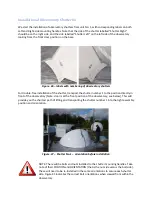
Using the help of several people, or preferably the use of the overhead gantry, carefully place shutter
No. 1 on the aluminium ring installed on the top of the observatory. It is necessary to protect the
shutter on the ring so that it does not fall during its installation in the handles.
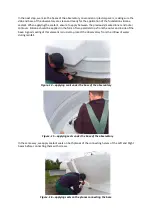
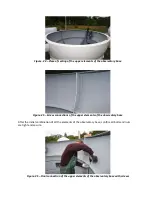
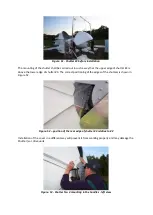
Figure. 39
–
Shutter no. 1 placed on the ring of the base.
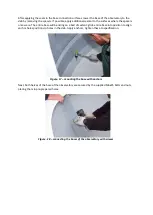
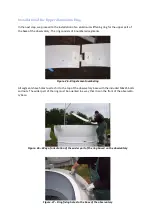
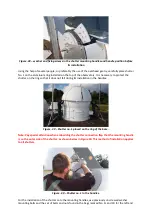
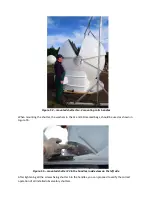
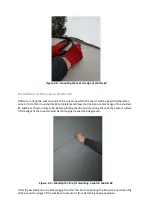
Note: Pay special attention when embedding the shutter connection flap that the mounting handle
is on the outer side of the shutter, as shown below in Figure 40. This method of installation applies
to all shutters.
Figure. 40
–
Shutter no. 1 in the handles.
For the installation of the shutter onto the mounting handles, use previously unscrewed washer
mounting bolts and the set of bolts and nuts found in the bags marked No. 1L and 1R for the left and

