Press the TIMER button on the RCU.
If you have not yet entered the actual date or time you will
now be asked to so. Use the numeric keys and confirm with
OK. As soon as you have done this the following screen will
be displayed:
This list shows all of the programmed recordings.
Select an empty slot in the list with the buttons and press
OK.
Now you can enter all data for the intended timer event.
In the column "Type" you can see if the timer function is set
for once only, daily or weekly.
You have to set the target for the recording in column 7 (Path)
either to hard disk (HDD) or to an attached VCR (VCR).
Finally, select position 8 of the menu and confirm by
pressing OK. The screen will return to the "Recording List".
In "Recording List" you can check all entries.
You can edit previously entered recording data by selecting
the corresponding position in the "Recording List" with the -
buttons. Press OK and you will see the screen "Recording
Settings". Edit the changes and confirm by pressing OK.
To delete an entry, select the corresponding event with buttons in "Recording List" and press
- button. Confirm by pressing OK, or cancel the deletion by pressing Exit when the confirmation
request is displayed.
3. How to set the timer
8.3 Recording
2. Timer Recording
1. Instant Recording
To make an instant recording, press REC button on the RCU
and recording will begin. Time delay for record start may vary
between 7 and 12 seconds, depending on the HDD standby
timer setting.
A red dot as a recording icon will appear in the upper right
corner of the screen when a recording is in progress.
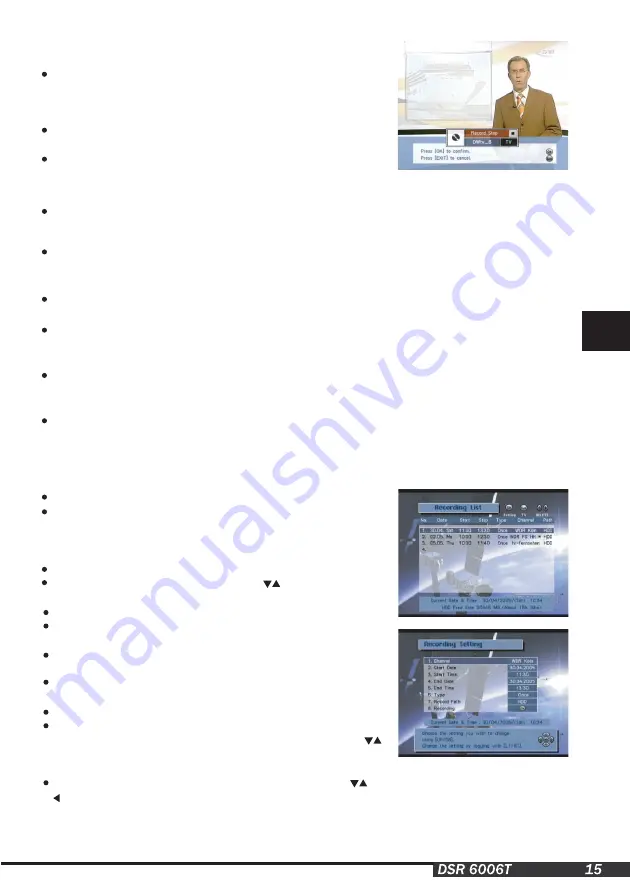
To stop recording, press Stop button on the remote control unit
(RCU). A window is displayed in the lower half of the screen.
Press OK button to stop recording or "Exit" button to continue
recording.
If you allocated a fixed amount of time for the Instant Recording Duration (see menu "HDD Manager",
4), the recording will be stopped after this time has elapsed. If desired, you can deactivate this
function ("OFF ")
The recording will be stored on the HDD and will be shown on the "HDD Recorded List". It can be
displayed by pressing the "List" button on the RCU.
You can use the timer function for unattended recordings on HDD or on a conventional VCR that has
been connected to the VCR SCART connector of this unit.
You also can use the timer function for automatically switching your receiver ON / OFF or changing the
TV program at a preset time in case you don't want to miss the start of a program but want to watch
another channel until then.
The timer function allows you to set up a list with all the required timer settings in which you can enter
the date and time for the receiver to be switched on and off, the program and if necessary daily or
weekly repeat of each switching operation.
If you are currently watching a program and timer switching operation is pending, the receiver reminds
you by overlaying a massage that the timer switching operation will take place in one minute. When this
time is reached, the receiver switches over to the required channel and REC is displayed on the front
display. After the preset time has expired, the receiver switches back to the original channel.
GB
Note:
A special window will display a message that a recording is due to start in one minute.
Confirm by pressing OK, or cancel the scheduled recording by pressing Exit.
Summary of Contents for DSR 6006T
Page 1: ...R ...


