


Chuck function
01.00| |en
25
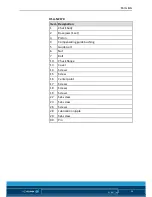
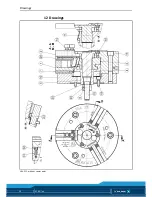
• The center point (Item 12) can be released from the guide
bushing (Item 4) by exerting a slight pressure.
• Remove the set-screw (Item 22). Remove the screw (Item 15)
and nut (Item 6).
When assembling the base jaws, make sure that the number
of notches on the base jaw matches the numbering on the jaw
guide.
Only use genuine SCHUNK spare parts when replacing damaged
parts. The chuck must be completely assembled, including all the
small components, before start-up. Each small component may
have a safety function in the chuck.
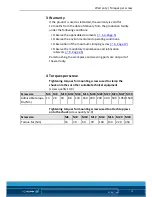
Tighten the screws with a torque wrench. See "Screw tightening
torques" chapter. The screws have a quality class of 10.9 and 8.8.
(
4, Page 15)
Degrease and clean all parts and check them for damage.
Before assembly, grease well with LINO MAX special grease.
The chuck is assembled in the same way but in reverse order.


