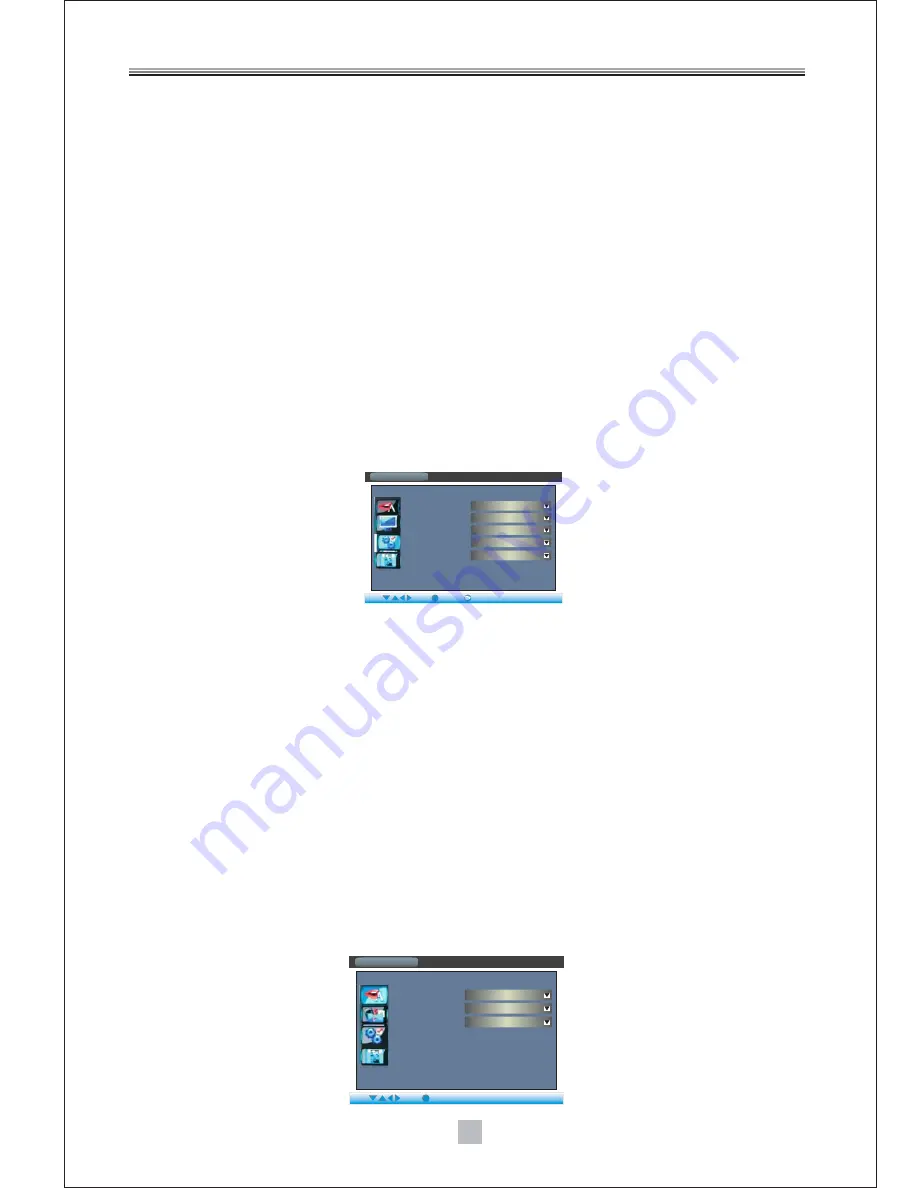
background image

PAL

9

6.3Preference
6.3.1Change PIN

6.3.2Default Type

6.3.3 Default

6.3.4 Auto Power Down

The password option is initialized locked, and you cannot set the ratings limit or change the
password without inputting the password. If you want to set the ratings limit, you need to
enter the default password, which is 0000, then press "Enter" to confirm. To change the
password, you will be prompted for the old password, then be prompted for a new one.
Enter four digit numbers (this is your password).

This option can enable you select the mode of unit, such as DVD or DVB mode.

Choose this option to resume all the setup options to default settings.

Automatic switch to standby mode after 3 hours of active mode without action from user.
( in DVB-T mode only)

7. DVD Setup

7.1 Language Setup
7.1.1 Menu

Note:

7.1.2 Audio

7.1.3 Subtitle

Highlight the MENU option, and press the Arrow buttons to choose the menu language.
Press "Enter" to confirm.

1.If your preferred language isn't available, the disc's default language will be played.
2.The default language of your DVD player is

.

Highlight the AUDIO option, and press the Arrow buttons to choose the audio language.
Press "Enter" to confirm.

Highlight the SUBTITLE option, and press the Arrow buttons to choose the subtitle
language. Press "Enter" to confirm.

French

System

Preference

Change PIN

Default Type

Default

AutoPowerDown

System Info

Input

DVD

Read

On

Show

Enter

Select

OK

Eixt

Language Setup

Play

Select

OK

Disc

French

French

French

Menu

Audio

Subtitle

You then simply need to select the maximum resolution supported by your television in the menu:
- 1280x720p (720p)
- 1920x1080i (1080i)
- 1920x1080p (1080p)
Note: “p” signifies progressive, while “i” signifies interlaced.

If you have selected an HDMI resolution which is not supported by your TV

(for example, you have selected 1080i while your TV supports 720p resolution only), a black screen will appear
and you will not be able to change the HDMI resolution in the SETUP menu. To solve this problem, press the
HDMI button on the remote to change the HDMI resolution. You can also connect your television with a SCART
cable. The screen will become readable again then, and you can set the right resolution in the setup menu of the unit.

Display problem in HDMI mode

-Please press DVD

in order to enter DVD mode. In order to enter the

DVD setup menu, please press SETUP

, choose DISC, and then please

press ENTER to confirm, DVD setup menu will then immediately display.
Remark: If no DVD is inserted, you cannot enter the DVD Setup menu.

from the remote control

from the remote control

DVD OPERATIONS

Summary of Contents for DVD-1028TNT

Page 1: ...DVD 1028TNT Please read and keep these instructions USER MANUAL DVD 1028TNT...

Page 2: ...pparatus in tropical climates Place the product on a straight rigid and stable place Do not place the product on a carpet Do not place the product on top or another that may cause overheating for exam...

Page 3: ...authorities and resellers have set special procedures for the purpose of collecting and recycling this product You have the obligation to use the selective waste collection systems put in place by you...

Page 4: ...Table of Contents 3 9 10 11 12 13 14 15 16 19 22 5 14 Recording a DVB T Program 5 Connections 12 7 5 7 8 9 13 19 20 21...

Page 5: ...ideos play MP3 and WMA music files and visualize your JPEG photo albums Connect this unit to your television preferably by using the HDMI 1080p output rather than the SCART output The HDMI connector a...

Page 6: ...ket connects to your TV High definition multimedia interface This socket connects to a coaxial socket on your home theater This socket connects to your external aerial This socket will bypass the RF s...

Page 7: ...start auto scanning select YES to access to activate system to start auto scanning and save scan information upon completion and then play the first channel select NO to quit scanning and exit initial...

Page 8: ...m press the HDMI button on the remote to change the HDMI resolution You can also connect your television with a SCART cable The screen will become readable again then and you can set the right resolut...

Page 9: ...Press the DVD button in order to play DVDs Press the USB button to display all the multimedia files on your USB stick and use the VIEWREC button to display all the recorded files present on the USB s...

Page 10: ...rding To freeze the current image and then to resume viewing Select resolution for HDMI mode set at 720p by default Press the button to set the video out Used to operate different functions in EPG scr...

Page 11: ...7...

Page 12: ...VD player is connected to a NTSC TV Choose this settings if your DVD player is connected to a PAL TV For conventional 4 3 TV The full width of a windscreen content is displayed on a normal TV with bla...

Page 13: ...e SUBTITLE option and press the Arrow buttons to choose the subtitle language Press Enter to confirm French System Preference Change PIN Default Type Default AutoPowerDown System Info Input DVD Read O...

Page 14: ...ayer s digital output jacks are designed for a connection to a Dolby Digital or MPEG receiver or decoder Choose this setting if your DVD player is connected to a 2 channel digital stereo amplifier Whe...

Page 15: ...DOWN button to browse TV programs at the right is the symbol illustration for editing Press LEFT RIGHT to display Program Edit favorite move delete press ENTER to confirm Note if there is no channel i...

Page 16: ...rch If any channel is missing after auto search or you want to add newly launched channels you can use Manual Search to scan the desired channels When moving cursor to Channel press ENTER to display c...

Page 17: ...item to select the language of the setup menu and screen display When the setting is off you can change the Date and Time Go here to select your country s time zone as well as Activate or desactivate...

Page 18: ...thin this menu you also have the option to move a channel so as to classify channels in a different way You can also set a parental password for the channels of your choice Please press FAV to view fa...

Page 19: ...the coaxial output of the unit Please make sure that your home theatre can decode AC3 audio signal beforehand If you have selected the AC3 sound mode and then switch to another channel which broadcas...

Page 20: ...s the TIMER button Then select the option Scheduled recordings The screen will list out all the recordings programmed To delete a scheduled recording move the cursor onto the item to be deleted and pr...

Page 21: ...n be useful for Freeing the entire disk space in order to make recordings In case of problems making your USB device compatible with the unit To access this function press the TIMER button on the remo...

Page 22: ...Formatting option of the unit To do this please refer to the section 13 4 Formatting your USB device After you have plugged your device to the unit you may need to switch on the USB device to make it...

Page 23: ...some videos downloaded from internet and not fully compatible Demonstration videos are available for download at the Internet address o This player does not support MPEG4 videos recorded in High Defin...

Page 24: ...o USB support is inserted Insert a USB key into the unit The remote control buttons are not active impossible to change the DVB T channel A recording is in progress During recording you cannot change...

Page 25: ...B T program format and your home theatre equipment This is normal in this case consider reducing the volume prior to changing channels to avoid listening gene Your unit has been tested for optimal per...

Page 26: ...FN 2K 8K 1 4 1 8 1 16 1 32 IEC 169 2 female connector IEC 165 2 male connector Composite video CVBS RGB audio left and right RCA for digital SPDIF audio output USB 2 0 230 V 50 Hz 10 W max PAL NTSC 72...

Page 27: ......

Reviews: