15
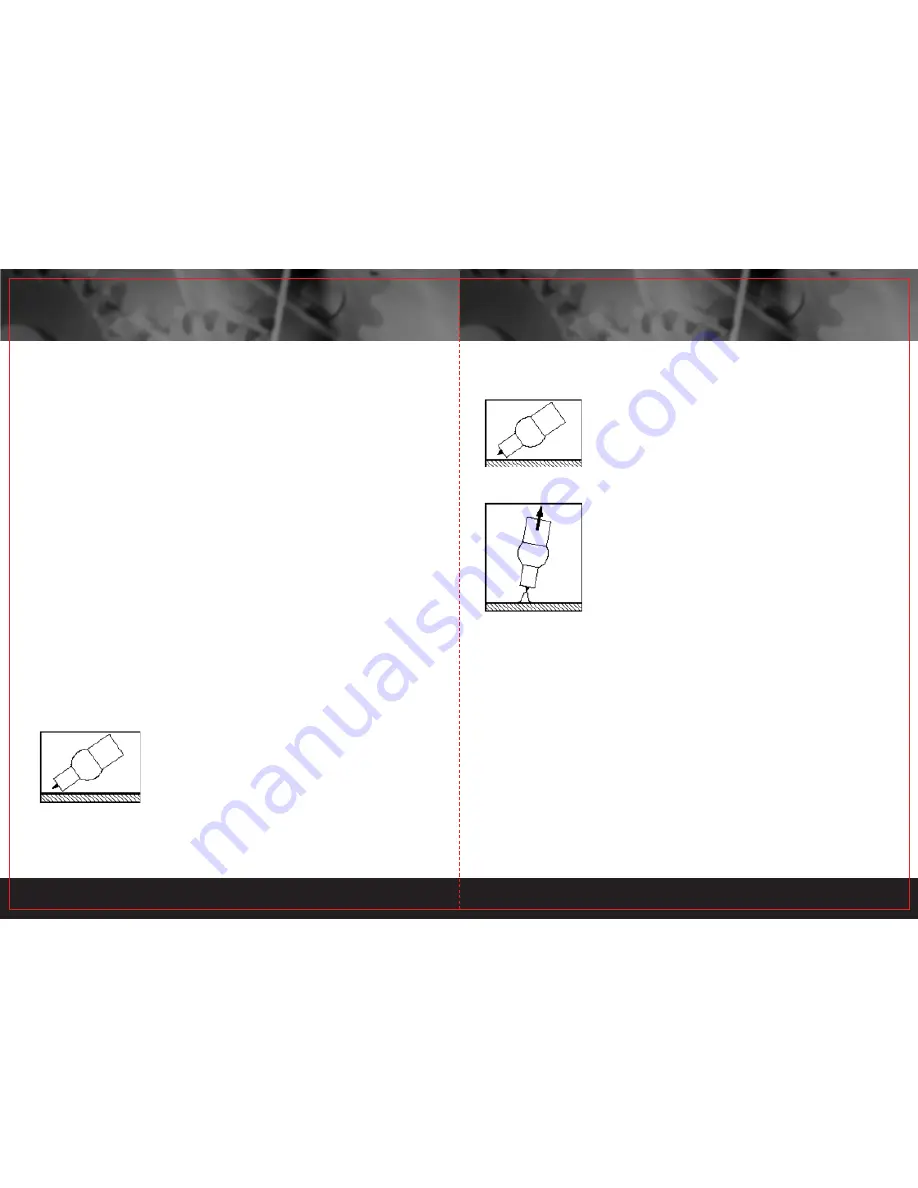
A. Turns on the welding torch built-in air valve
Approaches the striking the arc spot the spray nozzle to cause the
tungstic electrode and the work piece is separated 2~3mm
B. Slowly lifts the welding torch to cause the tungstic electrode contact work piece
C. Lifts the welding torch to the normal position, starts to weld
16
A. Weld speed is too fast.
B. Weld speed is too slow.
C. Arc is too long.
D. Ideal weld.
A solid weld bead requires that the electrode be moved slowly and steadily along
the weld seam. Moving the electrode rapidly or erratically will prevent proper fusion
or create a lumpy, uneven bead. To prevent ELECTRIC SHOCK, do not perform any
welding while standing, kneeling, or lying directly on the grounded work.
2.6 Finish the bead
As the coating on the outside of the electrode burns off, it forms an envelope of
protective gasses around the weld. This prevents air from reaching the molten metal
and creating an undesirable chemical reaction. The burning coating, however, forms
slag. The slag formation appears as an accumulation of dirty metal scale on the
finished weld. Slag should be removed by striking the weld with a chipping hammer.
3.TIG
3.1 TIG welding accessory connection:
1. Turn off the machine, pull out of the power source plug.
2. Connect the ground cable to the “+” pole and screw it tight.
3. Connect the end of ground cable to the workpiece.
4. Connect the TIG torch to the “-”pole and screw it tight.
5. Connect to another end of TIG torch to the gas bottle.
6. Turn on the machine.
7. Adjust gas valve on TIG torch. And then you can use the machine to do TIG welding.
3.2 The warning for contact arc igintion! When connect the machine with power supply,
the welding torch’s tungstic electrode shall be installed and the thungstic electrode
shall not touch anything. This series of machine uses contact striking the arc method.
Striking the arc method following step:
Summary of Contents for CARiARC 140DB
Page 1: ......


