Sawn Craft Micro F-22 Manual
Page 12
1311101 Micro F-22 Manual.docx
2.7 Electronics Installation
Parts Required:
o
Complete Model Assembly
o
RX/ESC/Servo “Brick”
o
Motor & Gearbox w/Prop
o
12” Micro Wire
o
1mm Heat Shrink Tube
o
Hook and loop material
1)
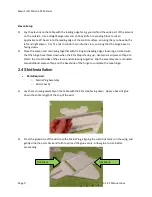
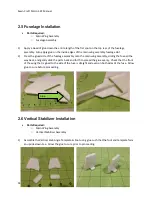
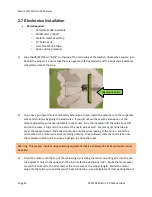
Glue the RX/ESC/Servo “Brick” on the top of the main wing at the location marked by a square, just
behind the prop slot. Ensure that the servo gears are facing forward and the brick and all wires are
completely clear of the prop.
2)
If you have purchased motor and battery extensions, simply install the extensions to the respective
wires and continue by gluing the electronics. If you did not purchase wire extensions, cut the
motor and battery wires approximately in the center. Strip the insulation off the wire about 1/8”
and tin the wires. Strip and tin one end of the micro wire as well. Cut pieces of shrink tube to
cover the exposed wires. Slide the shrink tube onto the wires leading to the motor. Solder the
micro wire to the motor wire ends, matching polarity. Once soldered, slide the shrink tube over
the completed solder joint and use a heat gun to shrink the tubes.
Warning: This process involves using soldering equipment that is extremely hot. Extreme caution must
be taken
3)
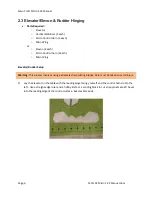
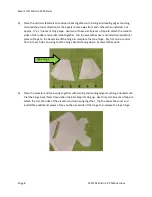
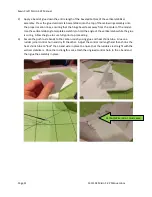
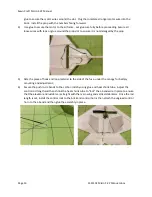
Dry fit the motor onto the top of the main wing by inserting the motor mounting pins into the pre-
cut alignment holes in the wing with the prop located inside the open slot. Route the motor wires
around the slot and to the brick and cut the micro wire to the proper length. Solder the motor
plug onto the micro wire and cover with heat shrink tube. Use small pieces of clear packing tape or
Alignment Holes


