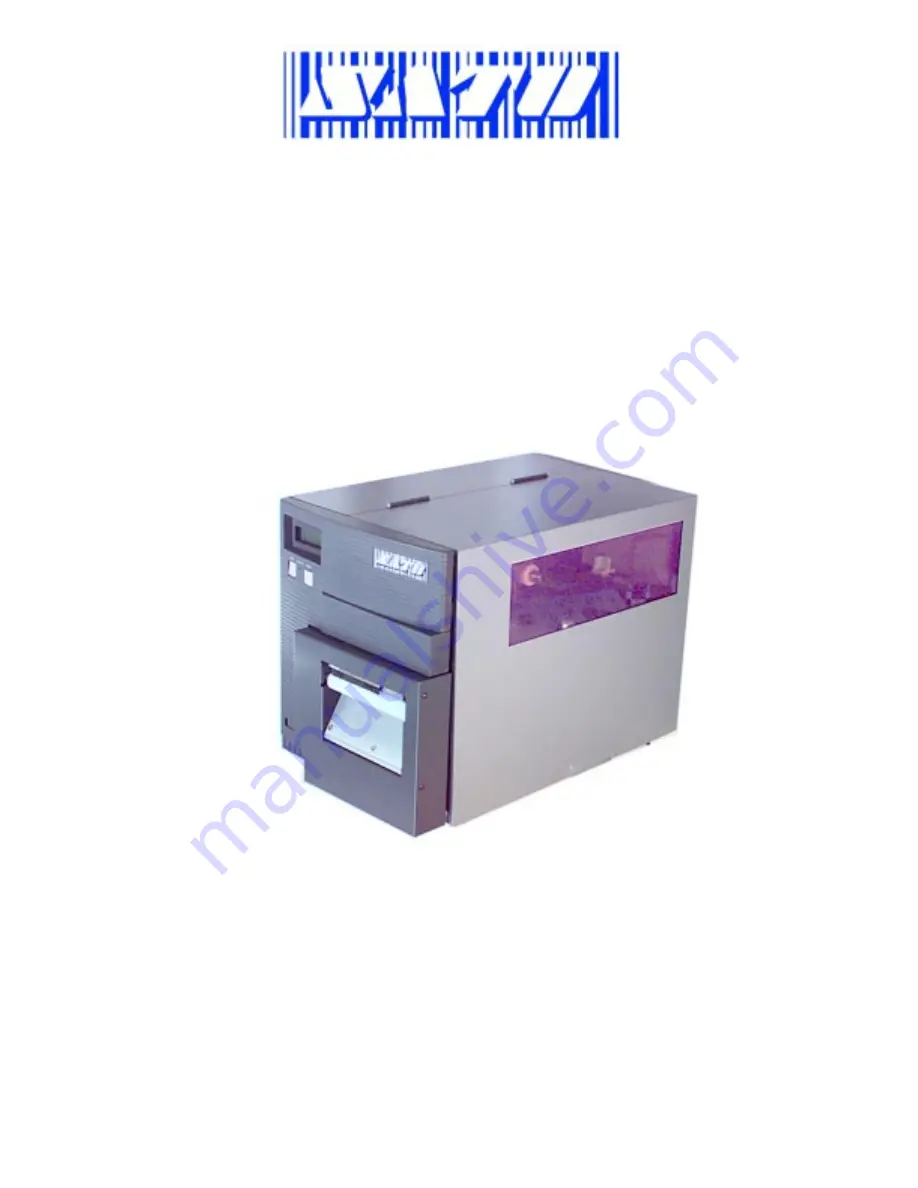
CL4XXe Rotary Cutter
Installation Procedure
®
SATO America, Inc545 Weddell DriveSunnyvale, CA 94089Main Phone: (408) 745-1300Tech Support Hotline: (408) 745-1379Fax: (408) 745-1309
Proc 52
Page 1: ...CL4XXe Rotary Cutter Installation Procedure SATO America Inc 545 Weddell Drive Sunnyvale CA 94089 Main Phone 408 745 1300 Tech Support Hotline 408 745 1379 Fax 408 745 1309 Proc 52 ...
Page 2: ...ME REMOVE 2 SCREWS HOLDING THE SIDE COVER TO THE OUTSIDE FRAME STEP PROCEDURE 1 Switch the printer OFF and disconnect the AC power cord 2 Raise the access door and remove 2 screws holding the electronics side cover to the inside frame Figs 6 1 3 Remove 2 screws holding the side cover to the outside frame Remove the cover to expose the electronics ELECTRONICS COMPARTMENT REMOVE SIDE COVER Figs 1 ...
Page 3: ...ounting plate in position and secure with 2 screws removed in Step 2 Figs 3 4 4 Secure base of mounting plate with screw from cutter kit Fig 5 5 Refer to Figs 6 Place main cutter unit on a flat surface so that the PC Board is accessible Install the supplied cable to cutter board as shown Keys on cable connector do not prevent incorrect orientation However the keys are provided as an orientation ai...
Page 4: ... to the power supply at CN2 Attach the remaining cable connector to CN10 on the main PC Board 12 Secure the cables to the printer wall with the supplied cable hold down 13 On the front panel set DSW3 1 to the ON position 14 Attach the replacement door to the printer Fig 12 15 Refer to Figs 1 Replace the side cover previously removed 16 Load the label stock and gently close the printer front door w...
Page 5: ...MOVE AND SET ASIDE 2 SCREWS FOR ATTACHING MOUNTING PLATE Label Cutter Kit Installation Rotary Type FASTEN MOUNTING PLATE AT NEW LOCATION REMOVE LATCH AND SET ASIDE SCREW FOR ATTACHING CUTTER Fig 4 Fig 5 LOCATION FOR MOUNTING PLATE FASTEN BASE OF MOUNTING PLATE WITH SCREW FROM KIT STAY ...
Page 6: ...tary Type INSTALL SUPPLIED CABLE TO CUTTER PC BOARD AS SHOWN KEYS ON CABLE CONNECTOR DO NOT PREVENT INCORRECT CONNECTION HOWEVER THE KEYS ARE PROVIDED AS AN ORIENTATION AID CUTTER PC BOARD KEY SLOTS Figs 6 CUTTER PC BOARD CUTTER CABLE SHOWN INSTALLED ROUTE THE CABLES FROM THE CUTTER THROUGH THE ACCESS HOLE Fig 7 ...
Page 7: ...tter Kit Installation Rotary Type SLIDE THE CUTTER INTO POSITION ON THE MOUNTING PLATE AND SECURE WITH SCREWS RETAINERS LOOSEN TWO SCREWS RETAINERS AT THE BASE OF THE CUTTER SECURE CUTTER BRACKET WITH SCREW FROM LATCH PREVIOUSLY REMOVED ATTACH CUTTER TO THE PRINTER PANEL WITH SCREW SUPPLIED IN CUTTER KIT ...
Page 8: ... THE POWER SUPPLY AT CN2 ROUTE THE CABLES FROM THE CUTTER AND ACCESS HOLE DOWN BEHIND THE MOTOR AND UNDER THE BELT ATTACH THE CONNECTOR END CUTP TO THE POWER SUPPLY AT CN2 AFTER THE CABLES HAVE BEEN PROPERLY ROUTED AND ARE CONNECTED SECURE THE CABLES TO THE PRINTER WALL WITH CABLE HOLD DOWN SUPPLIED IN THE KIT CABLE CONNECTOR FROM CUTTER TO CN10 ON MAIN PC BOARD Figs 11 ATTACH REPLACEMENT DOOR Fig...