VIEW SETTING
3
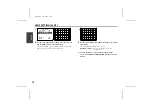
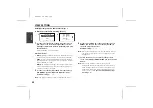
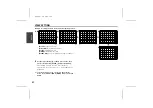
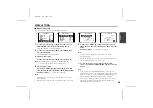
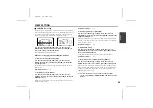
Use the cursor button (
j
l
d
c
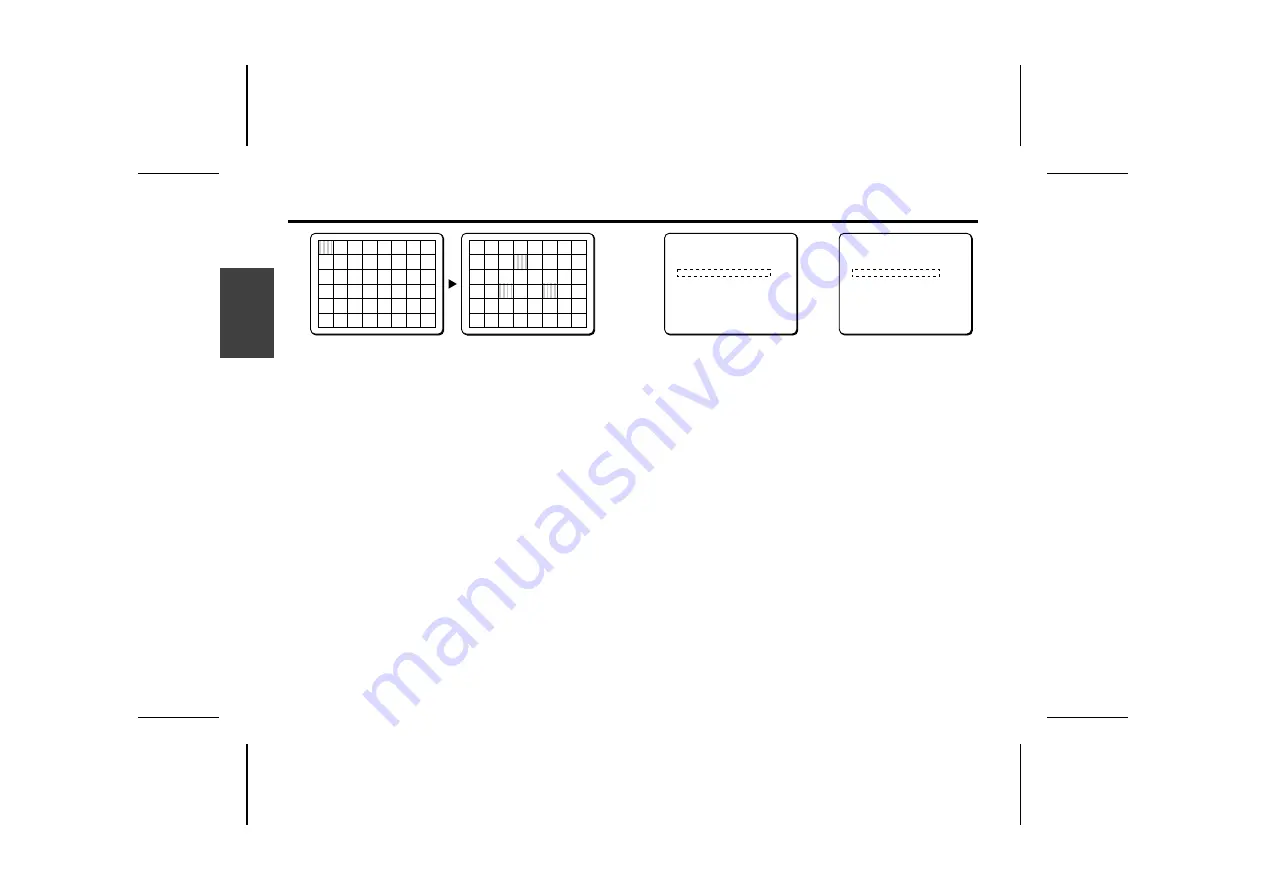
) to move the mask
pattern over the bright light source, then press the SET
button.
Use the same steps to place addition masks as needed.
Note:
Initial settings place no masks on the screen. To cancel the
placement of masks, press the
SET
button again.
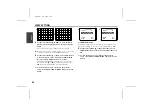
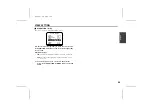
4
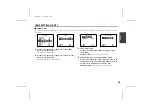
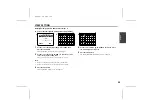
Use the cursor button (
j
or
l
) to move a mask pattern
to the bottom area of the screen and continue holding
the cursor button straight down for 3 seconds.
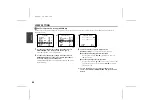
The PRESET and MENU items will appear on the screen. Use
the cursor button (
j
or
l
) to select BACK, then press the
SET
button. The ATW SETTING screen will reappear.
☞
To close the menu screen or return to the previous
screen, select BACK or END for MENU and press the SET
button.
☞
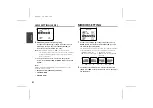
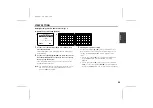
SMART ATW setting
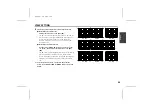
If saturation is high or a scene is bright, the most suitable colors
may not be obtained. In this case, set the SMART ATW to
ON
.
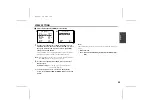
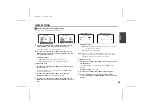
5
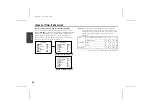
Use the cursor button (
j
or
l
) to move the cursor to
SMART ATW, then use the cursor button (
d
or
c
) to set
ON.
☞
To close the menu screen or return to the previous
screen, select BACK or END for MENU and press the SET
button.
3
ATW MASKING
CONTINUE (ñ)
ATW MASKING
CONTINUE (ñ)
4
5
ATW SETTING
MASKING ON ‚
SMART ATW OFF
PRESET OFF
MENU BACK
ATW SETTING
MASKING ON ‚
SMART ATW ON
PRESET OFF
MENU BACK
L5AA2/US GB 2002, 5, 24
En
g
lis
h
33

