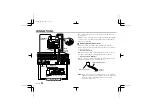
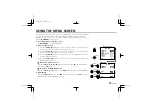


USING THE MENU SCREEN
AI/BLC•EVAL
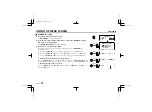
4
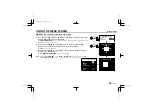
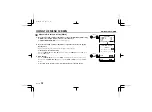
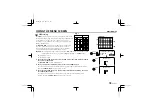
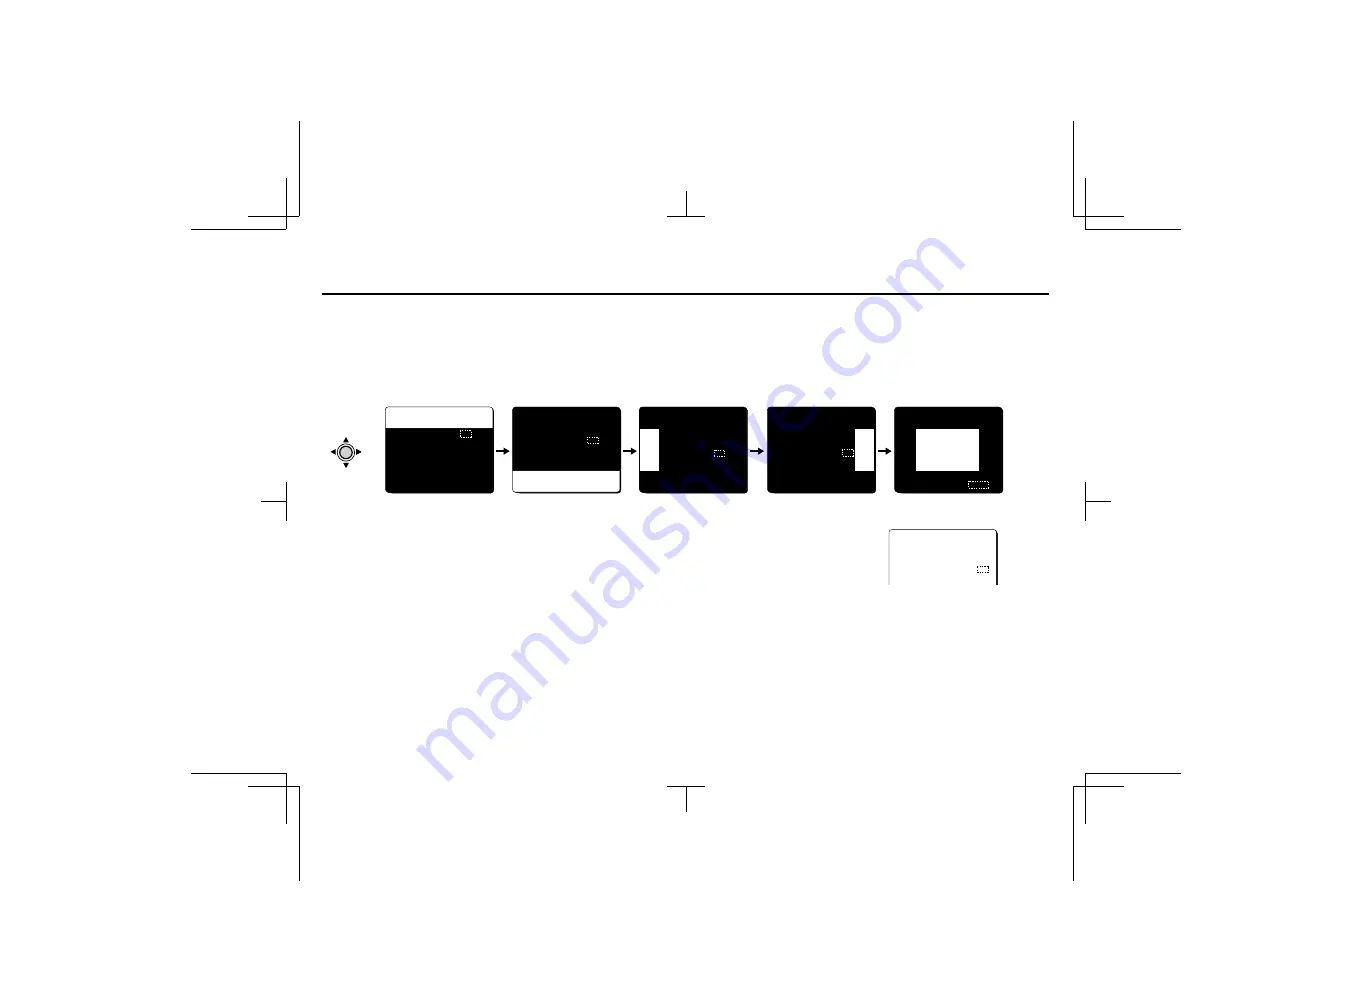
Press the CURSOR (
l
) button to select the photometry areas (TOP, etc.), and press
the CURSOR (
d
or
c
) button to set the weighting (numeric value setting).
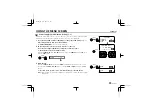
☞
Weighting
•
Setting is possible within the range of 0 to 15.
•
If set to 0, the light intensity will be ignored, and if set to 15, the light intensity will be
measured with no adjustment.
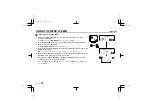
Note:
•
If using a
VIDEO
type lens, the center and the edges will each be divided into separate sections
so that the weighting for the edges can be set. The larger the value, the more backlight
compensation is done for that area.
•
When using a
VIDEO
type lens, the
ADJUSTMENT FOR BLC (SIZE)
setting will be larger than
for a
DC
type lens.
•
The
ALC
volume on the lens should be turned all the way to
Av
(Average).
•
If the backlight compensation function does not compensate properly for the conditions,
correct using the
LEVEL
volume on the lens.
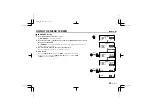
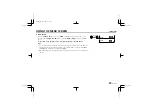
☞
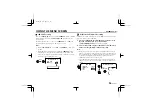
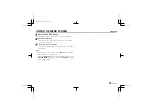
Returning the values to the default settings
Press the
CURSOR
(
l
, then
d
or
c
) button to change the
PRESET
setting to
ON
, then press the
SET
button.
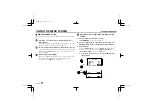
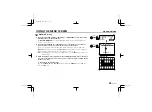
5
When finished:
Press the
CURSOR
(
l
) button to select
BACK
(it will flash) at the bottom of the screen.
Then press the
SET
button. The
ADJUSTMENT FOR AI
screen will be displayed.
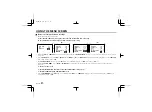
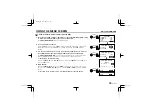
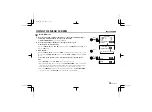
BLC WINDOW WEIGHTING
TOP 0
BOTTOM 0
LEFT 0
RIGHT 0
CENTER[FIX] 15
PRESET OFF
MENU BACK
BLC WINDOW WEIGHTING
TOP 0
BOTTOM 0
LEFT 0
RIGHT 0
CENTER[FIX] 15
PRESET OFF
MENU BACK
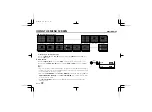
BLC WINDOW WEIGHTING
TOP
0
BOT
TOM 0
LEF
T 0
RIG
HT 0
CEN
TER[FIX] 15
PRESET OFF
MENU BACK
BLC WINDOW WEIGHTING
TOP 0
BOTTOM 0
LEFT 0
RIGHT 0
CENTER[FIX] 15
PRESET OFF
MENU BACK
BLC WINDOW WEIGHTING
TOP
0
BOT
TOM
0
LEF
T
0
RIG
HT
0
CEN
TER[FIX] 15
PRESET OFF
MENU BACK
CURSOR
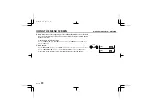
ADJUSTMENT FOR BLC
[BLC LEVEL]
í------ú------ü 8
L53R2/XE GB 2000, 3, 31
English
25


