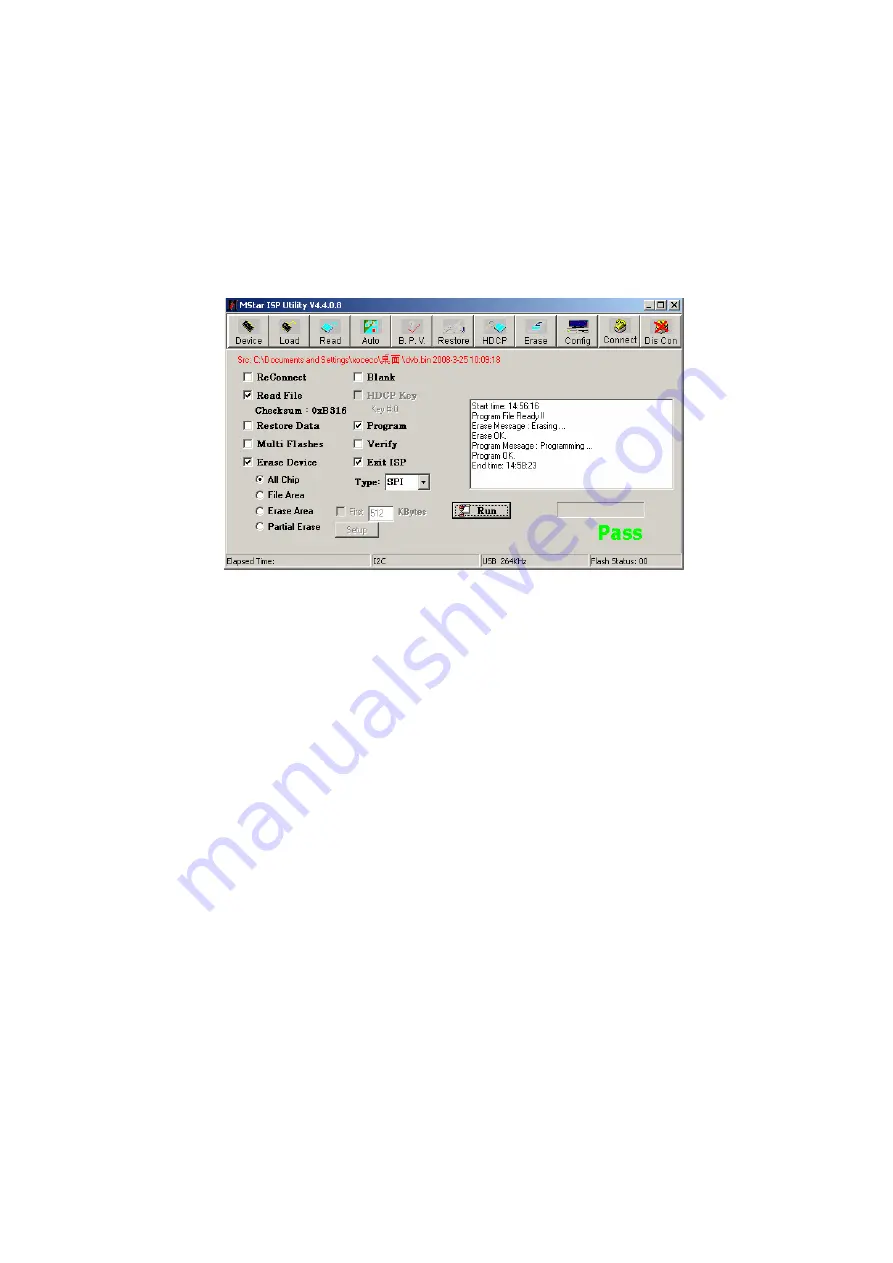
Normal burning process is described as follows:
First, the step “
Erasing…
,
Flash Status: 03
” will last for some time, or it is failed if it is passed by
quickly, please confirm procedure
2
)
and begin burning process again; then the following step is
“
Programming…
,
Flash Status:00
”; at last, a prompt “
Pass
” will display.
7
)
A prompt “
Pass
” will display beside button “
Run
” if burning process is successful, please refer to
Fig. 6;
Fig. 6 A prompt “
Pass
” displaying beside button “
Run
” for successful burning process
8
)
If there are other machines to be burned, remain
ISP
burning interface and repeat procedures
3
)
and
5
)
only;
Note 3:
Method of online burning and upgrade through
USB
:
1
)
Make sure that U disk is formatted as “
FAT32
”;
2
)
Copy firmware “
Merge.bin
” to U disk;
3
)
Power on TV set, be sure to be in channel of
ATV
or
DTV
and have not any OSD interface, insert
U disk into USB port of TV set;
a) First press key “
SOURCE
”, then press keys “
2
,
5
,
8
,
0
” in turn to enter into initial factory
menu;
b) Select item “
software update
” to begin upgrade;
4
)
Upgrade process:
A
、
Read data from U disk, while data indicator light of U disk is twinkling at the same time;
B
、
Begin to burn Flash
,
the unit will be in “
standby
” mode after burning process completed;
5
)
Please restart the unit after power-off of hardware, then enter into factory menu, confirm software
parameters - version and time, execute item “
RESET ALL
” to complete the whole process.
*** USB burning method could not be sure to all kinds of U disks, so please try another U disk if one is
inapplicable.
Summary of Contents for LCD-46XR10F
Page 18: ...Block diagram ...
Page 38: ...Power ...
Page 40: ...APPENDIX B Exploded view LCD 46XR10F ...
Page 45: ...May 2010 ...


