background image

Teletext

Teletext & Subtitle 

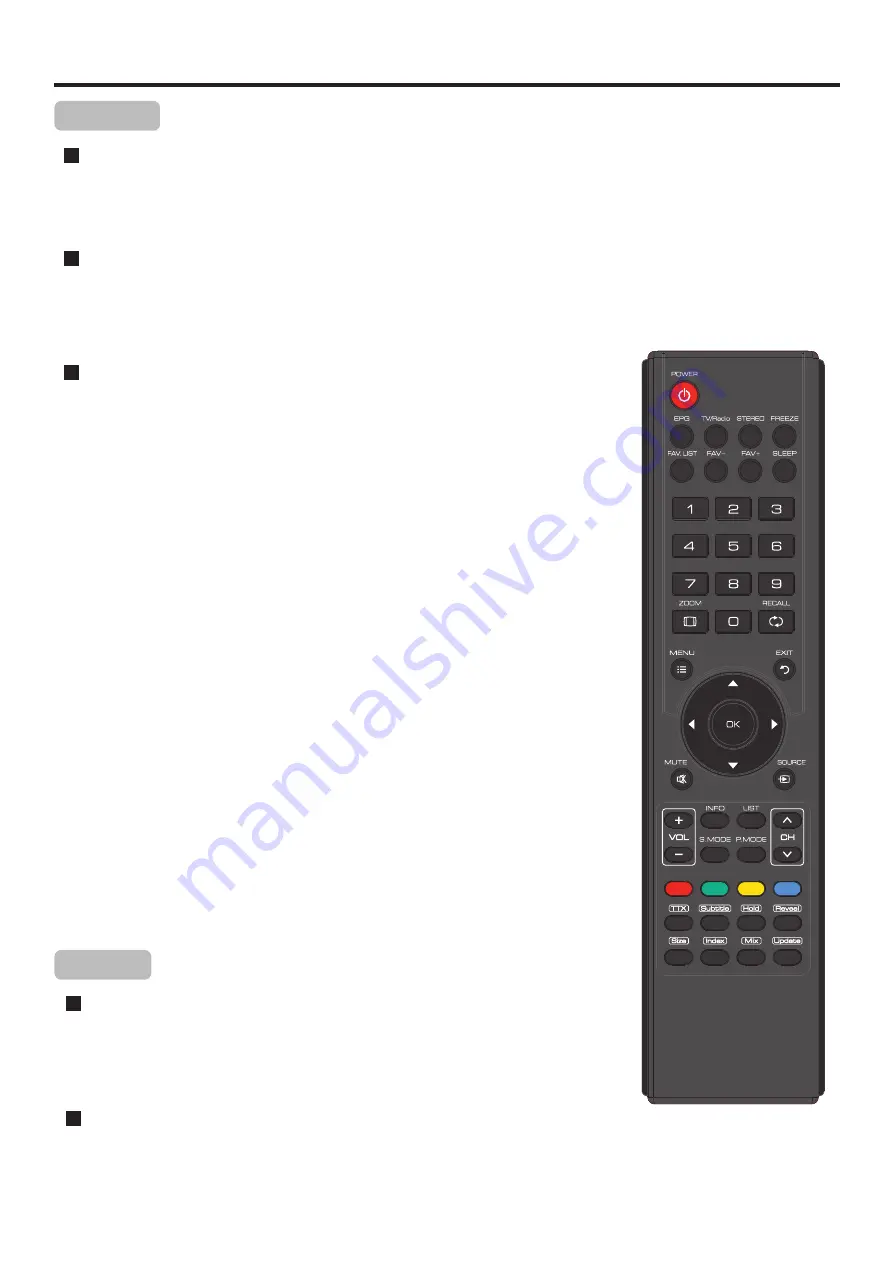
Select a TV channel providing the Teletext program.
Press 

TTX 

button to display the teletext. 

Press 

TTX 

button again to switch back to TV screen.

Your System receives Teletext signals broadcast by a TV network, and decodes them into graphical format for viewing. 
News, weather and sports information, stock exchange prices and program previews are among the many services 
available.

What Is Teletext?

To Turn On/Off Teletext

Teletext control button list

!


5

/

6

 button

   Used to scroll page upward or downward.

!


0 – 9 

button

   Directly select any page by using 0 - 9.

!


Coloured 

buttons

 (RED/GREEN/YELLOW/BLUE)


  Coloured areas are displayed at the bottom of the screen. The 4 coloured 

buttons are used to access the items or corresponding pages. 

!


Hold 

 button

  Certain  pages  contain  sub-pages  which  are  automatically  displayed 

successively. This button is used to stop or resume sub-page acquisition.

!


Reveal 

button

Press  the  button  to  reveal  the  concealed  information  such  as  games 
solutions. Press the button again to hide the information.

!


Size 

button

Press this button several times to display the upper, then the lower part of 
the screen and then return to the normal size teletext page. 

!


 Index

 button

   In teletext mode, press this button to display the index page.

!


 Mix

 button


.

!


Update 

button

Press  the  button  to  display  the  Teletext  on  the  screen  with  transparent 
background while viewing the TV program simultaneously


Press the button to view the updated teletext page.

Subtitle

30

If the program has subtitle, simply press 

Subtitle

 button to display subtitle. 

2

Press 

Subtitle

 again to cancel the subtitle. 


1

 When watching digital programs, press 

Subtitle

 button to display the subtitle.

 When


watching


analog


programs, press this


button to display the teletext


subpage.

Summary of Contents for LCD-22XR9DZ

Page 1: ...INSTRUCTION MANUAL LCD TV Before connecting operating or adjusting this product please read the manual completely Please keep this manual for future reference LCD22XR9DZ ...

Page 2: ...y using furniture that can safety support the television Ensuring the television is not overhanging the edge of the supporting furniture Not placing the television on tall furniture for example cupboards or bookcases without anchoring both the furniture and the television to a suitable support Not standing the televisions on cloth or other materials placed between the television and supporting fur...

Page 3: ...ations 13 Memorizing the Channels 16 Channel and program Selection 20 Timer Setup 27 EPG Operation 29 Teletext Subtitle Specifications 35 Assemble Disassemble the Pedestal Base 36 Picture Adjustment 21 Sound Adjustment 22 System Setup 24 Rating and Lock Setup 25 30 Screen setup for D SUB PC Mode 31 Hotel Mode Setup 32 Troubleshooting 33 ...

Page 4: ...et and disconnect the cable system 9 Entering of objects and liquids Never insert an object into the product through vents or openings High voltages are present in the product and inserting an object can cause electric shock and or short internal parts For the same reason do not spill water or liquid on the product 10 Servicing Refer all servicing to qualified service personnel Servicing is requir...

Page 5: ...l not be exposed to dripping or splashing and that no objects filled with liquids such as vases shall be placed on the apparatus 19 Clean only with dry cloth Unplug this product from the wall outlet before cleaning Do not use liquid cleaners or aerosol cleaners Use a damp cloth for cleaning 20 Ventilation Do not block any ventilation openings Install in accordance with the manufacturer instruction...

Page 6: ...splay the fixed image for extended periods of time C Turn the power off when not in actual use Important Information Regarding Use of Video Games Computers Captions or Other Fixed Image Displays after image Do not allow a still picture to be displayed for an extended period as this can cause a permanent after image to remain on the screen Examples of still pictures include logos video games comput...

Page 7: ...atteries can result in a leakage of chemicals and or explosion Be sure to follow the instructions below Place batteries with their terminals corresponding to the and indications Different types of batteries have different characteristics Do not mix batteries of different types Do not mix old and new batteries Mixing old and new batteries can shorten the life of new batteries and or cause old batte...

Page 8: ...eflection on the picture screenmay cause eyestrain Softand indirectlightingisrecommended for comfortable viewing Optimum reception of colour requires a good signal and will generally mean that an outdoor antenna must be used The exact typeand positionofthe antenna willdependuponyourparticulararea It is recommended that the 75 ohm coaxial cable be used to eliminate interference and noise which may ...

Page 9: ...ctly change the TV channel In OSD menu press these buttons to choose the OSD items 2 VOL Press the VOL or VOL button to directly increase or decrease the sound volume level In OSD menu press these buttons to adjust the value or setting of each item 3 MENU Press this button to access Menu main page 4 SOURCE To access input source select menu 5 POWER Press this button to turn the unit ON from STANDB...

Page 10: ... output jacks of a DVD player or Set Top Box 5 AV inputs Video Audio L R Receive video audio signal from external sources such as VCR or DVD player 6 Antenna input Connect to your cable system or outdoor antenna 7 S PDIF digital audio out terminal coaxial Connect to the digital audio input of a digital audio component 8 AV outputs Video Audio L R Connect to your VCR to record programs 9 Headphone ...

Page 11: ...lays input source menu LIST Displays the channel list P MODE Selects picture mode 1 2 3 4 5 6 7 8 9 10 11 12 13 14 15 16 17 18 19 20 21 22 CH Changes channel up and down 8 1 3 4 6 7 8 9 17 18 19 21 2 5 10 12 16 15 14 23 24 25 27 29 31 11 30 26 13 20 22 28 23 24 25 26 27 28 31 Below is teletext control buttons Coloured buttons RED GREEN YELLOW BLUE Direct access to the coloured items or correspondi...

Page 12: ...he Audio L R Video jacks on the unit and camcorder How to connect To playback Camcorder The operations of the camcorder may be different and is dependant on your model Please read the user manual of your camcorder to confirm operation 1 Turn on your TV then press SOURCE button The Input Source menu opens 2 Press 5 or6 to select AV then press OK to confirm 3 Turn on your camcorder and set it to out...

Page 13: ...ut jacks on the unit and AUDIO output jacks on the device Connecting a Computer 1 Turn on your TV then press SOURCE button The Input Source menu opens 2 Press5 or6 to select D SUB then press OK to confirm 3 Turn on your computer and adjust the display properties as required To play video from a computer Connect a D Sub cable between the D SUB jack on the computer and the D SUB input jack on the un...

Page 14: ...rm 3 Turn on your device and set it to the correct mode See the device s user guide for more information If the external device has DVI output only use a DVI to HDMI adapter cable to connect to the HDMI terminal Connect the audio cable to the D SUB AUDIO IN jack on the TV rear Note HDMI cable HDMI output Equipment with TV REAR Connecting Headphones Insert the plug of the headphone into the TV s He...

Page 15: ...V select a program you wish to record 2 Turn on your VCR insert a videotape for recording 3 Press the Record button to begin recording To record program Only analog TV programs and AV input source can be output through the AV output jacks Note TV Right Side S VIDEO VCR for Recording AV cable Cables are often colour coded to connectors Connect red to red white to white etc ...

Page 16: ...enu Tint 0 Picture Sound Time Setup Lock Channel Select Move Menu Return Sound Mode User Treble 50 Bass 50 Auto Volume Balance 0 Surround Sound Off Off Change Password Block Programme Parental Guidance No Block Lock System Off Restore Factory Default To navigate through the OSD main menu Basic Operations 13 Some menu items may be different when the unit works in different mode and menu items that ...

Page 17: ...o confirm the selection With the power on press the Power button on the remote control to turn off the unit and put the unit in standby mode To cut off the power completely press the Power Switch directly Turning On Insert the power cord into the wall outlet Press the Power Switch on the unit to power on If the unit is in standby mode press SOURCE on the unit or Power button on the remote control ...

Page 18: ...n Press 3 4 or OK to confirm the selection Press 6 or 5 to select the input source Options include DTV Watch the DTV signal ATV Watch the ATV signal AV Watch the signal from the AV input terminals Component Watch the signal from the COMPONENT input terminals D SUB Watch the signal from the D SUB input jack HDMI Watch the signal from the HDMI input jack Note 2 ABC TV Sydney MPEG SD DTV 11 08 Britis...

Page 19: ...ble and stores them in memory 1 Press MENU and the main menu screen displays And before you start Auto Tuning it is necessary to select a country firstly Then the TV begins memorizing all ATV DTV channels available in your area During the process you can press MENU to skip the search or EXIT to stop Auto Tuning 3 Highlight Auto Tuning item and press 4 or OK to access 2 Press 3 or4 to select Channe...

Page 20: ...ure and sound effect use Fine Tune Navigate to ATV Manual Tuning submenu highlight Current CH item press 3 or4 to select a channel you want to perform fine tune 1 Press 6 or5 to select Fine Tune item and then use 3 or4 button to fine tune until the best possible picture and sound are obtained 2 During the process press EXIT to exit and RED button to save the effect 3 Note Fine Tune is only for ana...

Page 21: ...hannels by using Favorite button 1 Navigate to the Channel menu press 5 or6 to select Programme Edit item press 4 or OK to open the Programme Edit menu 2 Use 6 or5 to select your favorite program use AV LIST button to mark the selected program as favorite a favorite symbol appears To cancel the favorite mark just press AV LIST button again and the symbol disappears If the program list has more tha...

Page 22: ...mbol Note 2 3 To skip unnecessary channels After auto search you can skip unnecessary channels so that only the channels you want to watch can be selected by CH CH 1 Select the channel you want to move in the Programme Edit menu To sort channels This function allows you to arrange the channel order Repeat the above steps for each channel you wish to move 2 3 If the Programme Edit menu has more tha...

Page 23: ...seconds or press OK to go directly to that channel When selecting the TV will indicate the channel through the information banner Method 4 Using channel list Press LIST button to display the channel list Use 5 or6 to select a channel and then press OK button If the channel list has more than one page you may press 5 or6 to scroll the page upward or downward Note Method 5 Using favorite channel lis...

Page 24: ...ht scenes and black hair Adjusts image sharpness and displays a sharp image Selects one of three automatic colour adjustments Sets to Warm to enhance hotter colours such as red or set to Cool to see less intense colours with more blue You can select from Warm Cool and Normal Colour Adjusts colour saturation Tint Adjusts tint for image Aspect Ratio You can select the aspect ratio display proportion...

Page 25: ...r a sports program Treble Bass Balance Adjusts Bass low sounds Adjusts Treble high sounds Adjusts volume balance left and right volumes Surround Sound Select On to equalize overall volume levels across all channels Select Off to turn off the auto volume control Music Select for a music program Auto Volume Select Surround to turn on the surround sound effect The benefits of surround sound are enorm...

Page 26: ...ing a stereo broadcast press the STEREO button to select Stereo or Mono When Mono is selected the TV sound is output monaurally When the TV set is receiving bilingual program press the STEREO button to select DUAL A or DUAL B Bilingual This enables the selection of the reception mode when receiving an IGR signal To let you enjoy IGR broadcasting this TV set receives IGR system stereo and bilingual...

Page 27: ...in MPEG then PCM format will be selected PCM Output audio signal by PCM format Selects the digital audio output mode for S PDIF You can select Auto or PCM Note To select Auto is recommended Hearing Impaired Only for digital programs Press 3 4 to select On to display the subtitles if available for the hearing impaired Select Off to turn off the function Press 4 or OK to access the submenu Within th...

Page 28: ... set a new system password or to change an existing system password By default the system password is 0000 and you may change it To access Parental Guidance to lock or unlock channels to view locked channels etc the system password is required To create a new password Use the number buttons to input a new password 4 digit 5 Input the new password again Now the new password has been created success...

Page 29: ...ly Picture Sound Time Setup Lock Channel Select Move Menu Return Lock System On Restore Factory Default Parental Guidance No Block Block Programme Change Password Picture Sound Time Setup Lock Channel Select Move Menu Return Restore Factory Default Lock System Off Parental Guidance No Block Block Programme Change Password Restoring Factory Default Running this function to reset all settings to its...

Page 30: ...etting please choose Off Press 5 or6 to select On Time item Press 4 or OK to access the submenu 2 With On Timer function On the TV will automatically turn on at the preset time Press 5 or6 to select Hour or Minute item and press 3 or4 to adjust the value 4 Option Description Volume Mode Program Number Sets desired volume for the On program Selects one source to be viewed through On timer Selects a...

Page 31: ...o remind you after how many seconds the TV will power off You can press any button to quit Note 3 Picture Sound Time Setup Lock Channel Select Move MENU Return Auto Sleep Sleep Timer Off Off Off Off Time On Time Off Clock 01 Jan 2009 15 30 Time Zone New Zealand GMT 12 Activate On Close Hour 00 Minute 00 Note The Hour and Minute can be set only after the Activate item will set to On Once you have s...

Page 32: ... YELLOW button again to exit Use 5 6 3 or4 to navigate among the channels and program events and press INFO button to get more detailed information if available about the program you choose If you want to switch between TV and Radio programs please press TV Radio 2 3 Opereation Press OK to tune to the channel you have selected To clear the EPG window press EXIT button or EPG button Note The EPG wi...

Page 33: ...in sub pages which are automatically displayed successively This button is used to stop or resume sub page acquisition Reveal button Press the button to reveal the concealed information such as games solutions Press the button again to hide the information Size button Press this button several times to display the upper then the lower part of the screen and then return to the normal size teletext ...

Page 34: ... horizontal width of the image on the screen Improves the focusing of a stable image Screen Setup 4 Press 5 6 3 4 to navigate through the options or adjust an option To confirm press OK Press MENU and the main menu screen displays 2 5 V Offset Moves the image on the screen up or down Press MENU to return to previous menu Press EXIT to exit the menu screen directly 3 Within the menu press 5 or 6 to...

Page 35: ...e unit AV Lock Press 3 4 to select On to lock the Channel menu Select Off to release Press 3 4 to select On to lock the input source of the unit to AV1 Select Off to return to normal operation Press 3 4 to select On or Off When the Panel Lock is set to On buttons on the control panel on the main unit are not active To restore please set it to Off Note When the item is set to On the Channel menu wi...

Page 36: ...ges Make sure the power cord is plugged in Press POWER on the TV or on the remote control Try another channel it could be station trouble Select a proper picture mode Adjust the brightness in the video setting Check the antenna connections Adjust the colour saturation in the video setting Check the antenna connections Try another channel it could be station trouble Adjustthe antenna Movethe TVaway...

Page 37: ...act and may be accompanied by a slight creaking noise This is not a malfunction Control buttons do not operate Disconnect the power cord and wait for a few seconds Then re plug the power cord and turn on the unit again If your problem is not solved turn your unit off and then on again Never attempt to repair a defective TV yourself Cautions Note Some settings such as volume setting etc may not be ...

Page 38: ...gonal 22 Power Supply AC220 240V 50 60Hz Power Consumption 50W Dimensions mm 526 W x 372 H x 180 D Unit Weight kg 5 Design and specifications are subject to change without notice Note TV System Analogue CCIR PAL B G NTSC AV Digital DVB T 2K 8K OFDM ...

Page 39: ...to prevent accidental scratching or damage to the unit s finish 4 The speaker is not intended to support the weight of this display Do not move or handle this product from the speaker which can cause damage to the display not covered under the manufacturer s warranty Place the stand on the table hold the display upright and aim the bottom stand column toward the stand groove then carefully push th...

Page 40: ...s are subject to change without notice Detaching the stand column 1 Place carefully the display on its front side with a soft cushion below shake the stand forward or backward to adjust angle between the stand and the display let the angle 90 If wall mounting please detach the stand column Place carefully the display on its front side with a soft cushion below loosen and remove 4 pcs screws detach...

Page 41: ...Ver 1 0 5944034890 ...

Reviews: