


EN
20
Setting the V
-
Chip
An age limitation can be set to restrict children from
viewing or hearing violent scenes or pictures that you
may choose to exclude. The restriction applies to “TV
Rating” and “Movie Rating” if this data is transmitted.
You may set this restriction separately. To use the
V
-
Chip function, you must register a password.
To register a password
1
Select “Lock”, then press
▶
or
ENTER
.
2
Select and enter your password (4 digits) using
Number buttons (0
-
9)
, then press
ENTER
.
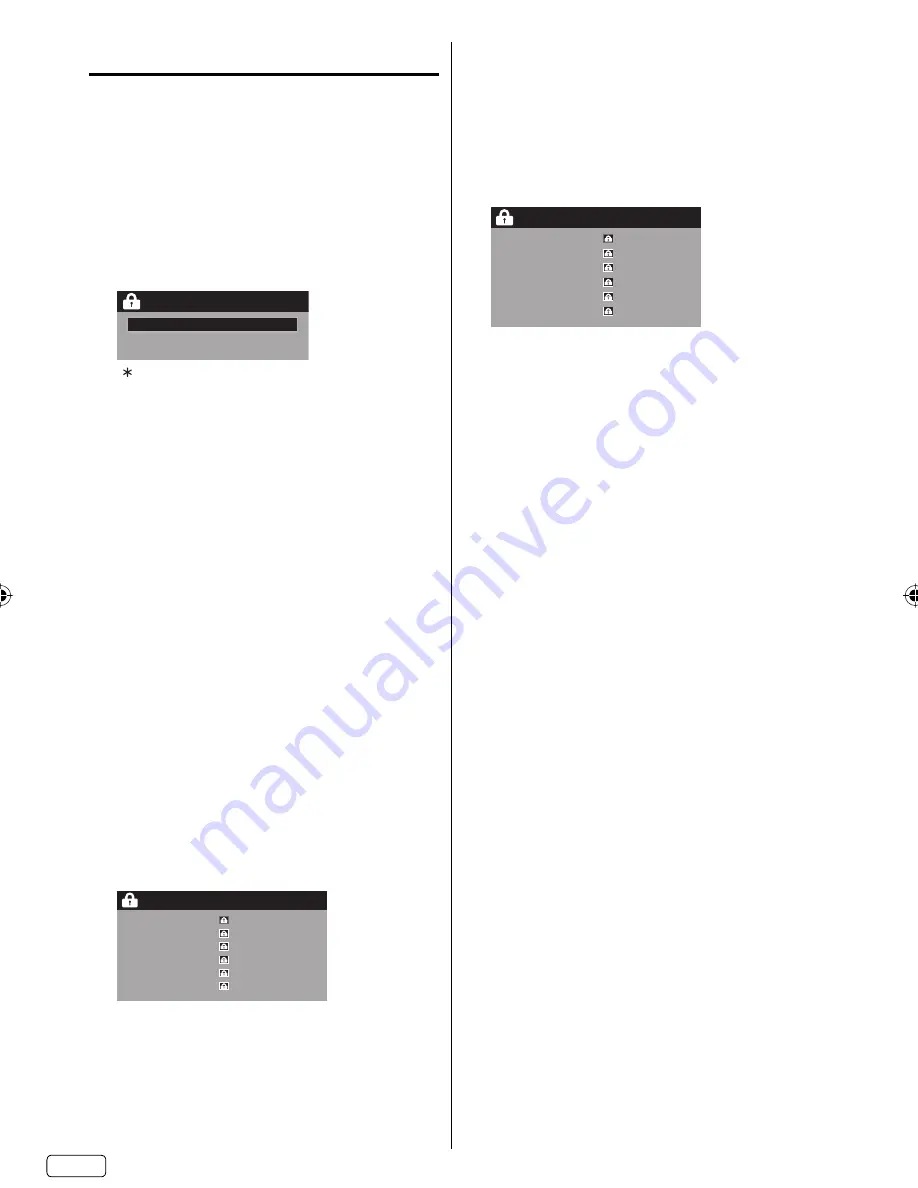
Lock
New Password
* * *
_
“ ” appears instead of the number.
3
Enter the same password again to confirm, then
press
ENTER
.
The password is now registered.
NOTE:
If you forget the password, contact Customer
Service at 1-800-289-0980 for assistance.
Your original remote control will be required.
To avoid forgetting the password, write it down and
keep in a safe place.
How to enter the V
-
Chip menu
1
Select “Lock” menu, then press
▶
or
ENTER
.
2
Use
Number buttons (0
-
9)
to enter your
password, then press
ENTER
. The V-Chip menu
will appear.
To set the V
-
Chip
1
In the V-Chip menu, press
◀
or
▶
to set “V-Chip”
to “On”.
2
Press
▲
or
▼
to select “V-Chip Set”, then press
▶
or
ENTER
.
The V-Chip Set menu will appear.
3
Press
▲
or
▼
to select which rating will be used,
then press
▶
or
ENTER
. Each rating below will
appear.
TV Rating
TV Rating
TV-Y
TV-Y7
TV-G
TV-PG
TV-14
TV-MA
You can set the rating using age level and genre.
Age:
TV
-
Y
: All children
TV
-
Y7
: 7 years old and above
TV
-
G
: General audience
TV
-
PG
: Parental guidance
TV
-
14
: 14 years old and above
TV
-
MA
: 17 years old and above
•
•
When you select TV-Y7, TV-PG, TV-14 or TV-MA,
press
DISPLAY
to explain the rating.
Genre:
D
:
Dialogue
L
:
Language
S
:
Sex
V
:
Violence
FV
: Fantasy
Violence
Movie Rating
Movie Rating
G
PG
PG-13
R
NC-17
X
G
: All ages
PG
: Parental guidance
PG
-
13
: Parental guidance less than 13 years old
R
: Under 17 years old parental guidance
suggested
NC
-
17
: 17 years old and above
X
: Adult only
4
Press
▲
/
▼
to select the desired rating, then press
ENTER
.
5
Press
EXIT
to return to the normal screen.
V-Chip function is activated now.
NOTE:
The V-Chip function is activated only on programs
and input sources that include a rating signal.
To change the password
1
In the V-Chip menu, press
▲
or
▼
to select
“Change Password”, then press
▶
or
ENTER
.
The Change Password screen will appear.
2
Enter a new password using
Number buttons
(0
-
9)
, then press
ENTER
.
3
Enter the same password again to confirm, then
press
ENTER
.
The password is now registered.
Downloading the additional V
-
Chip rating system
As a supplement to the standard V-Chip rating
system, your television will be able to download an
additional rating system, if such a system becomes
available in the future.
To download the additional V
-
Chip rating system
(when available)
1
In the V-Chip menu, press
◀
or
▶
to set “V-Chip”
to “On”.
2
Press
▲
or
▼
to select “V-Chip Set (DTV)”, then
press
▶
or
ENTER
.
3
If the TV is not storing the additional rating
system, the TV will begin downloading it, which
may take some time to be completed.
4
Set your preferred content rating limits for the
additional rating system.
5
You also need “Update” procedure to update
rating information.
•
J3LQ0121A_EN.indd 20
J3LQ0121A_EN.indd 20
3/14/12 4:36:52 PM
3/14/12 4:36:52 PM


