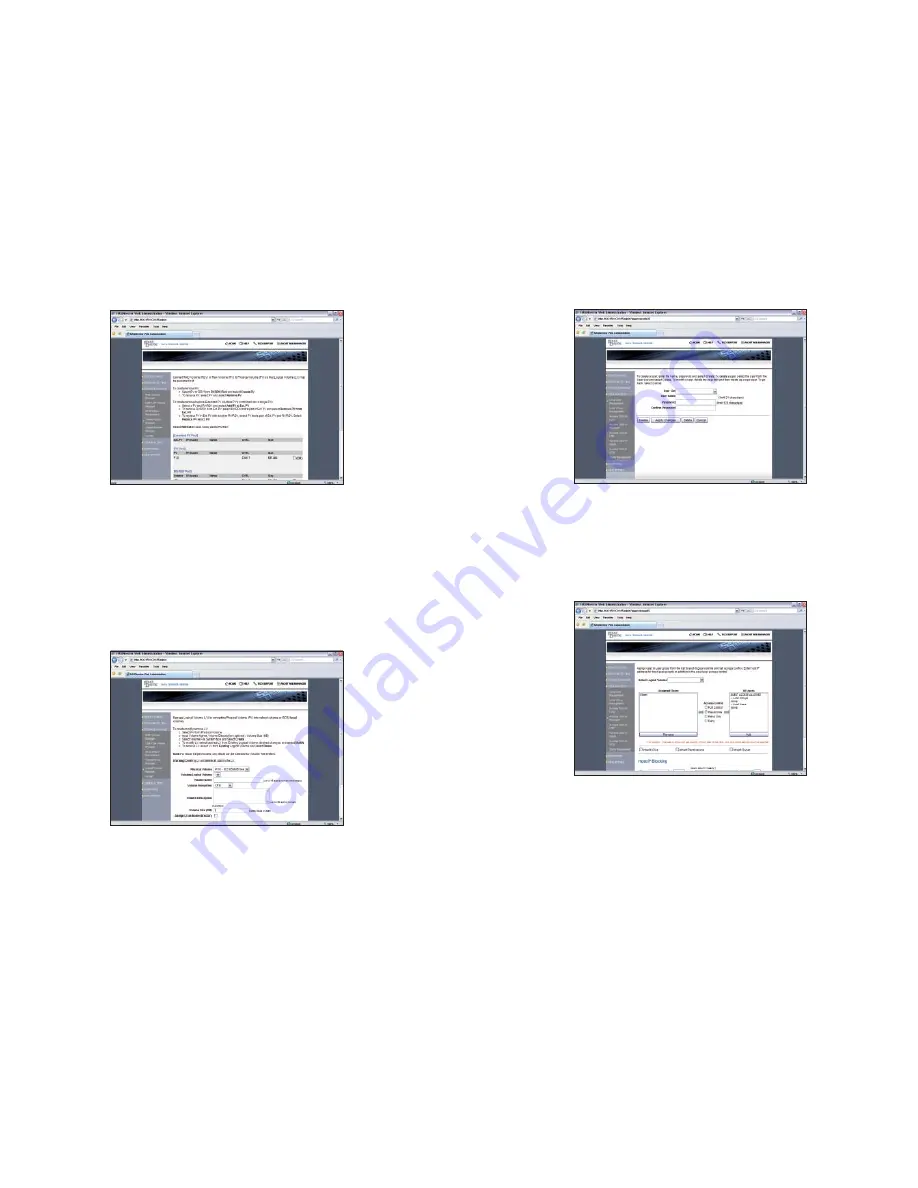
Step-5: Select “Storage Manager” -> “Logical Volume Manager”
LV is the actual share used via Microsoft Network, AFP or NFS. The name assigned will be
the share name.
To create the LV:
Select the appropriate PV.
1.
Assign a name to the share under “Volume Name”.
2.
Select a file format: “iSCSI” or “NFS” (for network share).
3.
Type in a share description (optional).
4.
Assign a size to the share under “Volume Size” in MB.
5.
Click “Create LV”.
6.
Note:
The Volume-Name (LV name) will be the network share name. The Volume size (LV
size) will be the network share size.
Step-6: Select “User & Access” -> “Local User Management”
“Local User Management” is for Windows Workgroup clients (who are not Domain users
or ADS users) and Mac clients.
Step-7: Select “User & Access” -> “Access Control – Microsoft”
Choose a Volume (Network Share).
By default, all users with account on the (B) are given full access to the volume.
Assigning a specified user to the “Assigned User List” will deny the access right of all users
who are not on the “Assigned User List”.
Caution:
“Read/Write” =/= “Full control”. User with “Read/Write” privileges could read
and write files in the volume/share, but the user could not delete the file(s).
Step-8: Access the Share/Volume on the NAS from A Client
From a Windows Client, launch the Windows Explorer
In the address bar, type:
\\IP\vol_1 (such as: \\192.168.1.128\vol_1 ) or
\\nasdirector\vol_1
The IP (192.168.1.128 ) is what was assigned to the NIC on the (B), and “vol_1” is
the volume / share name created during Step-4.
Map the path to a local drive letter with login reconnection selected.
11
12


