Designing a Layout
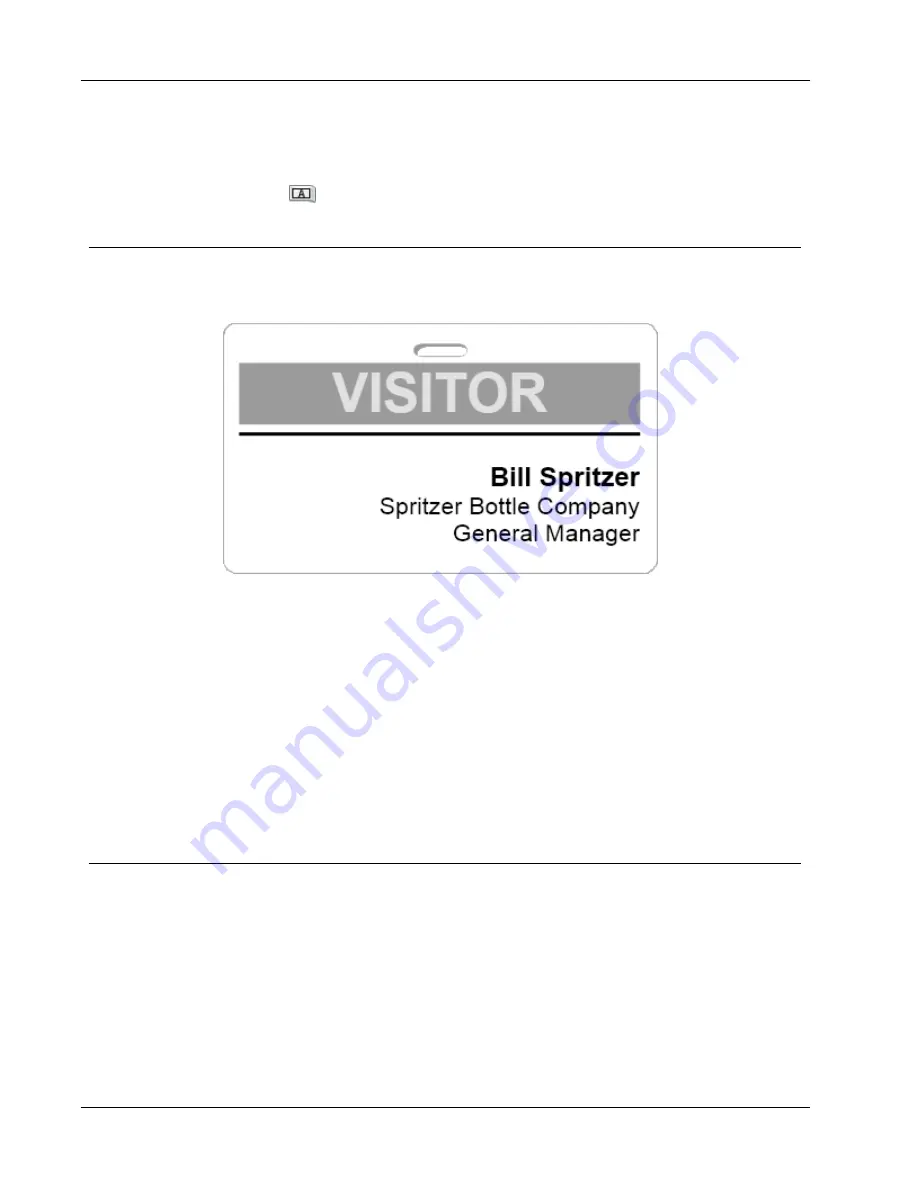
To add a border to a tape label
1. Choose a Tape label layout.
2. Click
on the toolbar, and then choose a border to add to the label.
Adding Shading to Objects
You can add shading to your label by changing the text and background color for the
objects on your label. You can change the text and background color for Address, Text,
Counter, Date and Time, and Circular Text objects.
To add shading to an object
1. Double-click the object that you want to add shading to.
The Object Properties dialog box appears.
2. Choose a background color for the object from the
Background color
list.
3. Do one of the following:
l
For Windows, choose a text color for the object from the
Text color
list.
l
For Mac, do one of the following:
l
For an Address or Text object, choose a text color for the object from the
Text
color
list.
l
For a Counter, Date and Time, or Circular Text object, click
Change
next to
Font
, and then choose a text color for the object.
Creating a Variable Text Object
All Address objects are designed to hold information that varies from label to label. For
example, Address objects automatically display an entry that you select from the Address
Book. Also, you can automatically paste information from the clipboard directly into an
Address object.
Normally, Text and Circular Text objects can only display fixed information that you enter
directly into a Text object or into the Circular Text Properties dialog box. However, you
can make a Text or Circular Text object display variable information in the same manner as
an Address object (that is, turn a plain Text object into a "variable Text object").
64
Summary of Contents for LabelWriter 450 Duo Label Printer
Page 1: ...User Guide DYMO Label TM v 8...
Page 8: ...Internet Support 107 Contact Information 107 Glossary 109 viii...
Page 14: ...6 This page intentionally left blank for double sided printing...
Page 16: ...8 This page intentionally left blank for double sided printing...
Page 24: ...16 This page intentionally left blank for double sided printing...
Page 30: ...22 This page intentionally left blank for double sided printing...
Page 38: ...30 This page intentionally left blank for double sided printing...
Page 59: ...Adding Design Objects Circular Text Object Properties 51...
Page 74: ...66 This page intentionally left blank for double sided printing...
Page 92: ...84 This page intentionally left blank for double sided printing...
Page 110: ...102 This page intentionally left blank for double sided printing...
Page 112: ...104 This page intentionally left blank for double sided printing...
Page 114: ...106 This page intentionally left blank for double sided printing...
Page 116: ...108 This page intentionally left blank for double sided printing...
Page 122: ...114 This page intentionally left blank for double sided printing...


