background image

GB-5

Pr

oduc

t O

ver

view


and 

G

etting 

Star

ted

Basic 

Oper

ation

D

AB 

Oper

ation

FM 

Oper

ation 

iP

od 

Oper

ation 

AUX 

Oper

ation

M

ain

tenanc

e, 

H

in

ts 

and 


Tips 

and 

Specifica

tion

Saf

et

W

ar

nings

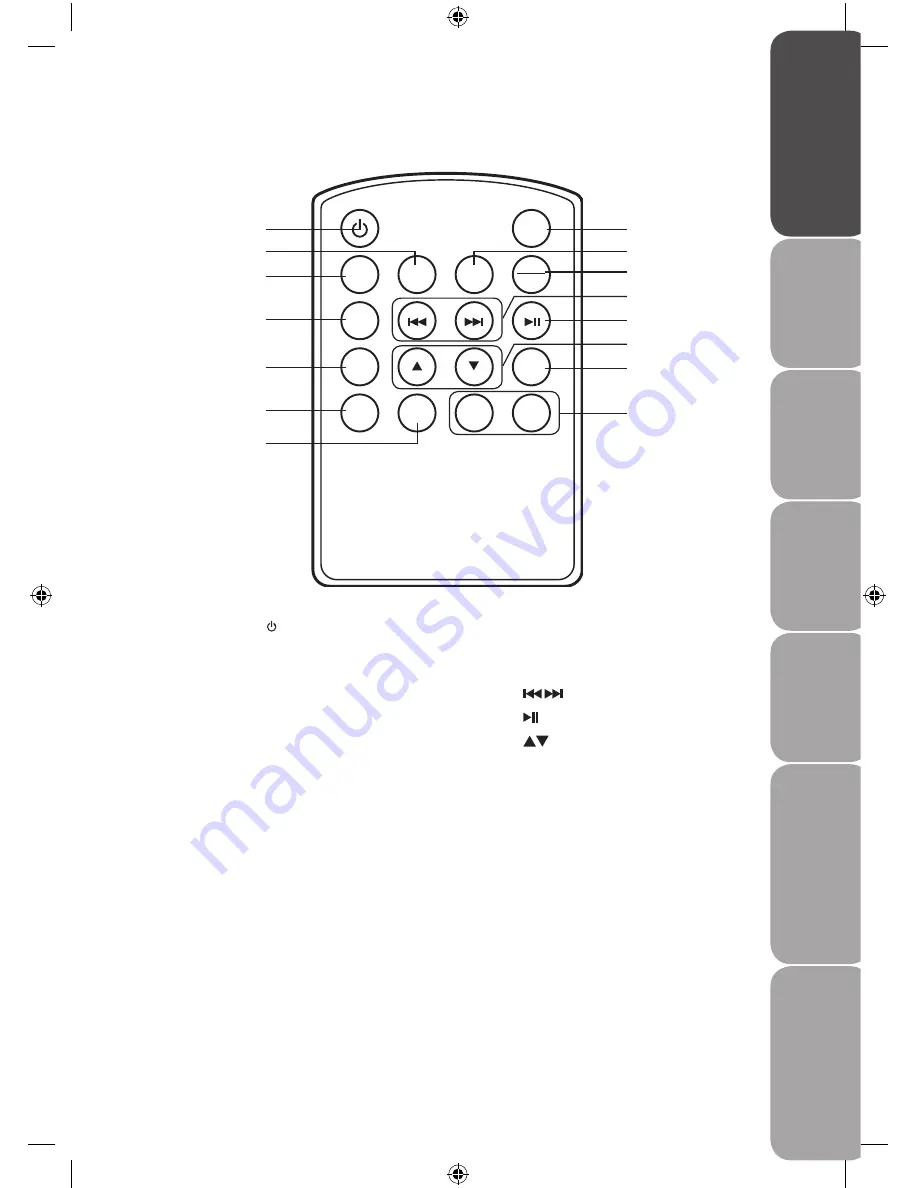
Remote Control

1. 


STANDBY

 Button

2. 

PRESETS

 Button

3. 

SCAN

 Button

4. 

ALARM1

 Button

5. 

ALARM2

 Button

6. 

MENU

 Button

7. 

MODE

 Button

8. 

REPEAT

 Button

REPEAT

INFO

PRESETS

SCAN

ALARM1

ALARM2

MENU

MODE

VOL-

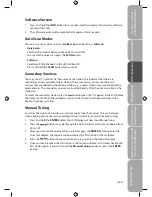
VOL+

ENTER

SLEEP

SNOOZE

1
2
3

4

5

6

7

8
9

10
11
12
13
14

15

9. 

INFO

 Button

10. 

SLEEP / SNOOZE


Button

11. 


 Button

12. 

 Button

13. 

 Button

14. 

ENTER

 Button

15. 

VOL+ /–

 Button

Summary of Contents for S66IDAB10

Page 1: ...Instruction Manual DAB Radio with docking for iPod S66IDAB10 iPod not included...

Page 2: ......

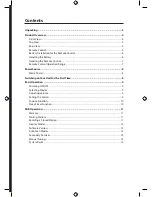
Page 3: ...ation Range 7 Power Source 8 Mains Power 8 Switching on Your Unit for the First Time 8 Basic Operation 9 Powering ON OFF 9 Selecting Modes 9 Adjusting Volume 9 Setting the Alarms 9 Snooze Function 10...

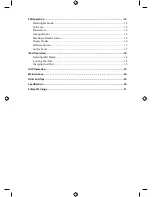
Page 4: ...ing Stations 15 Recalling a Stored Station 15 Display Modes 16 Software Version 17 System Reset 17 iPod Operation 18 Selecting iPod Mode 18 Inserting the iPod 18 Charging Your iPod 19 AUX Operation 19...

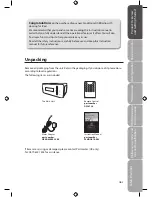
Page 5: ...Control part number DS267 18 The Main Unit Mains Adapter part number UKAD83005 1500 Instruction Manual part number S66IDAB10 002 VOL VOL ALARM1 ALARM2 ENTER INFO REPEAT INFO PRESETS SCAN ALARM1 ALARM2...

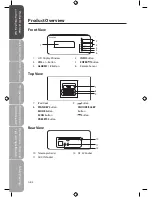
Page 6: ...nt View 1 LCD Display Window 2 VOL Button 3 ALARM1 2 Button Top View Rear View 10 Telescopic Aerial 11 AUX IN Socket 4 INFO Button 5 ENTER Button 6 Remote Sensor VOL VOL ALARM 1 ALARM 2 INFO ENTER 2 3...

Page 7: ...fety Warnings Remote Control 1 STANDBY Button 2 PRESETS Button 3 SCAN Button 4 ALARM1 Button 5 ALARM2 Button 6 MENU Button 7 MODE Button 8 REPEAT Button REPEAT INFO PRESETS SCAN ALARM1 ALARM2 MENU MOD...

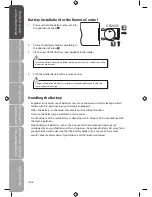
Page 8: ...nal injury or damage to property When the battery is exhausted the remote control will not function Only use the battery type indicated in this manual Do not dispose of the used battery as domestic wa...

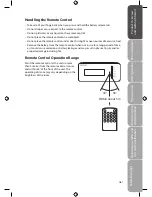
Page 9: ...the remote control under direct sunlight or near sources of excessive heat Remove the battery from the remote control when not in use for a long period of time as it could cause corrosion or battery...

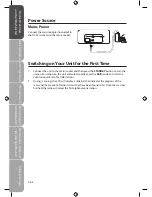
Page 10: ...tton to turn the unit on For initial use the unit will automatically enter the DAB mode and start the auto tune quick scan for DAB stations 2 During scanning the LCD will display a slide bar that indi...

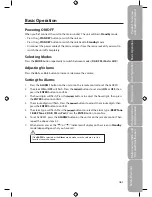
Page 11: ...Alarms 1 Press the ALARM1 button on the unit or on the remote control to set the ALARM 1 2 The alarm ON or OFF will flash Press the buttons to set alarm ON or OFF then press the ENTER button to confi...

Page 12: ...ext day Sleep Timer Function This function automatically switches the iPod clock radio to Standby mode after the preset time has elapsed 1 To activate the sleep timer function press the SNOOZE SLEEP b...

Page 13: ...ations to the memory This will enable you to access your favourite stations quickly and easily 1 To store a preset you must first be listening to the station that you would like to save press and hold...

Page 14: ...mme Type DAB unlike normal radio groups together several radio stations and transmits them on one frequency DLS Dynamic Label Segment Dynamic label segment is a scrolling message that the broadcaster...

Page 15: ...sports station may want to add extra commentaries The secondary services are inserted directly after the primary station in the station list To select the secondary station press the button when the...

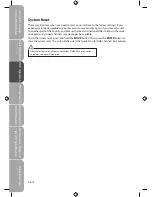
Page 16: ...may be times when you need to reset your unit back to the factory settings If you experience reception problems you may want to reset and try again If you move the unit to another part of the country...

Page 17: ...top once it has cycled through the entire FM band 87 5 108MHz Manual Scan To search FM stations manually simply press the buttons repeatedly until your desired frequency is reached Storing Stations Yo...

Page 18: ...omatically so there s no need to manually set this information In the unlikely event that the broadcaster does not transmit any clock information the display will show Time Date Channel Frequency This...

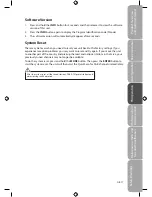
Page 19: ...ar after 5 seconds System Reset There may be times when you need to reset your unit back to the factory settings If you experience reception problems you may want to reset and try again If you move th...

Page 20: ...od battery will automatically start to charge until it is fully charged 4 Select your desired music and play the connected iPod as usual Press the ENTER button on the unit or the button on the remote...

Page 21: ...he battery may need to be charged if it has not been used for a while 2 You can automatically charge the iPod through the unit when in STANDBY AUX iPod mode AUX Operation 1 Before connecting to the ma...

Page 22: ...available No DAB coverage in your area or poor reception Adjust the position of the aerial Poor reception Adjust the position of the aerial The display is blank This may occur if the broadcaster chan...

Page 23: ...filled with liquids such as vases should be placed on the unit If you spill any liquid into the unit it can cause serious damage Switch it off at the mains immediately Withdraw the mains plug and con...

Page 24: ...k do not remove screws The unit does not contain any user serviceable parts Please leave all maintenance work to qualified personnel Do not open any fixed covers as this may expose dangerous voltages...

Page 25: ...duct or in the instructions means that your electrical and electronic equipment should be disposed at the end of its life separately from your household waste There are separate collection systems for...

Page 26: ......

Page 27: ......

Page 28: ......

Reviews: