Cust
omising T
V
Settings
28
GB
2. Press the
buttons to select the following picture options and then
press the OK button.
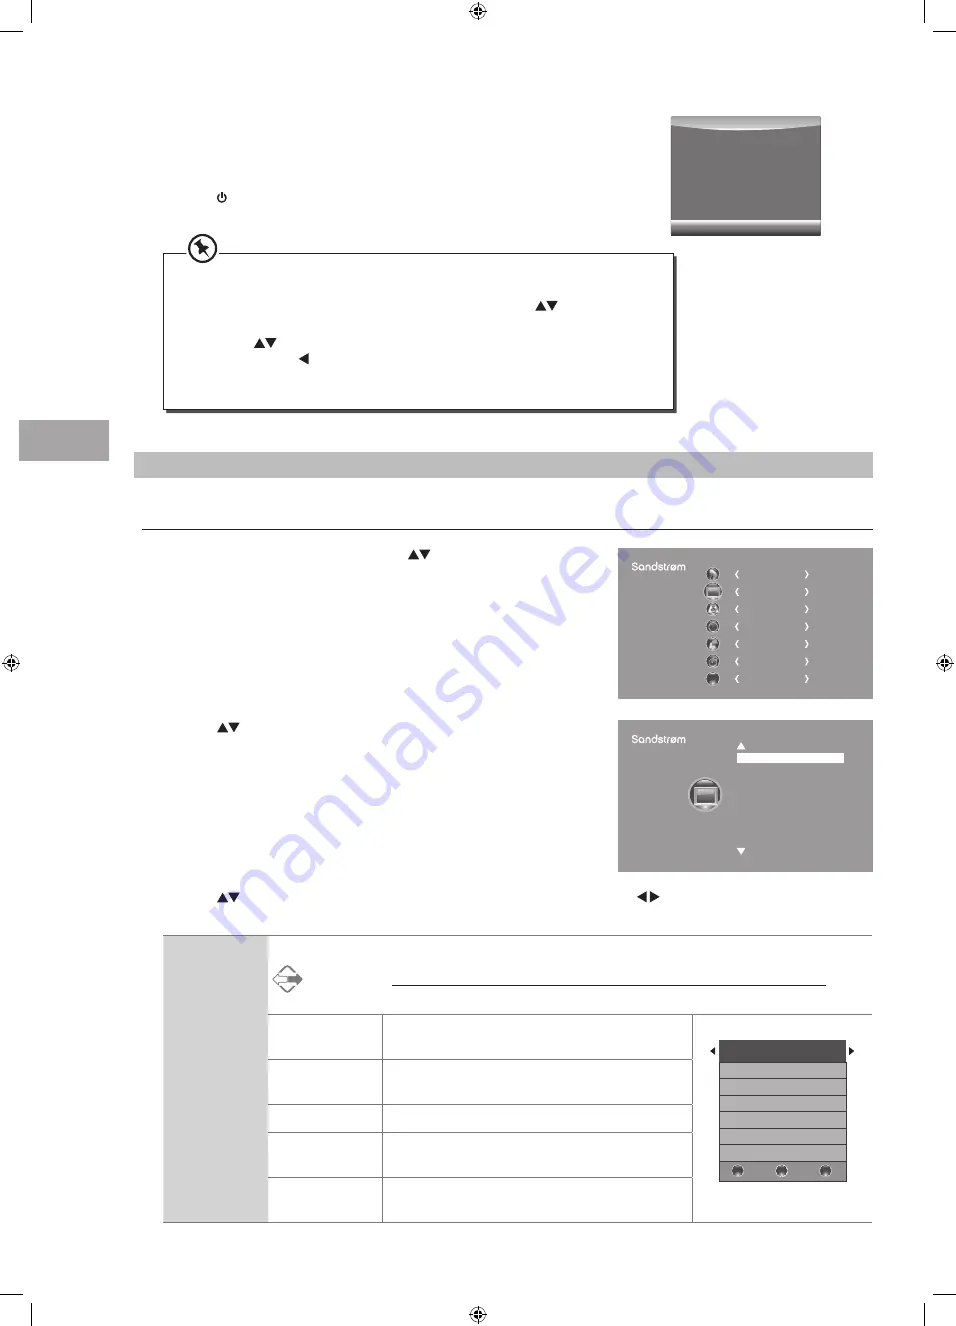
Picture Setting
Allows you to set your preferred picture mode.
1. Press the MENU button and then press the
buttons to select the
PICTURE menu and then press the OK button.
3. Press the
buttons to select the options. Press the OK button and then press the buttons to adjust each option’s
setting.
Picture Mode
Select among picture mode: Standard / Mild / User / Dynamic.
Alternative
You may press the P.MODE button to select the picture mode directly.
Contrast
Adjusts the difference between light and dark levels
in the picture (for User mode).
Picture Mode Standard
Contrast 50
Brightness 50
Colour 50
Sharpness 50
Tint 50
BACK
MENU
EXIT
Brightness
Increases or decreases the amount of white in the
picture (for User mode).
Colour
Controls the colour intensity (for User mode).
Sharpness
Adjusts the level of crispness in the edges between
light and dark areas of the picture (for User mode).
Tint (For NTSC
format)
Adjusts the balance between red and green levels
(Tint is only available for NTSC signal reception).
CHANNEL
PICTURE
SOUND
TIME
OPTION
LOCK
EXIT
EXIT
Picture Mode Standard
Colour Temperature
Aspect Ratio
Noise Reduction
Screen
Backlight
PICTURE
8. When the download is complete, the TV will automatically upgrade the
software.
9. When the update is complete, the TV will return to standby mode.
10. Press the button on the right side panel of the TV or on the remote control
to switch on the TV.
Software Update(OAD)
71%
If you experience difficulties after the software update, we recommend that you
restore your TV to the factory default settings. To do this, follow the steps below:
1. Press the MENU button to go to the MAIN menu. Press the
buttons to select
OPTION and then press the OK button.
2. Press the
buttons to select Restore Factory Default and then press the OK
button. Press the button to select Yes to reset the setting.
3. The TV will restore all settings and go to the First Time Installation. Follow the First
Time Installation steps (refer to page 19-21 for details).
S32HEDW13_IB_RC130723_Annie.indd 28
23/7/13 5:08 PM


