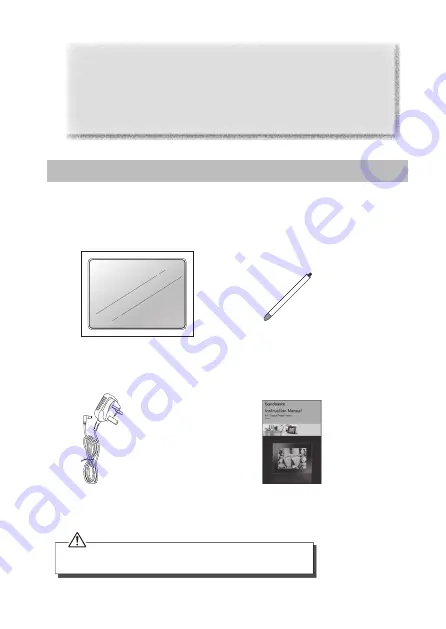
Sandstrom S10DPF11 Instruction Manual Download Page 4

4

Photo Frame Stand

P.N.: 27-155-06550200

Mains Adapter

P.N.: 49-501-01001059

Instruction Manual

P.N.: 46-007-45010309

Digital Photo Frame

Unpacking

Remove all packaging from the unit. Retain the packaging. If you dispose it please do 

so according to local regulations.
The following items are included:

Thank you

 for purchasing your new Sandstrøm Digital Photo Frame.

We recommend that you spend some time reading this instruction manual in order 

that you fully understand all the operational features it offers. You will also find some 

hints and tips to help you resolve any issues.
Read all the safety instructions carefully before use and keep this instruction manual 

for future reference.

If items are missing or damaged, please contact Partmaster (UK only). 

Tel: 0844 800 3456 for assistance.

Summary of Contents for S10DPF11

Page 1: ...Instruction Manual 9 7 Digital Photo Frame S10DPF11...

Page 2: ......

Page 3: ...d 6 Connecting to the Mains Power 7 Inserting a Memory Card USB Flash Drive 8 Viewing Photos 9 Main Menu 9 Selecting the Memory Drive 9 Viewing Thumbnails 10 Playing a Slideshow 10 Using the Tool Bar...

Page 4: ...uded Thank youfor purchasing your new Sandstr m Digital Photo Frame We recommend that you spend some time reading this instruction manual in order that you fully understand all the operational feature...

Page 5: ...tion 5 button To move left in the menu thumbnail mode option settings To display the previous photo 6 button To move down in the menu thumbnail mode option settings 7 Esc button To return to the main...

Page 6: ...can choose to display your unit in a landscape or portrait position Preparations Attaching the Stand 1 Take out the stand attached at the back of the unit Stand Stand Receptacle Landscape Position Po...

Page 7: ...1 Connect the supplied mains adapter 5V DC 2A to the unit and then plug into the mains socket 2 Slide the ON OFF switch to the ON position to turn on the unit 3 To turn off the unit slide the ON OFF s...

Page 8: ...ts are played please use your computer to convert the images to a readable format Insert your memory card into the appropriate slot following the orientation marked on the unit Insert a USB drive into...

Page 9: ...ns are displayed USB Highlights when you select a USB flash driver Card Highlights when you select a SD MMC MS card Setup To customise the settings of the unit In the main menu if you press the button...

Page 10: ...ying a Slideshow In thumbnail mode select a photo and then press the button to start a slide show from the current photo The selected photo is displayed on the screen and a hint pop up window will app...

Page 11: ...igate between the icons on the OSD menu To start or resume a slideshow from the current photo highlight on the screen and press the button and then the icon will change to on the screen To zoom in on...

Page 12: ...ion Effect Set up the style of transition while playing a slide show Date Stamp Display the detail information of photos when you are viewing them Shuffle To play photos in a random order or in order...

Page 13: ...not display properly Go to the main menu then the SETUP and change the display mode to match your photo Full Standard If photo display seems slow Use lower resolution photos The image is distorted or...

Page 14: ...Host 2 0 High Speed Supports USB flash media USB Max Load DC 5V 400mA Supported Peripheral Devices SD Secure Digital Card MMC MultiMedia Card MS Memory Stick Supported Photo Format JPEG only Storage...

Page 15: ...items such as newspapers tablecloths curtains etc Overheating will cause damage and shorten the life of the unit Do not handle the power cable with wet hands Be careful with the LCD panels on the unit...

Page 16: ...quipment should be disposed at the end of its life separately from your household waste There are separate collection systems for recycling in the EU For more information please contact the local auth...

Page 17: ......

Page 18: ......

Page 19: ......

Page 20: ......

Reviews: