8
Basic Recording
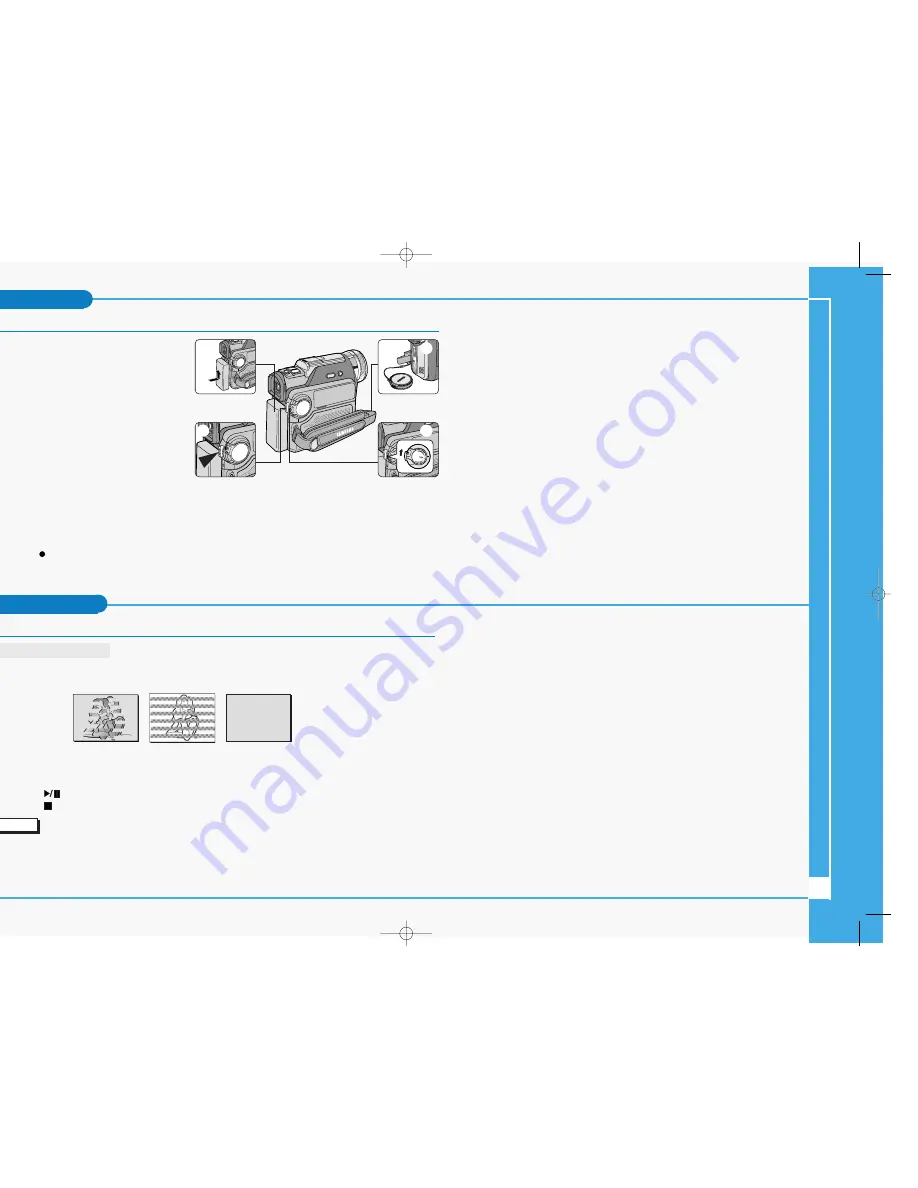
Making your First Recording
1. Connect a Power source to the camcorder.
(see page 23)
(A battery pack or a AC power adapter)
■
Insert a cassette. (see page 27)
2. Remove the LENS COVER.
3. Set the power switch to the CAMERA
position.
■
Open the LCD monitor.
■
Set the mode switch to the TAPE position.
Make sure that STBY is displayed.
■
If the protection tab of the cassette is
open, STOP and PROTECTION! will be displayed.
■
Make sure the image you want to record appears in the LCD monitor or viewfinder.
■
Make sure the battery level indicates that there is enough remaining power for your expected
recording time.
4. To start recording, press the START/STOP button.
■
REC is displayed in the LCD monitor.
To stop recording, press the START/STOP button again.
■
STBY is displayed in the LCD monitor.
Maintenance
Cleaning and Maintaining the Camcorder
Cleaning the Video Heads
To ensure normal recording and clear pictures, clean the video heads
when the playback pictures display square block-shaped noise or distortion
,
or a blue screen appears.
1. Set the power switch to PLAYER mode.
2. Insert the cleaning tape.
3. Press the
(PLAY/STILL) button.
4. Press the
(STOP) button after 10 seconds.
Notes
■
Check the quality of the picture using a videocassette.
If the picture quality has not improved, repeat the operation.
If the problem continues, contact your local authorized service center.
■
Clean the video heads with a dry type cassette cleaner.
(blue screen)
4
1
3
2
∞
£¥‹º
≥∏
̺
≠
(D907) 11/18/04 8:57 AM Page 8


