


Messaging 52
Section 7: Messaging
This section explains how to send or receive different types of
messages. This section also describes the features and
functionality associated with messaging.
Types of Messages
Your phone is able to send and receive Text and Picture
messages to compatible phones and devices. Text messages can
be up to 160 characters in length.
Note:
Available memory is shared between all messages. You can store up to
100 messages. However, the exact number is dependent upon
message length.
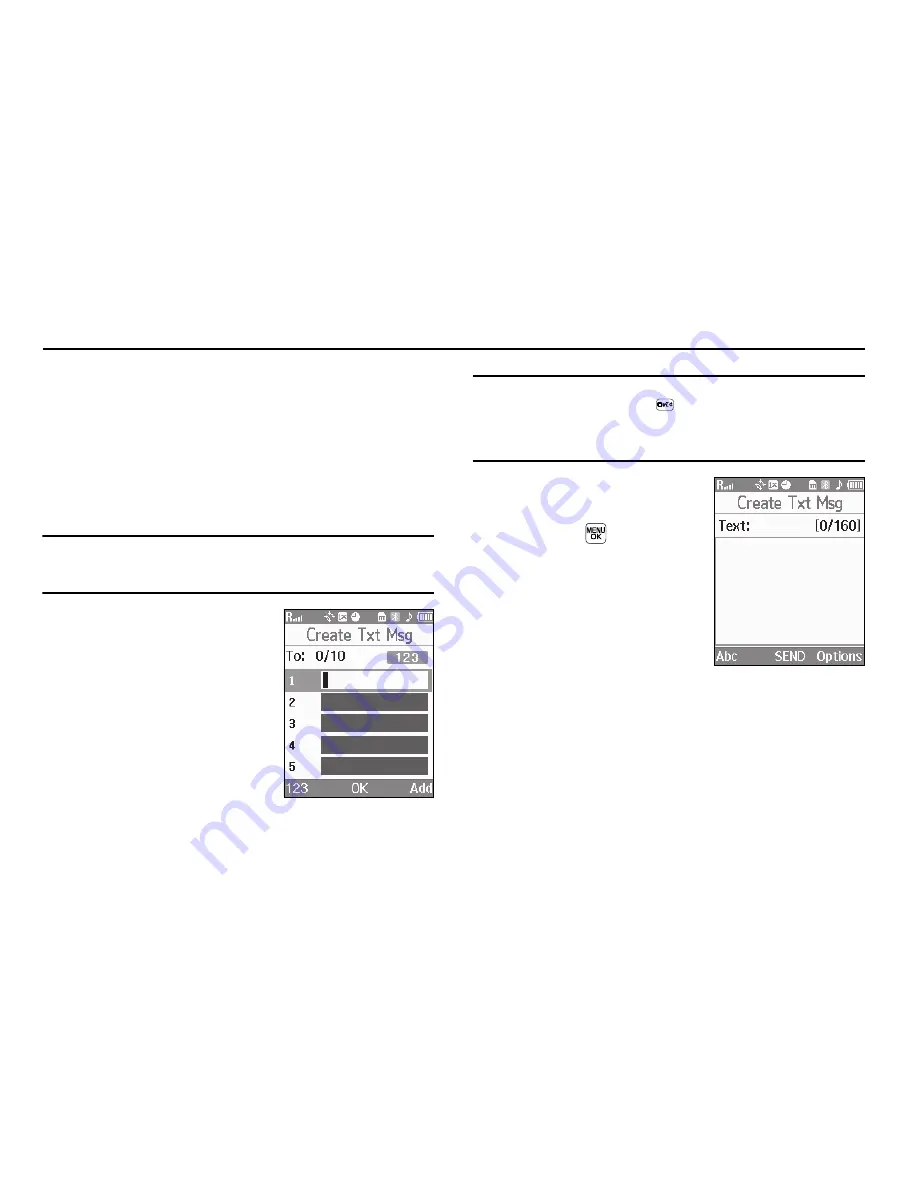
Create and Send Text
Messages
1.
In standby mode, press the
Msgs
soft key, then select
Send Message
➔
Text
Message
. The
Create Txt Msg
screen appears in the display
showing the
To:
list.
Tip:
To launch the
Create Txt Msg
screen using a voice command — In
standby mode, press and hold
until the phone prompts, “
Say a
command.
” Say “
Send Text
” into the microphone. You are then prompted
to say a Contact name or a number for the first recipient of the
message.
2.
Enter the phone number or
Email address of the recipient,
then press
. The
Text:
field
appears in the display.
3.
Enter the text content of your
message using the keypad.
(For more information, refer to
“Entering Text”
on page 35.)
4.
Press the
Options
soft key to complete the message text
and set message send options. The following options
appear in the display:
• Edit Send To
— Edit the recipient’s number or email address.
• Add Quick Text
— Insert pre-composed text in your message.
• Save As Draft
— Save the message to your Draft folder.
Summary of Contents for TwoStep SCH-R470 Series
Page 160: ...157 ...


