23
Preparations
1
1 Preparations
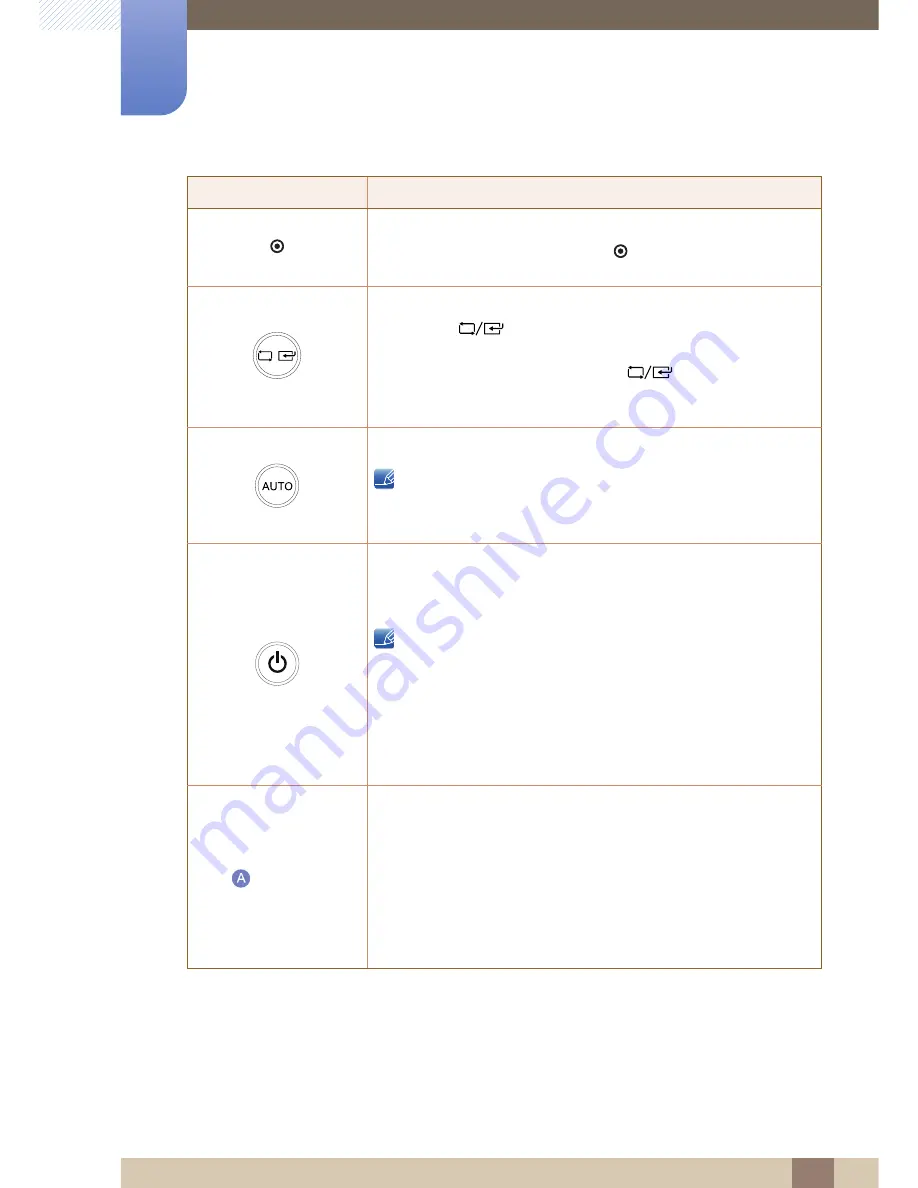
Push the button to adjust the volume.
When the OSD guide is displayed, the [
] button activates the function
assigned to
Volume
.
Confirm a menu selection.
Pressing the [
] button when the OSD menu is not displayed will
change the input source (
Client
/
Analog
). If you power on the product or
change the input source by pressing the [
] button, a message
that shows the changed input source will appear at the top left corner of
the screen.
Press the [
] button to automatically adjust the screen settings.
z
Available only in
Analog
mode.
z
Changing the resolution in Display Properties will activate the
Auto Adjustment
function.
Use this button for turning the Display on and off.
Pressing the power button for more than 4 seconds forces the product
to shut down.
z
The power indicator will be lit when the product is operating
normally.
z
Refer to "11.2 PowerSaver" for details about the power-saving
function.
z
To reduce power consumption. it is best to remove the power
cable when you will not be using the product for an extended
period of time.
OSD Guide
If you press a button on the front of the monitor, an OSD Guide will
display showing the function of the button before the menu for the
pressed button appears.
To go to the menu, press the button on the front of the monitor again.
OSD Guide may vary according to functions and models. Please refer to
actual product.
Icons
Description
AUTO
Press one of the buttons on the monitor, OSD Guide will appear on the
screen. (This does not apply to the power button.)


