


DO NOT PLACE CANDLES,MOSQUITO REPELLANT,CIGA-
RETTES AND ANY HEATING APPLIANCES NEAR THE PROD-
UCT.
• Otherwise, this may cause fire.
Keep heating appliances as far away from the power cord or the
product as possible.
• Otherwise, this may result in electric shock or fire
Do not install it in a badly ventilated location such as a bookcase
or closet.
• Otherwise, this may result in fire due to an increase in the in-
ternal temperature.
Put down the monitor carefully.
• Failing to do so may damage the monitor.
Do not place the front of the product on the floor.
• Otherwise, this may result in damage to the screen display.
Ensure that an authorized installation company installs the wall
mount.
• Otherwise, it may fall and cause personal injury.
• Make sure to install the specified wall mount.
Install your product in a well ventilated location. Ensure that
there is a clearance of more than 10 cm from the wall.
• Otherwise, it may result in fire due to an increase in the internal
temperature.
Ensure that the packaging vinyl is kept away from children.
• Otherwise, it may result in serious harm (suffocation) if children
play with it.
If the height of your monitor is adjustable, do not place any ob-
ject or part of your body on the stand when lowering it.
• This may cause damage to the product or the person carrying
it.
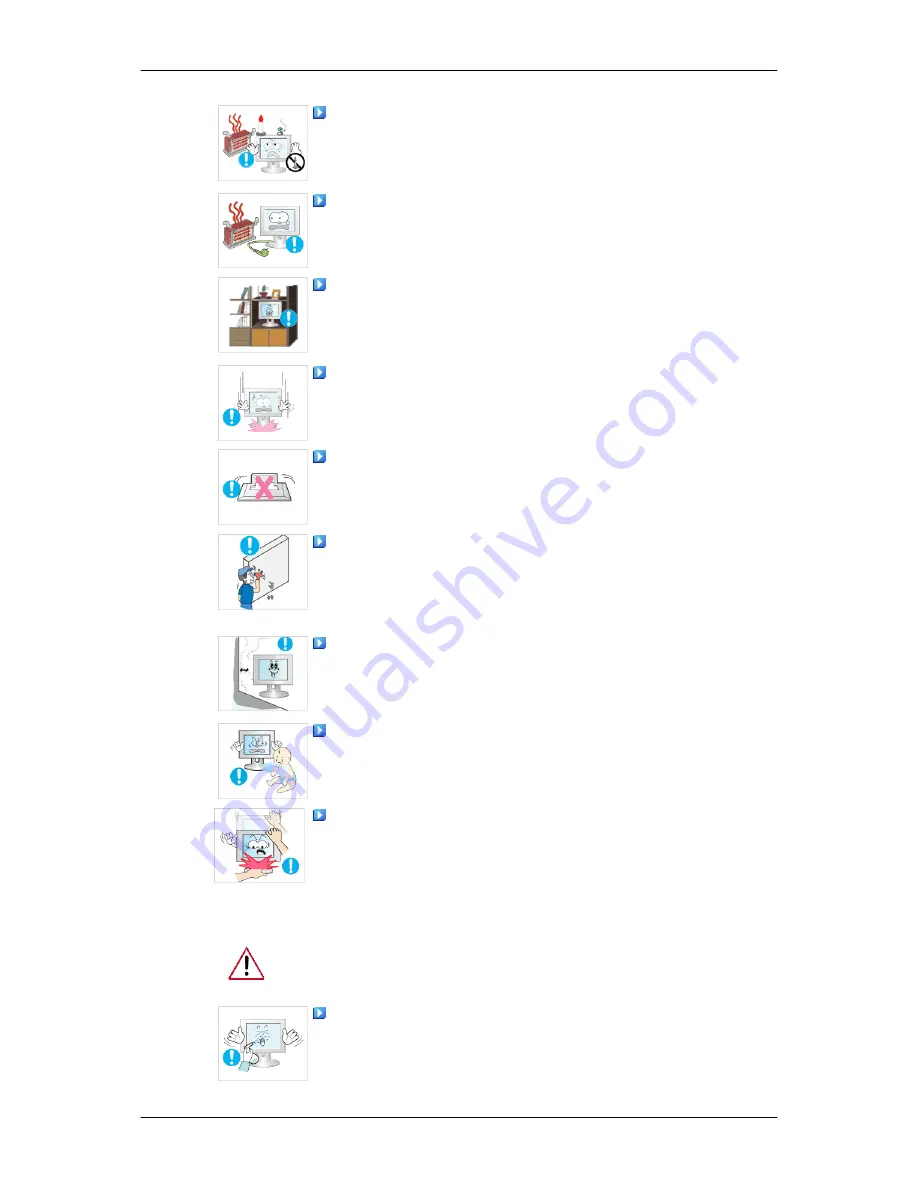
Clean
When cleaning the monitor case or the surface of the TFT-LCD screen,
wipe with a slightly moistened, soft fabric.
Do not spray cleaner directly onto the surface of the product.
• Otherwise, this may result in the discoloration and distortion of
the structure and the screen surface may peel off.
Safety Instructions
3


