GB
25
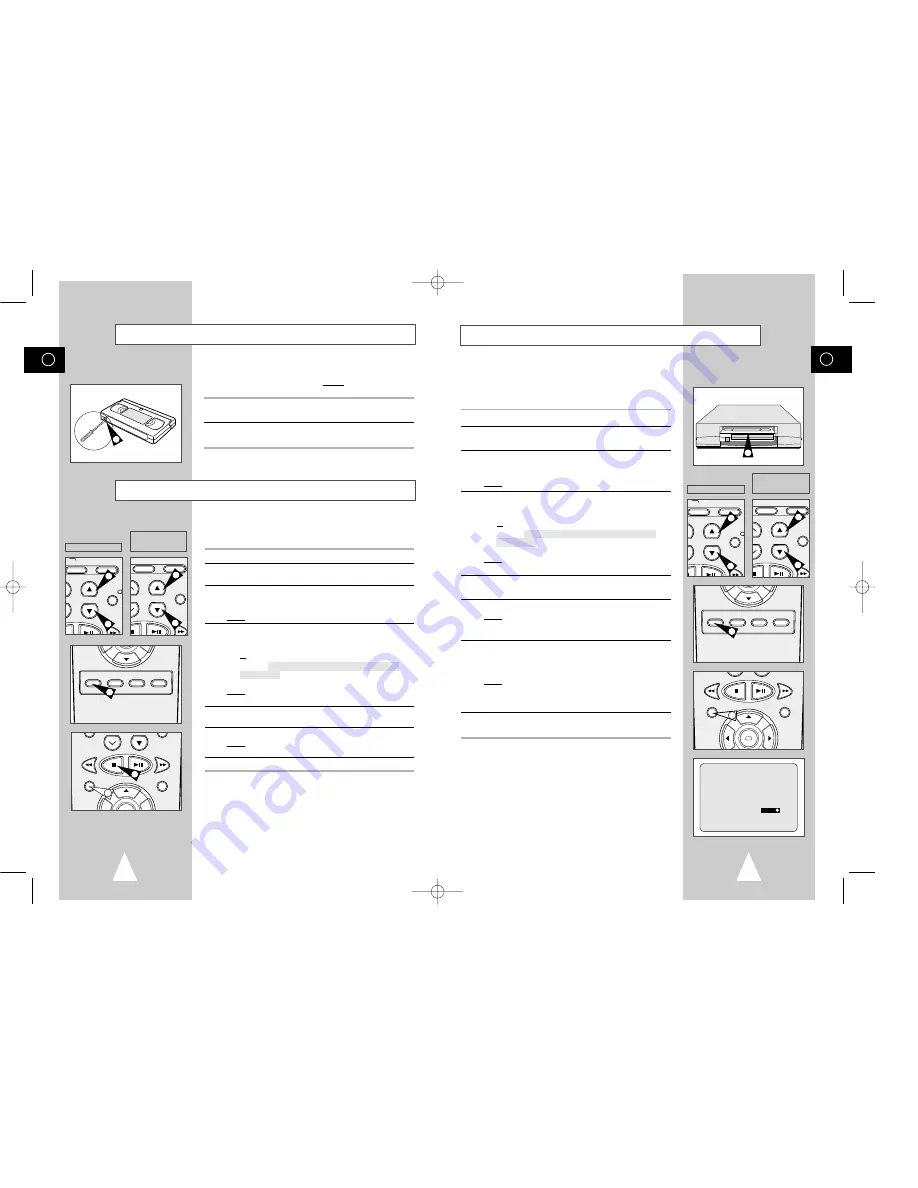
Recording a Programme with Automatic Stop
3
LENGTH 2:30
SET LENGTH :
PRESS
REC
OK
REC
MENU
6
SPEED DUB TV/VCR TIMER
5
This function enables you to record up to nine hours (LP) of
programmes.
Your VCR stops automatically after the requested length of time.
1
Switch on the television.
2
To monitor the programme being recorded, select the television
channel reserved for use with your VCR (or the AV input if used).
3
Insert the cassette on which the programme is to be recorded,
with the window visible and the safety tab intact or the opening
covered with adhesive tape.
Result:
The VCR is switched on automatically.
4
Select:
◆
The station to be recorded using the PROG/TRK (
"
or
❷
) /
PROG (
"
or
❷
) buttons
or
◆
The AV1, AV2 or AUX
★
(SV-657B/SV-655B/SV-651B/
SV-651I only) source using the INPUT button for a satellite
tuner or external video source
Result:
The channel number is displayed and the programme
can be seen on the television.
5
Select the recording speed by pressing the SPEED button as
many times as required (see page 22).
6
Hold the REC button down for a while to start recording.
Result:
The record indicator appears on the television screen
and VCR display. An index is recorded on the tape
(see page 36).
7
Press the REC button several times to increase the recording time
in:
◆
30-minute intervals up to four hours
◆
1-hour intervals up to nine hours (LP)
Result:
The length is displayed on the television displays. The
selected programme is recorded for the length of time
requested. At the end of that time, the VCR stops
recording automatically.
8
If you wish to cancel the recording before the end, press
VCR STANDBY/ON (STANDBY/ON).
☛
If the end of the tape is reached while recording:
◆
The recording stops
◆
The VCR automatically turns off
VCR INPUT
REPEAT
L PROG/TRK
DISP./
CT
IPC INPUT
REPEAT
RK PROG
DISPLA
4
4
4
4
★
(SV-657B/SV-655B)
★
(SV-651B/SV-651I/
SV-225B/SV-251B/
SV-251I)
GB
24
Recording a Programme Immediately
Protecting a Recorded Cassette
Video cassettes have a safety tab to prevent accidental erasure.
When this tab has been removed, you cannot record on the tape.
1
If you wish to protect a cassette, break off the tab using a small
screwdriver.
2
To re-record over a protected cassette (safety tab broken), cover
the hole with adhesive tape.
1
SPEED DUB TV/VCR TIMER
TRK PROG
REC
MENU
6
5
7
Before recording a programme, you must have preset the corres-
ponding station (unless you are recording via an external video
source). If you have not done so, refer to pages 18 and 19.
1
Switch on the television.
2
To monitor the programme being recorded, select the television
channel reserved for use with your VCR (or the AV input if used).
3
Insert the cassette on which the programme is to be recorded,
with the window visible and the safety tab intact or the opening
covered with adhesive tape.
Result:
The VCR is switched on automatically.
4
Select:
◆
The station to be recorded using the PROG/TRK (
"
or
❷
) /
PROG (
"
or
❷
) buttons
or
◆
The AV1, AV2 or AUX
★
(SV-657B/SV-655B/SV-651B/
SV-651I only) source using the INPUT button for a satellite
tuner or external video source
Result:
The station number is displayed and the programme
can be seen on the television.
5
Select the recording speed by pressing the SPEED button as
many times as required (see page 22).
6
Hold REC down for a while to start recording.
Result:
The record indicator appears on the television and VCR
display. An index is recorded on the tape (see page 36).
7
To stop recording, press
■
once.
➢
◆
If your VCR ejects the cassette when you start
recording, check to make sure that the cassette’s
safety tab is intact or that the opening (created by a
broken safety tab) is covered with adhesive tape.
◆
If you reach the end of the tape while recording, the
cassette rewinds automatically.
VCR INPUT
REPEAT
L PROG/TRK
DISP./
CT
IPC INPUT
REPEAT
RK PROG
DISPLA
4
4
4
4
★
(SV-657B/SV-655B)
★
(SV-651B/SV-651I/
SV-225B/SV-251B/
SV-251I)
01823B SV-657B/XEU-GB2 8/28/02 11:16 AM Page 24


