Digital Video Recorder User’s Manual
10
Digital Video Recorder User’s Manual
11
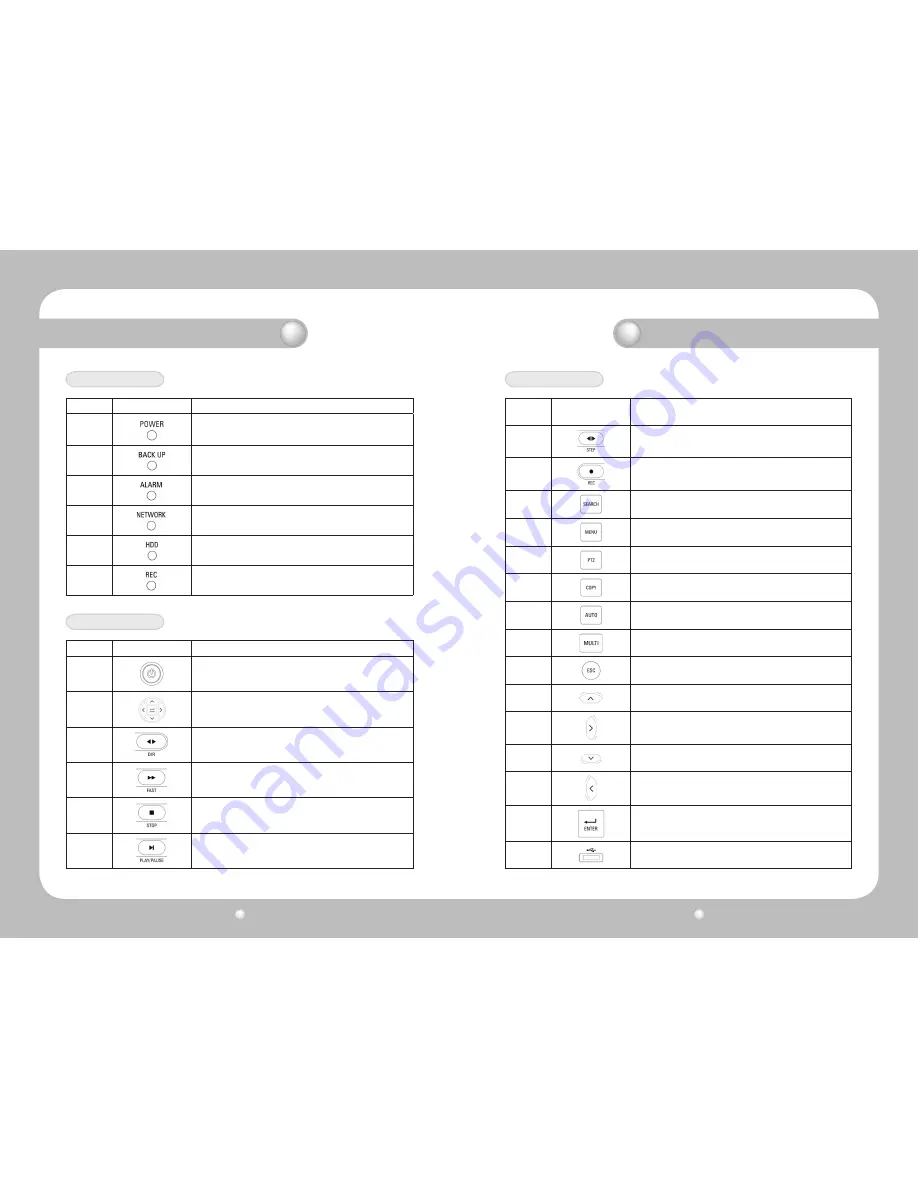
Number
LED Name
Description
1
Lights up when power is applied to the system
2
Lights up when the system is backing up.
3
Lights up when an Alarm is triggered.
4
Lights up when client has connected to the system through the
Network
5
Lights up when the system is accessing HDD
6
Lights up when the system is recording video data
Number
Button Name
Description
1
Press to power the system ON/OFF.
2
Press to navigate to and select a Menu item.
3
Press to select and change the forward or back playback. Pressing
this button during forward playback reverses the direction of play.
4
Forward Playback. Speeds of 2X, 4X, 8X.
5
Press to stop the Playback and to start searching other recorded
data.
6
Press to Play and pause the Playback screen
LED Indication
Button Indication
Number
Button Name
Description
7
Playback position moves 1 frame forward/back during Pause.
8
Press to start and stop manual recording
9
Press to search the recorded data
10
Press to launch Setup Menu
11
Press to control the PTZ functions
12
Press to backup still images or video
13
Press to start screen Auto Sequence. Set °ÆSCREEN SETUP/AUTO
SEQUENCE/SEQUENCE°Ø as °ÆON°Ø.
14
Press to select the live display format as full screen, quad screen, or
9-channel screen (for SVR-940) display.
15
Press to return to previous Menu screen.
16
Press to move up in a Menu item in setup mode.
17
Press to move right in a Menu item in setup mode.
18
Press to move down in a Menu item in setup mode.
19
Press to move left in a Menu item in setup mode.
20
Press to select full screen, quad screen, or 9-channel screen (for
SVR-940) in live monitoring mode. It can also be used to select a
desired menu item or to store a setup value in the menu.
21
USB Backup and Firmware upgrade.
Button Indication
Chapter 2. Summary
Chapter 2. Summary
Summary of Contents for SRV-450
Page 1: ...Digital Video Recorder User s Manual 1 ...
Page 41: ...MEMO MEMO ...


