


NETWORK CAMERA
User Guide
8
NETWORK CAMERA
User Guide
9
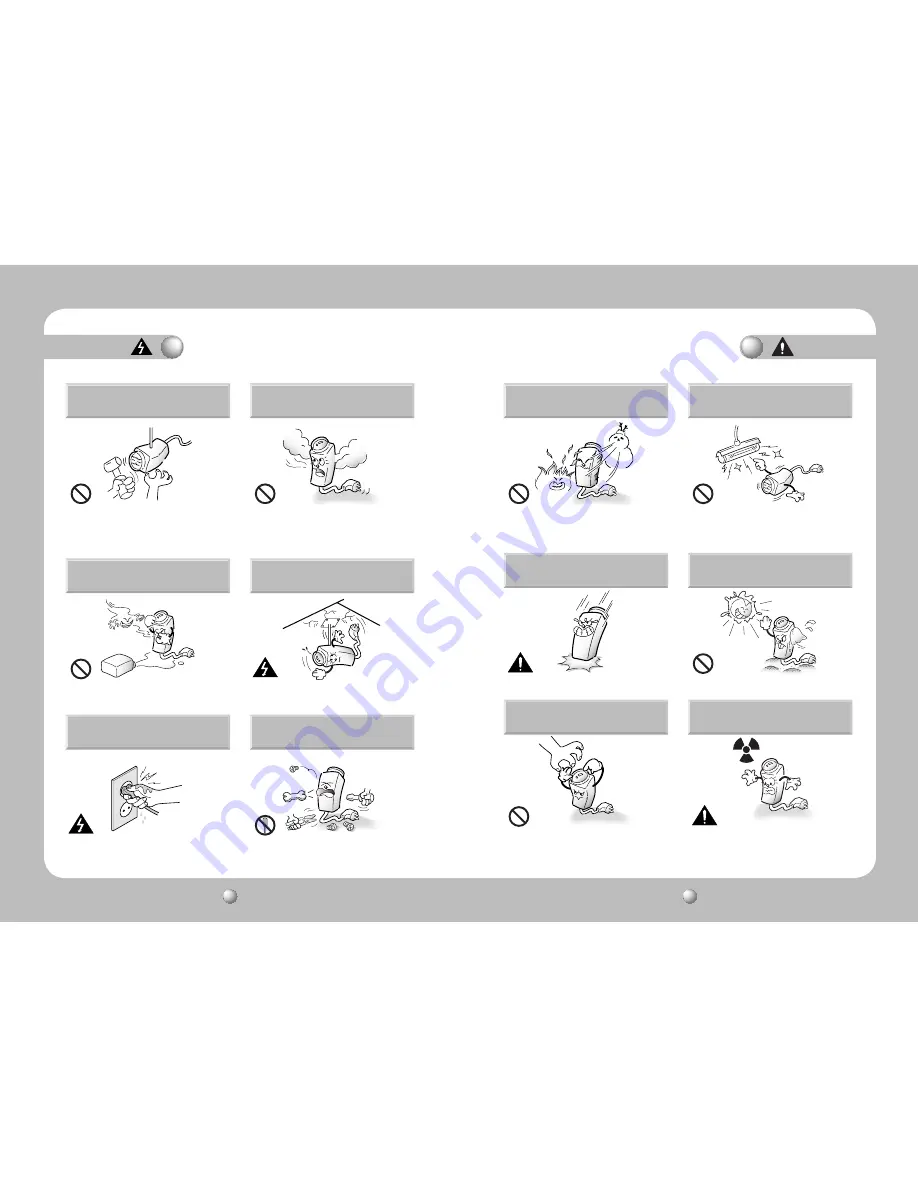
Caution
Warning
Self-installation of this product is
prohibited.
Installing this product requires experience and
specialized skills; attempting to install the product by
yourself exposes you to the risk of fire and/or electrical
shock. Please contact your vendor for installation.
Stop using the product immediately if smoke or an
unusual amount of heat is emanating from your camera.
Failure to do so may result in fire.
Do not install the product in a damp area, or where
it may be exposed to flammable liquids and/or gas.
Product malfunctions, electric shock, and/or fire
may occur.
Do not install the product on a structurally
unsound surface.
The product may detach from the surface and fall
down.
Do not handle the power plug with wet
hands.
It may cause electric shock.
Do not disassemble the product or place
foreign objects into the product.
Product damage and/or fire may occur.
Do not install the product in a location where
it may be exposed to extreme heat or cold.
Using the product in extremely hot (over 50ºC) or extremely cold
(under -10ºC) environments may degrade picture quality and/or
cause product malfunctions. When using the product in hot
areas, be sure to provide adequate ventilation for the product.
Do not install the product in areas with
flickering illumination.
Severe fluctuations in ambient luminance, such as
flickering of old fluorescent lights, may cause the
product to malfunction.
Do not drop the product, or subject it to
strong shocks or vibration.
It may damage the product.
Never point the camera directly at the
sun, or other powerful sources of light.
You may severely damage the charge-coupled
device (CCD).
Do not touch the camera lens.
It is the most important component of your product.
Avoid contaminating the lens with fingerprints or
other pollutants.
Do not install the product where it may
be exposed to radioactivity.
Exposure to radioactivity will degrade the CCD and
cause malfunctions.


