Media
101
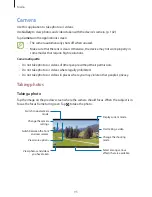
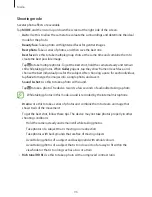
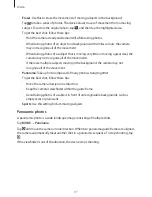
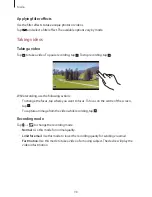
•
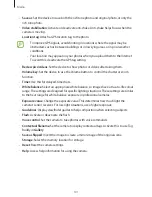
Save as
: Set the device to save both the rich tone photo and original photo, or only the
rich tone photo.
•
Video stabilisation
: Activate or deactivate anti-shake. Anti-shake helps focus when the
camera is moving.
•
Location tag
: Attach a GPS location tag to the photo.
•
To improve GPS signals, avoid shooting in locations where the signal may be
obstructed, such as between buildings or in low-lying areas, or in poor weather
conditions.
•
Your location may appear on your photos when you upload them to the Internet.
To avoid this, deactivate the GPS tag setting.
•
Review pics/videos
: Set the device to show photos or videos after taking them.
•
Volume key
: Set the device to use the Volume button to control the shutter or zoom
function.
•
Timer
: Use this for delayed-time shots.
•
White balance
: Select an appropriate white balance, so images have a true-to-life colour
range. The settings are designed for specific lighting situations. These settings are similar
to the heat range for white-balance exposure in professional cameras.
•
Exposure value
: Change the exposure value. This determines how much light the
camera’s sensor receives. For low-light situations, use a higher exposure.
•
Guidelines
: Display viewfinder guides to help composition when selecting subjects.
•
Flash
: Activate or deactivate the flash.
•
Voice control
: Set the camera to take photos with voice commands.
•
Contextual filename
: Set the camera to display contextual tags. Activate this to use Tag
Buddy in
Gallery
.
•
Save as flipped
: Invert the image to create a mirror-image of the original scene.
•
Storage
: Select the memory location for storage.
•
Reset
: Reset the camera settings.
•
Help
: Access help information for using the camera.

