B. Creating a DVD from a photo file
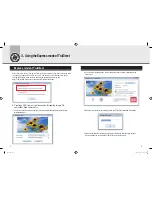
1. The main screen is displayed if TruDirect starts.
2. Connect a photo file source to the user's PC, or select a photo file from the hard drive of
the users PC.
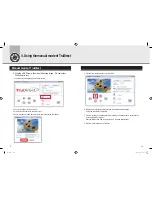
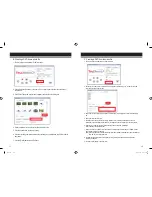
3. Click Photo Files in the main screen to display the Select Photos dialog box.
4. Select a minimum of 5 photos to record and input the tilte.
5. Click the open button to start a recording.
6. Click the recording completion button if the recording is completed and the DVD is ready to
be ejected.
7. Click the [Finish] button to exit TruDirect.
C. Creating a DVD from the video file
1. The main screen is displayed when TruDirect starts.
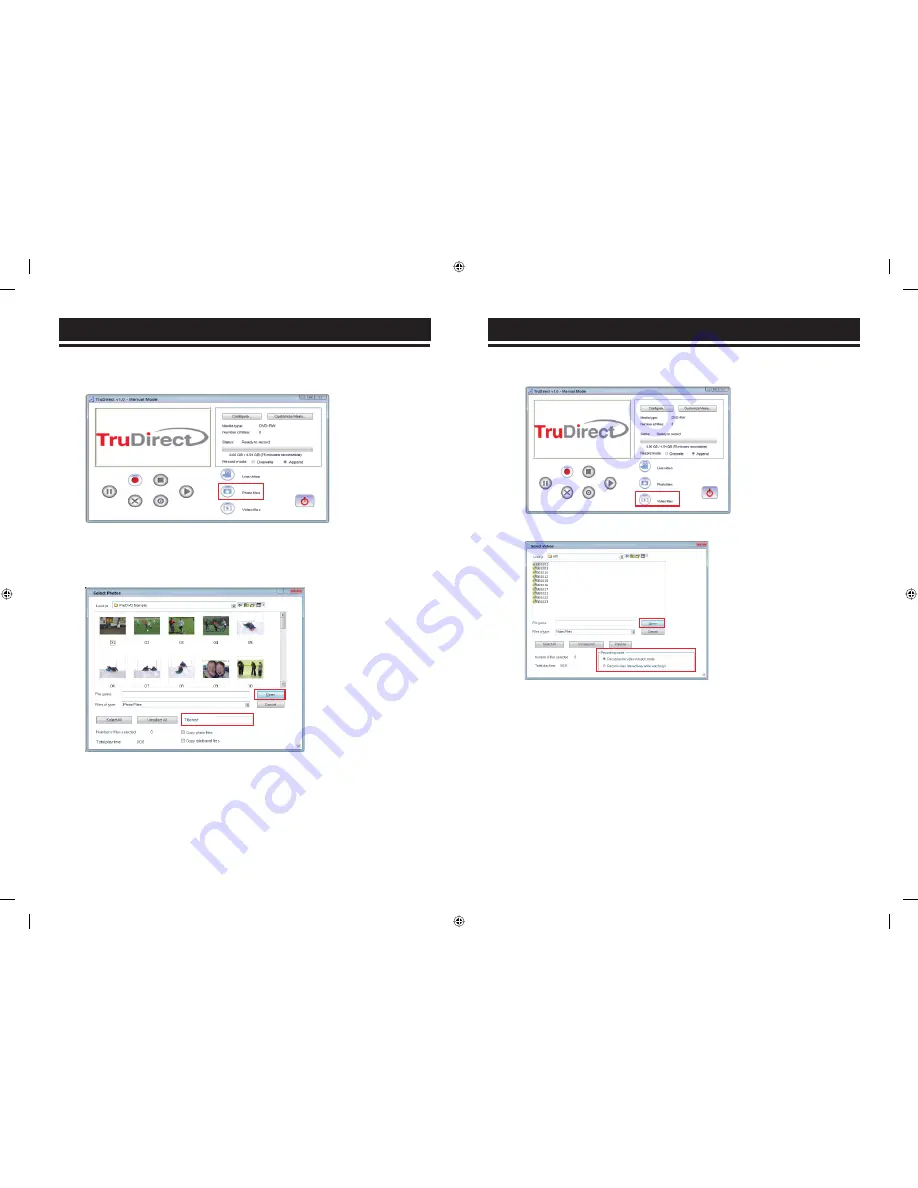
2. Connect a video file source to a user's PC to display the selection dialog box, or select a video file
from the hard drive of the users PC.
3. Select the recording mode; in batch mode or interactively (for viewing) if the video fie is a MPEG-2
file.
4. Select the video files to record.
5. Click the open button to start the recording. When a video is recorded interactively, a video is
previewed in the main window and the DVD recording starts by clicking the start recording button.
6. Whenever you click the recording stop button, the title input window is displayed.
Input a title and click the [OK] button.
7. If the batch mode is selected, it proceeds until the selected video file recording is complete. Please
wait until the recording is complete.
Note ) If the play time of a selected file is longer than the available recordable time, lower the definition
(HQ,SP,LP) or insert another disc.
8. Click the recording completion button if the recording is completed and a DVD will eject when
recording is complete.
9. Click the [Finish] button to exit TruDirect.
11
12
ENG.indd 14-15
ENG.indd 14-15
2008-03-20 오전 10:53:20
2008-03-20 오전 10:53:20

