background image

24

 – DIGITAL COLOR CAMERA
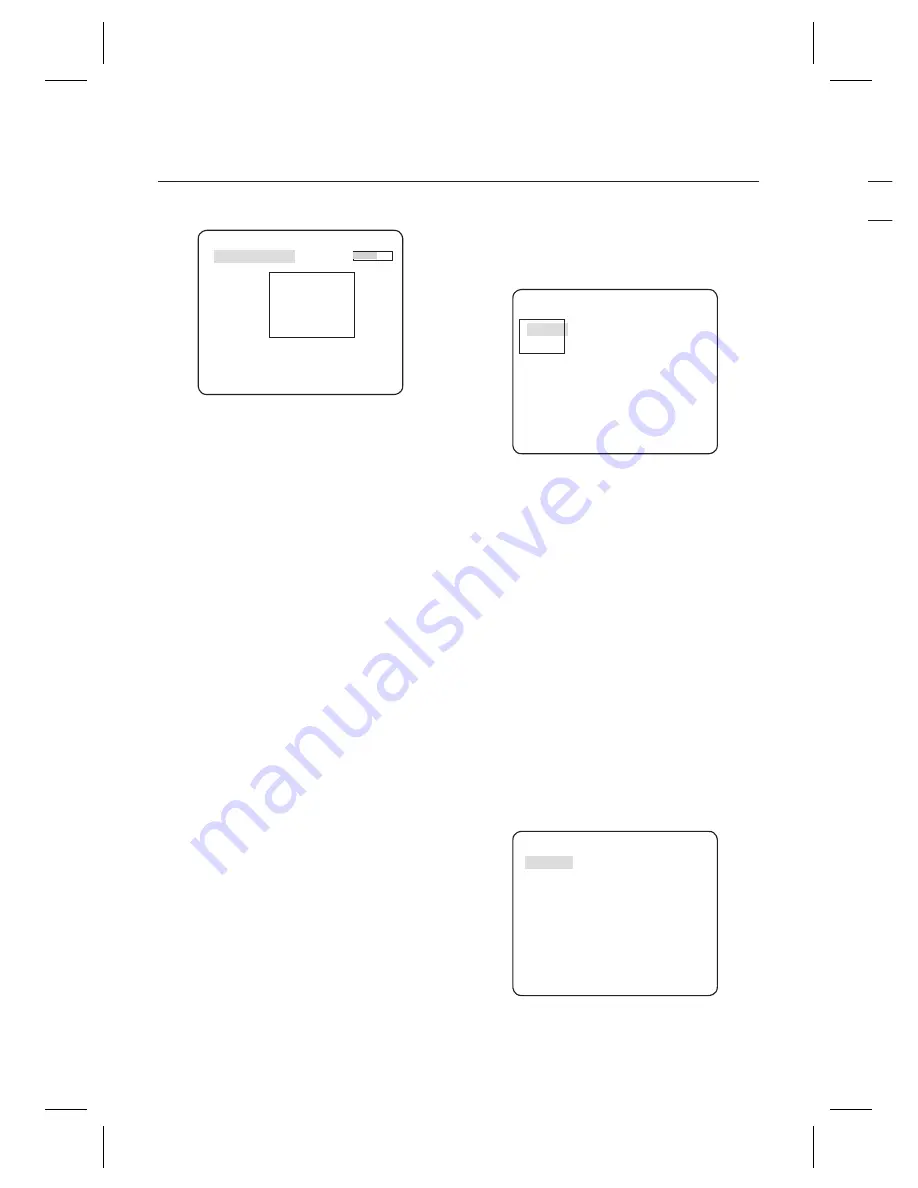
How to use OSD Menu

- How to set the area

‹

AREA

‹

PIXEL LEVEL 

[4]

<SIZE> 


<LOCATION>


  If you press the 

SETUP

 switch with the 

AREA


option set to 

ON

, you can specify the position 

and size of the area.

  If you change the 

PIXEL LEVEL

 for setting 

the position, specify the pixel that moves by a 
single pressure of the 

cdef

 switch.

  In 

<SIZE>

, press the 

SETUP

 switch and use 

the 

cdef

 switch to adjust the size.

Press the 

SETUP

 switch again to complete the 

sizing.

  In 

<LOCATION>

, press the 

SETUP

 switch and 

use the 

cdef

 switch to specify the position.

Press the 

SETUP

 switch again to complete 

the positioning.

Note

 : 

If you set the 

LINE

 of the 

FENCE

 to 

ON

PRIVACY

 12 will 

not be available.
Functions of 

FENCE

PIP

DIS

 and 

DIGITAL ZOOM

 (if the 

digital zoom factor is set to larger than 1x) can not be 
used simultaneously.
In the boundary of the defi ned 

AREA

 and LINE, a 

FENCE


detection error may occur if two or more moving objects 
overlap with each other or one object separates in 
multiple directions.

FIXED/MOVED

If an object on the screen suddenly disappears or 
an object comes out of nowhere and stays for a 
certain time, the area will be displayed.

A detection (

FIXED/MOVED

) error may occur if :

-  multiple motions occur continuously in random 

directions

-  a fi xed object moves in one position continuously

-  a second object screens the fi rst moving object

MASK AREA  [1~4]

Specify a detection exception area to mask.

Select a mask number and specify the size and 
position.

‹

MASK AREA

‹

<SIZE> 


<LOCATION>


DISPLAY  

[ON, 

OFF]

With the 

DISPLAY

 option set to 

ON

, a motion or 

a set 

ADVANCED

 function will be displayed on 

the screen, if detected.

SENSITIVITY  

[1~7]

Set the sensitivity of the motion detection.

RESOLUTION  

[1~5]

If setting it to high, the camera can detect even a 
trivial movement of the target.

ALARM OUT

If you set a desired menu item to 

ON

, the camera 

will sound an alert if it detect the appropriate 
motion.

‹

ALARM OUT

‹

MOTION ON
FIXED/MOVED ON
FENCE
 LINE 

ON

 AREA
  ENTER 

ON

  EXIT 

ON


PRI

The 

P

scree
durin
zone

If you

ZON

You 
and c

Use 

PRIV

Selec

SETU

spec

LEVE

Summary of Contents for SCC-B2335

Page 1: ...MERA user manual SCC B2335 P SCC B2035P imagine the possibilities Thank you for purchasing this Samsung product To receive more complete service please register your product at www samsungsecurity com...

Page 2: ...ect multiple cameras to a single adapter Exceeding the capacity may cause abnormal heat generation or re Securely plug the power cord into the power receptacle Insecure connection may cause re When in...

Page 3: ...e the already installed product be sure to turn off the power and then move or reinstall it Remove the power plug from the outlet when then there is a lightning Neglecting to do so may cause re or dam...

Page 4: ...ided plug does not t into your outlet consult an electrician for replacement of the obsolete outlet Protect the power cord from being walked on or pinched particularly at plugs convenience receptacles...

Page 5: ...Iris Lens Connector 11 Mounting the lens 11 Connecting cables and checking operation 12 How to use OSD Menu Using Icons in the Menu 13 Main Menu 13 Pro le 14 Camera Setup 16 Intelligence 23 Privacy zo...

Page 6: ...make the IR Cut ltering function inactive under the illumination below the normal value High Sensitivity It implements images of high sensitivity using the up to date SONY Super HAD Progressive CCD L...

Page 7: ...English 7 ENG Introduction and h t ting ure e ra t PRODUCT ACCESSORIES Product Accessories Accessories Camera Camera Holder Mount Auto Iris Lens Connector User s Manual Main Product C Mount Adapter...

Page 8: ...ble transmits the power and signals from the camera for controlling the Auto Iris Lens Mount Adapter Fixing Grooves These grooves are used when xing screws of the mount adapter connected to the bracke...

Page 9: ...English 9 ENG Introduction alled ing Rear Panel n o r q p s AC24 DC12V SCC B2335 P n o q s AC220V 240V SCC B2035P p...

Page 10: ...cal DC 5V 100mA 8 DAY NIGHT IN This is a port for DAY NIGHT conversion High DC 3V 5V DAY COLOR Mode Low 0V NIGHT BW Mode 9 RS 485 DATA This is a port for connection to RS 485 DATA signal line 10 RS 48...

Page 11: ...Type 1 Damp Power 12V 2 Damp Not applicable 3 Drive Video Signal 4 Drive Ground Note You can switch a control type of the lens in the menu MOUNTING THE LENS When using the CS lens Mount the CS lens by...

Page 12: ...pter to the camera using the Slot Head screwdriver as shown in the picture GND cable with the white stripe line 1 2 3 4 5 6 7 8 1 ALARAM OUT 2 GND 3 TRIGGER IN 4 SHUTTER SO 5 SHUTTER S1 6 SHUTTER S2 7...

Page 13: ...select QUIT in the menu MAIN MENU MAIN MENU PROFILE CAMERA SET INTELLIGENCE PRIVACY ZONE OTHER SET COMMUNICATION SYSTEM INFO LANGUAGE PROFILE You can set a mode according to the camera installation co...

Page 14: ...User setting allowed User setting allowed MID User setting allowed User setting allowed WDR LEVEL User setting allowed User setting allowed 0 User setting allowed User setting allowed WHITE BAL User s...

Page 15: ...tting allowed 0 User setting allowed 0 User setting allowed BLUE User setting allowed 0 User setting allowed 0 User setting allowed DETAIL 2 2 2 2 2 ITS It will be set automatically so you can easily...

Page 16: ...que name to a camera If you press the SETUP switch with the CAMERA ID menu selected you will see the appropriate screen You can enter up to 54 alphanumeric or special characters for the CAMERA ID Sele...

Page 17: ...ill see a menu where you can set the WDR options You can adjust the shutter speed in WDR LEVEL and the brightness in WEIGHT You can also select any of OUTDOOR and INDOOR in WHITE BAL ALC LENS DC LEVEL...

Page 18: ...ength of the AGC level for a control of the camera motion This is available only if the SENS UP menu is set to AUTO You can select one from S SLOW SLOW NORM FAST and F FAST for the AGC level If you mo...

Page 19: ...UTO X6 AUTO X8 AUTO X12 AUTO X16 AUTO X24 AUTO X32 AUTO X48 AUTO X64 AUTO X96 AUTO X128 AUTO X256 AUTO X512 FIX X2 FIX X4 FIX X6 FIX X8 FIX X12 FIX X16 FIX X24 FIX X32 FIX X48 FIX X64 FIX X96 FIX X128...

Page 20: ...S MID DWELL TIME 2S NIGHT DAY BRIGHTNESS MID DWELL TIME 5S MASK AREA 1 2 You can set the BURST option to OFF ON or select to output the Burst signal in NIGHT mode You can select from LOW MID and HIGH...

Page 21: ...UE and BRIGHTNESS The screen will be displayed in colors according to your settings WHITE BAL DAY NIGHT NIGHT BRIGHTNESS MID MODE AWC RED 00 I BLUE 00 I R GAIN 0248 B GAIN 0247 Note You can set the va...

Page 22: ...chronization If selecting LINE the camera will use the external power source frequency for the synchronization You can adjust the LL PHASE Note Use of DC 12V will x V SYNC to INT which can not be chan...

Page 23: ...the system displays PASS if the object s center line passes through the line while it displays ENTER or EXIT if the center point passes through the area FENCE LINE OFF AREA OFF You can set the positi...

Page 24: ...jects overlap with each other or one object separates in multiple directions FIXED MOVED If an object on the screen suddenly disappears or an object comes out of nowhere and stays for a certain time t...

Page 25: ...at moves as you change the PIXEL LEVEL to set the position PRIVACY ZONE SET1 PIXEL LEVEL 4 POINT POSITION How to set the point You can set each position of the 4 points If you press the SETUP switch i...

Page 26: ...RESS and LANGUAGE will not be restored to the default OSD COLOR BW R G B You can set the OSD On screen Display color to COLOR or B W COMMUNICATION eCOMMUNICATIONf RS 485 PROTOCOL SAMSUNG BAUD RATE 960...

Page 27: ...ing the protocol address baud rate serial number camera version and EEP version LANGUAGE eLANGUAGEf ENGLISH FRAN AIS DEUTSCH ESPA OL ITALIANO The camera supports 5 different languages Select a preferr...

Page 28: ...8 Lux 0 00008 Lux 512 times 1 2 30 IRE 0 00047 Lux 0 000047 Lux 512 times 1 2 15 IRE 0 00023 Lux 0 000023 Lux Functions Number of Privacy Zone 12 Polygonal Method Day Night DAY NIGHT AUTO EXT Motion D...

Page 29: ...ol Coaxitron Data On Coax cable Yes with SCX RD100 RS 485 Yes Multi Protocol 8ea Environmental Conditions Operating Temperature 10 C 50 C Humidity Less than 90 Power Power Requirement AC24V 10 60Hz 0...

Page 30: ...08 Lux 0 00008 Lux 512 times 1 2 30 IRE 0 00047 Lux 0 000047 Lux 512 times 1 2 15 IRE 0 00023 Lux 0 000023 Lux Functions Number of Privacy Zone 12 Polygonal Method Day Night DAY NIGHT AUTO EXT Motion...

Page 31: ...erating Temperature 10 C 50 C Humidity Less than 90 Power Power Requirement SCC B2335P AC24V 10 50Hz 0 3Hz DC12V 10 SCC B2035P AC220V 10 50Hz 0 3Hz Power Consumption With DC Lens In Normal operation S...

Page 32: ...the environment or human health from uncontrolled waste disposal please separate these items from other types of waste and recycle them responsibly to promote the sustainable reuse of material resourc...

Reviews: