


85
85
ENGLISH
✤
PictBridge
TM
function works only in
<M.Player>
mode.
➥
page 19
✤
By connecting the Camcorder to printers with PictBridge support
(sold separately), you can send images from the Memory Card
directly to the printer with a few simple operations.
✤
With the PictBridge Support, you can control the printer directly
through your Camcorder in order to print out stored pictures. For
direct printing of your stored pictures using the PictBridge function,
you must connect your Camcorder to a PictBridge printer using a
USB cable.
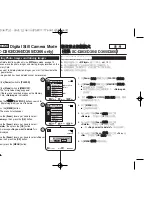
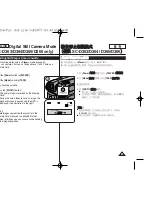
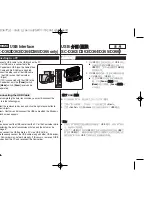
Connecting To a Printer
1. Turn your printer’s power off.
■
Turn your Camcorder on by setting the
[Power]
switch to
[PLAYER]
.
2. Set the
[Mode]
switch to
[MEMORY]
.
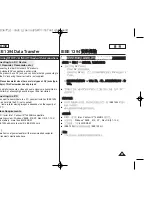
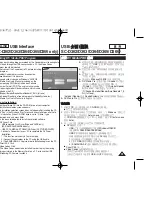
3. Press the
[MENU]
button.
■
The menu list will appear.
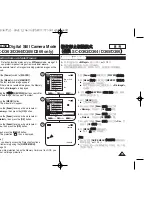
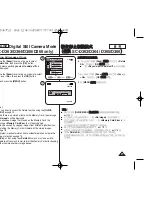
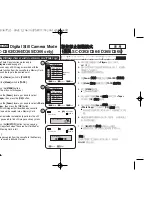
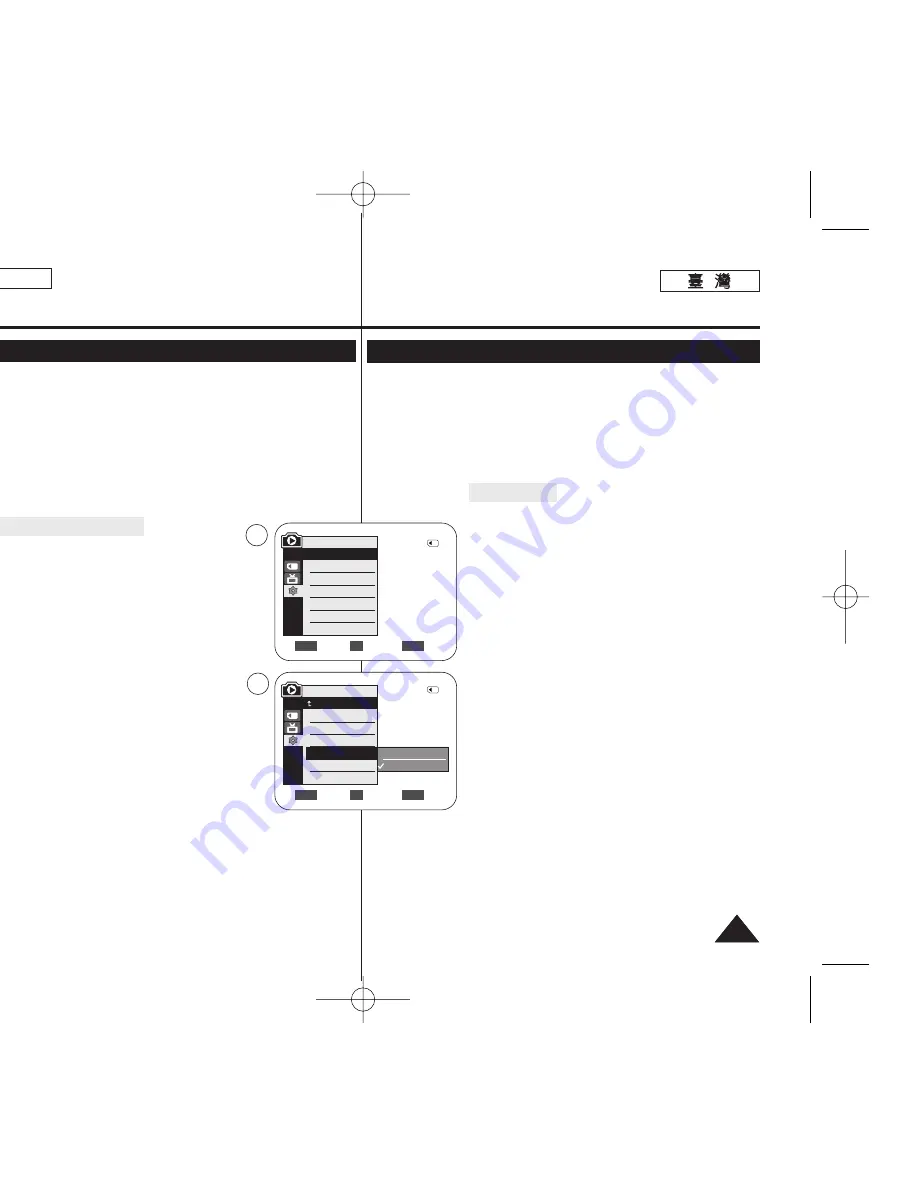
4. Move the
[Zoom]
lever up or down to select
<System>
, then press the
[OK]
button.
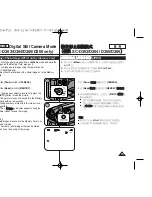
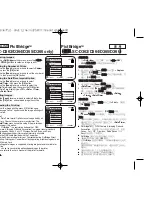
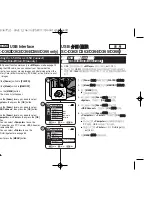
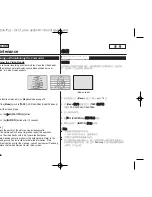
5. Move the
[Zoom]
lever up or down to select
<USB Connect>
, then press the
[OK]
button.
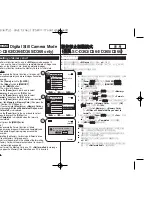
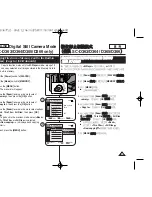
6. Move the
[Zoom]
lever up or down to select
<Printer>
, then press the
[OK]
button.
■
<Computer>
: Connect to a computer.
■
<Printer>
: Connect to a printer. (To use the
PictBridge function, connect to a printer.)
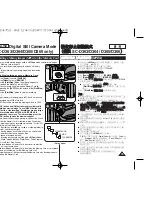
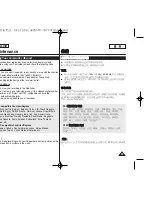
7. Connect your Camcorder to the printer using the provided USB
cable.
8. Turn your printer power on.
■
The PictBridge menu screen appears automatically after a short
period.
■
The cursor highlights
<Print>
.
PictBridge
TM
(SC-D363/D364/D365/D366 only)
Printing Your Pictures – Using the PictBridge
TM
Move
Select
Exit
MENU
OK
ZOOM
Computer
Printer
6
4
M.Player Mode
√
System
Clock Set
Remote
Beep Sound
USB Connect
Language
√
On
√
On
√
Computer
√
English
Move
Select
Exit
MENU
OK
ZOOM
2/46
2/46
M.Player Mode
Back
Clock Set
Remote
Beep Sound
USB Connect
Language
✤
PictBridge
TM
功能僅可在
<M.Player>
模式下操作
0
➥
第
19
頁
✤
透過將攝錄放影機連接到
PictBridge
支援(個別購買)的印表機,可進
行幾個簡單操作,將影像從記憶賓直接傳送到印表機
0
✤
使用
PictBridge
支援的印表機,卽可透過攝錄放影機直接控制印表機
以列印出儲存的相片
0
若要使用
PictBridge
功能直接列印儲存的相
片,舅必須使用
USB
纜線將攝錄放影機連接到
PictBridge
印表機
0
連
連接
接印
印表
表機
機
1.
關閉印表機電源
0
■
透過將
[Power]
(
(電
電源
源)
)開關設定爲
[PLAYER]
(
(播
播放
放機
機)
)來開啓攝錄放影機電源
0
2.
將
[Mode]
(
(模
模式
式)
)開關設定爲
[MEMORY]
(
(記
記憶
憶賓
賓)
)
0
3.
按下
[MENU]
按瞿
0
■
選單淸單將會顯示
0
4.
向上或向下移動
[Zoom]
(
(縮
縮放
放)
)桿以選擇
<System>
,然後按下
[OK]
(
(確
確定
定)
)按瞿
0
5.
向上或向下移動
[Zoom]
(
(縮
縮放
放)
)桿以選擇
<USB Connect>
,然後按下
[OK]
(
(確
確定
定)
)按瞿
0
6.
向上或向下移動
[Zoom]
(
(縮
縮放
放)
)桿以選擇
<Printer>
,然後按下
[OK]
(
(確
確定
定)
)按瞿
0
■
<Computer>
: 連接至電腦
0
■
<Printer>
: 連接至印表機
0
(若要使用
PictBridge
功能,請連接至印表機
0
)
7.
使用隨附的
USB
纜線將攝錄放影機連接到印表機
0
8.
開啓印表機電源
0
■
PictBridge
選單怜面蜈快將會自動顯示
0
■
游標反白顯示
<Print>
0
PictBridge
TM
(
(僅
僅限
限
SC-D363/D364/D365/D366
)
)
列
列印
印相
相片
片使
使用
用
–
PictBridge
TM
00970F SCD363 TAI~094 1/12/06 3:44 PM 페이지85 001 QMS 1660E


