


14
Configuring Eye Saver Mode, Brightness and Contrast
from the Initial Screen
Adjust the
Brightness
,
Contrast
and
Eye Saver Mode
by moving the JOG button.
Eye Saver Mode
Brightness
Contrast
Off
―
The displayed image may differ depending on the model.
―
The default brightness can vary depending on the region.
Eye Saver Mode
―
Not available when
PIP/PBP Mode
is set to
On
.
Brightness
―
This menu is not available when
SAMSUNG
MAGIC
Bright
is set to
Dynamic Contrast
mode.
―
This menu is not available when
Eco Saving Plus
is enabled.
―
This menu is not available when
Eye Saver Mode
is enabled.
Contrast
―
This menu is not available when
SAMSUNG
MAGIC
Bright
is in
Cinema
or
Dynamic Contrast
mode.
―
This menu is not available when
Game Mode
is enabled.
―
This menu is not available when
PIP/PBP Mode
is set to
On
and the
Size
is set to
(PBP Mode).
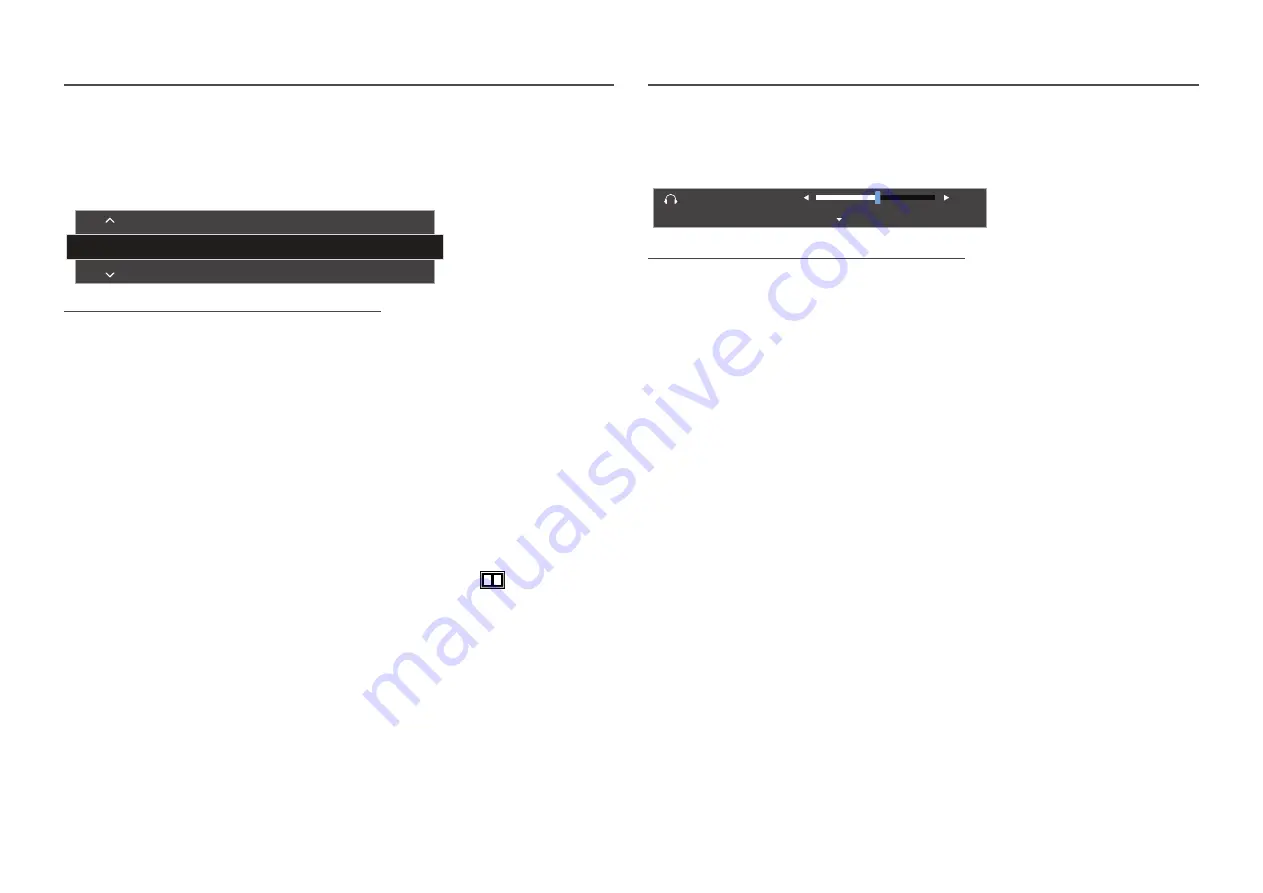
Changing the Volume setting
You can adjust
Volume
by moving the JOG button left or right, if no OSD menu is displayed.
Volume
50
Mute
―
The displayed image may differ depending on the model.
―
If the audio quality of a connected input device is poor, the Auto Mute function on the product may mute
the sound or cause choppy audio when applying the headphones or speakers. Set the input volume for the
input device to at least 20% and control the volume using the volume control (JOG button LEFT/RIGHT) on
the product.
―
What is Auto Mute?
The function mutes the audio to improve sound effect when there is sound noise or when the input
signal is weak, usually due to a problem with the volume of an input device.
―
To activate the
Mute
function, access the
Volume
control screen, then use the JOG button to move the
focus down. To deactivate the
Mute
function, access the
Volume
control screen, then increase or decrease
the
Volume
.


