


Country
: Austria
√
√
Auto Store
√
√
Manual Store
√
√
Edit
√
√
Fine Tune
√
√
Ch. Scan
√
√
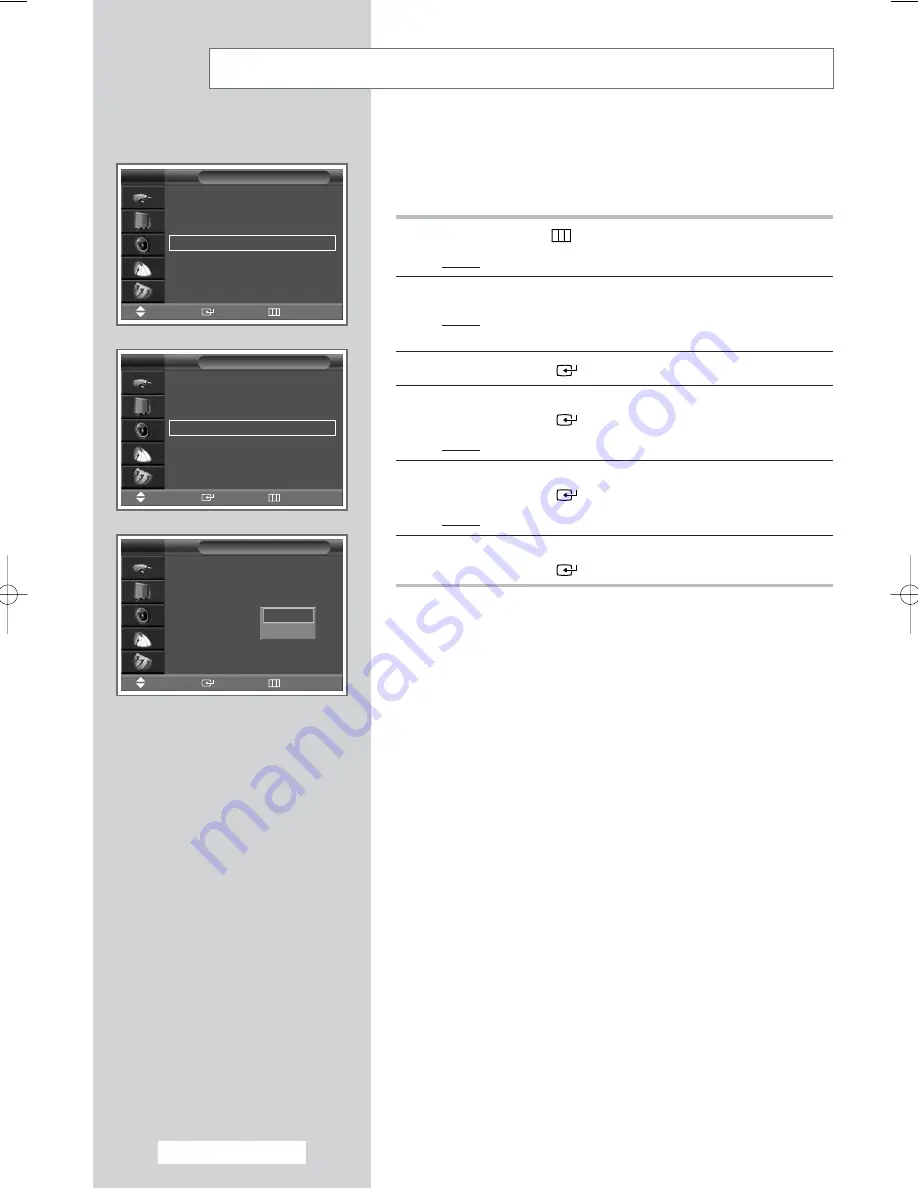
Channel
TV
Add/Delete
√
√
Sort
√
√
Name
√
√
LNA
: Off
√
√
Child Lock
√
√
Edit
TV
Add/Delete
Sort
Name
LNA
: Off
Child Lock
Edit
TV
This function is very useful in the situation that the TV is used in
weak signal. LNA amplifies the TV signal in the weak signal area,
but not noise.
1
Press the
MENU
(
) button.
Result:
The main menu is displayed.
2
Press the
…
or
†
button to select
Channel
.
Result:
The options available in the
Channel
group are
displayed.
3
Press the
ENTER
(
) button.
4
Press the
…
or
†
button to select
Edit
.
Press the
ENTER
(
) button.
Result:
The
Edit
menu is displayed.
5
Press the
…
or
†
button to select
LNA
.
Press the
ENTER
(
) button.
Result:
The available options are listed.
6
Select
On
or
Off
by pressing the
…
or
†
button.
Press the
ENTER
(
) button to confirm.
➢
◆
If the picture is noisy with the
LNA
set to
On
, select
Off
.
◆
LNA
setting is to be made for each channel.
Using the LNA (Low Noise Amplifier) Feature
Off
On
Move
Enter
Return
Move
Enter
Return
Move
Enter
Return
English - 24
BN68-00718S-00Eng_0825 8/25/04 2:07 PM Page 24


